How can I help you?
Areas in ASP.NET Core
4 Dec 20246 minutes to read
This article provides a step-by-step introduction to add areas and configure the Syncfusion® control in the ASP.NET Core platform.
Areas
ASP.NET Areas is a feature that allows to create a separate module in the application with its own set of Razor Pages, controllers, views, and models.
MVC Areas
1.Create ASP.NET Core web application with MVC(views and controllers). Refer to this documentation to get started with ASP.NET Core application.
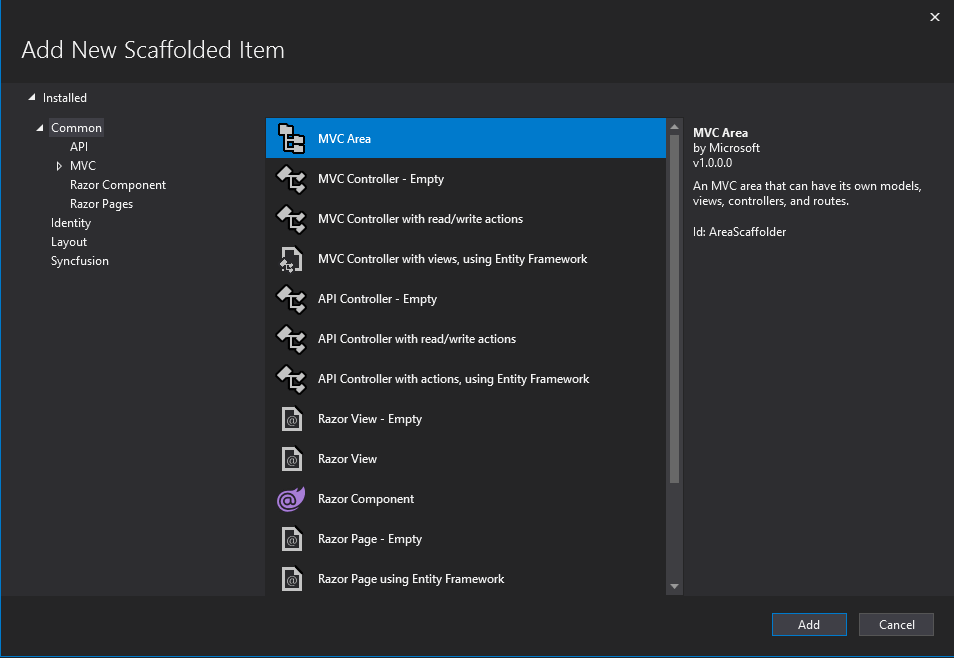
2.To add the MVC Area, right-click the application in the solution explorer and choose ADD -> New Scaffolded Item.
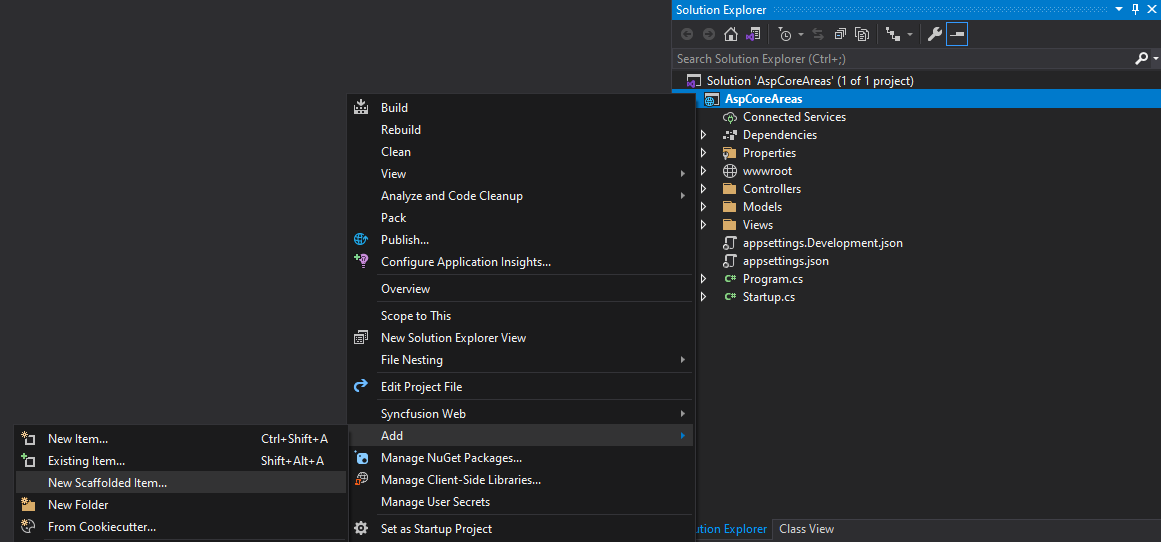
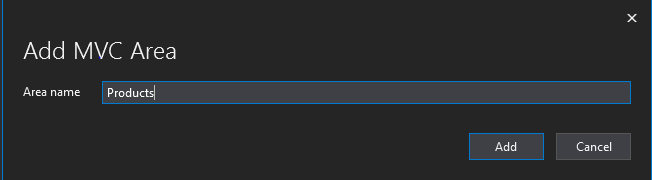
Select MVC Area from the pop-up and click Add to create an Area.
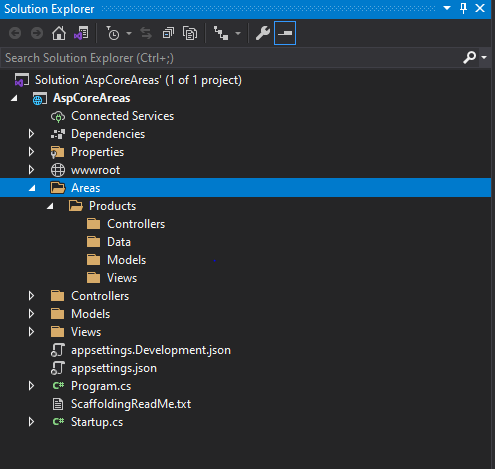
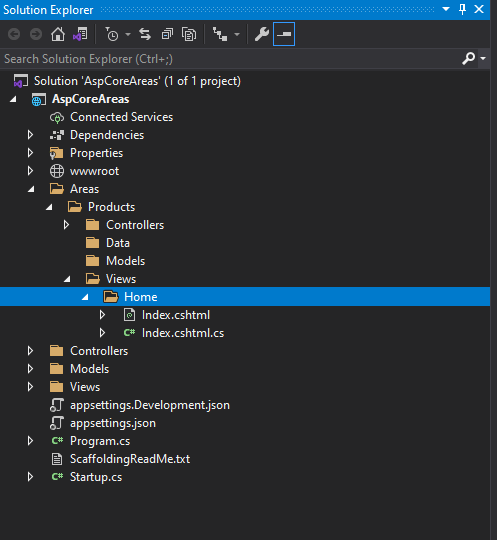
3.Now, created MVC Area is added to the root of the application with its Controllers, Data, Models, Views folders like the below structure.
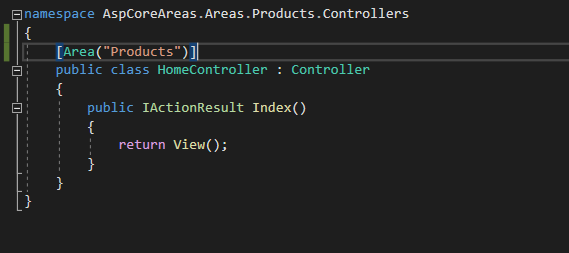
4.Add the controller HomeController.cs in the Areas/Products/Controllers/ folder location and then add the area attribute [Area("area name")] like below.
5.Add the View page in the ~/Areas/Products/Views/ folder location.
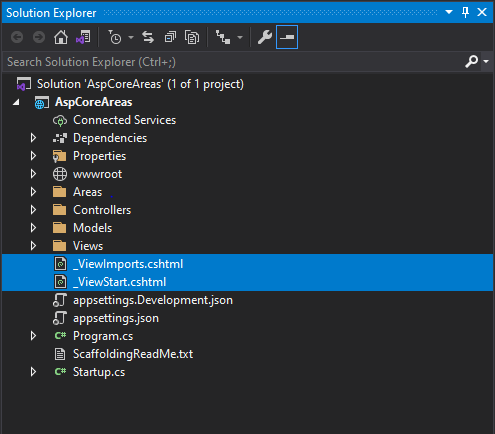
6.Move the Razor View Imports _ViewImports.cshtml and Razor View Start _ViewStart.cshtml files from ~/Views/ to the application root folder to share the common layout and view imports to all views.
NOTE
You can also add the
_ViewImports.cshtmland_ViewStart.cshtmlfiles to the appropriate Views folder under areas if you want to maintain it separately.
7.Open the _ViewImports.cshtml file and import the Syncfusion.EJ2 package.
@addTagHelper *, Syncfusion.EJ2NOTE
If
_ViewImports.cshtmlfile is added in the appropriate Views folder under the areas, import theSyncfusion.EJ2package into each_ViewImports.cshtmlfile.
8.Add the Area routing configuration before the default routing in the Startup.cs page.
app.UseEndpoints(endpoints =>
{
    endpoints.MapControllerRoute(
        name : "MyAreas",
        pattern : "{area:exists}/{controller=Home}/{action=Index}/{id?}"
    );
    ...
});
9.Add the client-side resources through CDN or local npm package in the <head> element of ~/Views/Shared/_Layout.cshtml layout page.
<head>
    ...
    <!-- Syncfusion ASP.NET Core controls styles -->
    <link rel="stylesheet" href="https://cdn.syncfusion.com/ej2/33.2.3/bootstrap5.css" />

    <!-- Syncfusion ASP.NET Core controls scripts -->
    <script src="https://cdn.syncfusion.com/ej2/33.2.3/dist/ej2.min.js"></script>
</head>
10.Add the Syncfusion® script manager at the end of <body> element in the ~/Views/Shared/_Layout.cshtml layout page.
<body>
    ...
    <!-- Syncfusion script manager -->
    <ejs-scripts></ejs-scripts>
</body>
NOTE
If
_ViewStart.cshtmlfile is added in the appropriate Views folder under the areas, add the Syncfusion® script manager in that referred layout page.
11.Now, you can add the Syncfusion® ASP.NET Core controls in Index.cshtml View file in the ~/Areas/Products/Views/ folder.
<div>
<ejs-calendar id="calendar"></ejs-calendar>
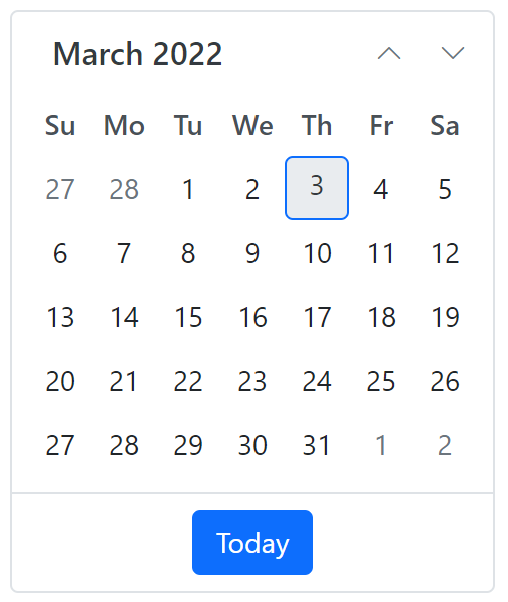
</div>12.Run the application. Syncfusion® ASP.NET Core calendar control will render in the web browser on the Products(localhost:[port]/products/home/index) page.
Areas with Razor Pages
1.Create an ASP.NET Core web application with Razor pages. Refer to this documentation to get started with ASP.NET Core application.
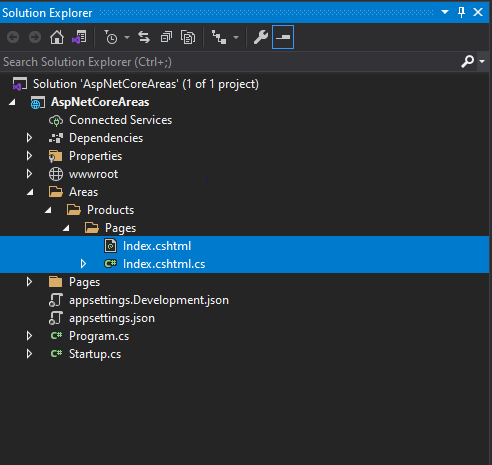
2.Create the folders Areas/<area name>/Pages to the application root like the below structure.

3.Add the Razor Page in the ~/Areas/Products/Pages/ folder location.
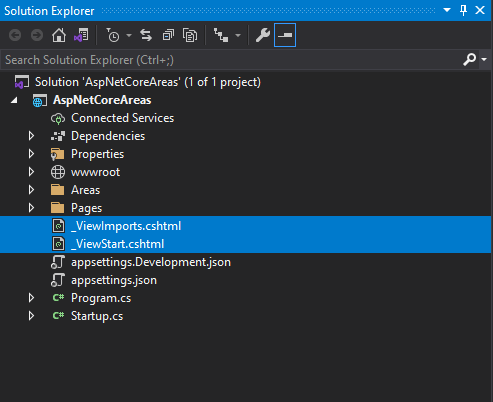
4.Move the Razor View Imports _ViewImports.cshtml and Razor View Start _ViewStart.cshtml files from ~/Pages/ to the application root folder to share the common layout and view imports to all Razor Pages.
NOTE
You can also add the
_ViewImports.cshtmland_ViewStart.cshtmlfiles to the appropriate Pages folder under areas if you want to maintain it separately.
5.Open the _ViewImports.cshtml file and import the Syncfusion.EJ2 package.
@addTagHelper *, Syncfusion.EJ2NOTE
If
_ViewImports.cshtmlfile is added in the appropriate Pages folder under the areas, import theSyncfusion.EJ2package into each_ViewImports.cshtmlfile.
6.Add the client-side resources through CDN or local npm package in the <head> element of ~/Pages/Shared/_Layout.cshtml layout page.
<head>
    ...
    <!-- Syncfusion ASP.NET Core controls styles -->
    <link rel="stylesheet" href="https://cdn.syncfusion.com/ej2/33.2.3/bootstrap5.css" />

    <!-- Syncfusion ASP.NET Core controls scripts -->
    <script src="https://cdn.syncfusion.com/ej2/33.2.3/dist/ej2.min.js"></script>
</head>
7.Add the Syncfusion® script manager at the end of <body> element in the ~/Pages/Shared/_Layout.cshtml layout page.
<body>
    ...
    <!-- Syncfusion script manager -->
    <ejs-scripts></ejs-scripts>
</body>
NOTE
If
_ViewStart.cshtmlfile is added in the appropriate Pages folder under the areas, add the Syncfusion® script manager in that referred layout page.
8.Now, you can add the Syncfusion® ASP.NET Core controls in Index.cshtml Razor Page file in the ~/Areas/Products/Pages/ folder.
<div>
    <ejs-calendar id="calendar"></ejs-calendar>
</div>
9.Run the application. Syncfusion® ASP.NET Core calendar control will render in the web browser on the Products(localhost:[port]/products/home/index) page.