How can I help you?
Deployment in ASP.NET Core
4 Dec 20242 minutes to read
This section provides information about deploying ASP.NET Core applications with the Syncfusion® ASP.NET Core controls.
Refer to Host and deploy ASP.NET Core topic for more information.
Publish ASP.NET Core Application with Visual Studio
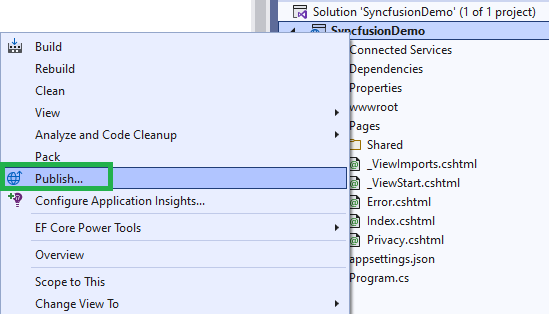
- Right-click on the project in the
Solution Explorerand selectPublish.
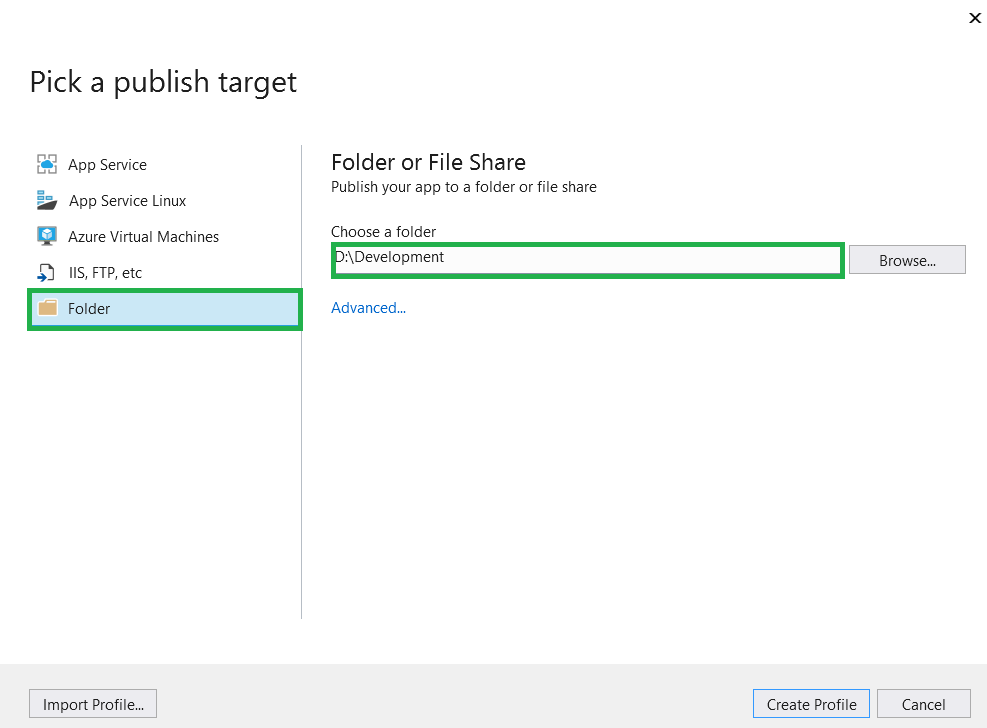
- Then, select the
Folderoption and select the publishing target location.
- Check the configuration as Release by clicking the
Advanced...option below the target location.

- For
ASP.NET Core application, set Deployment Mode asSelf-Contained. Because some dependencies are not loaded properly when the published folder is hosted.

-
Then, click
SaveandPublish.NOTE
Refer here for publishing the application to Azure App Service using Visual Studio.
Publish ASP.NET Core Application with CLI
Packing the application and its dependencies into a folder for deployment to a hosting system by using the dotnet publish command.
For CLI deployment, run the following command from your root directory.
dotnet publish -c ReleaseFor ASP.NET Core CLI deployment.
dotnet publish -c Release --self-contained true -r win-x86Refer to the dotnet publish’s optional arguments.
Use the following command to specify the path for the output directory.
dotnet publish -c Release -o <output directory>NOTE
If the output directory is not specified, it defaults to ./bin/[configuration]/[framework]/publish/ for a framework-dependent deployment or ./bin/[configuration]/[framework]/[runtime]/publish/ for a self-contained deployment.
If the path is relative, the output directory generated is relative to the project file location, not to the current working directory.
Also, refer to the MSDN reference here.
Now, you can host the published folder by using the IIS or Azure app service.