Getting Started with the ASP.NET MVC Maps Control
21 Jul 20263 minutes to read
This section explains how to add the ASP.NET MVC Maps control to your ASP.NET MVC application using Visual Studio.
You can explore some useful features in the Maps control using the following video.
Create an ASP.NET MVC Web App with HTML Helper
Create an ASP.NET MVC Web App using Visual Studio via Microsoft Templates or the Syncfusion® ASP.NET MVC Extension. For detailed instructions, refer to the ASP.NET MVC Getting Started documentation.
Install the required ASP.NET MVC package
To add ASP.NET MVC Maps control in the app, open the NuGet package manager in Visual Studio (Tools → NuGet Package Manager → Manage NuGet Packages for Solution), search for and install the Syncfusion.AspNetMvc.Maps package. All Syncfusion ASP.NET MVC packages are available in nuget.org. See the NuGet packages topic for details.
Alternatively, you can install the same package using the Package Manager Console with the following command.
Install-Package Syncfusion.AspNetMvc.Maps -Version 34.1.29Add the Namespace
After the package is installed, open the ~/Views/Web.config file and import the Syncfusion.EJ2 namespace.
<namespaces>
    <add namespace="Syncfusion.EJ2" />
</namespaces>
Add Script Resources
The script can be referenced from the CDN. Include the script references inside the <head> of ~/Views/Shared/_Layout.cshtml.
<head>
    ...
    <!-- ASP.NET MVC controls scripts -->
    <script src="https://cdn.syncfusion.com/ej2/34.1.29/dist/ej2.min.js"></script>
</head>
Register the Script Manager
Open the ~/Views/Shared/_Layout.cshtml file and register the script manager EJS().ScriptManager() at the end of the <body> element as follows.
<body>
    ...
    <!-- ASP.NET MVC Script Manager -->
    @Html.EJS().ScriptManager()
</body>
Add the ASP.NET MVC Maps Control
Add the ASP.NET MVC Maps control in the ~/Views/Home/Index.cshtml file.
@Html.EJS().Maps("container").Layers(layer =>
{
    layer.ShapeData(Model).Add();
}).Render()
Place the WorldMap.json file in the App_Data folder of the project. Read the content of the WorldMap.json file in the ~/Controllers/HomeController.cs file and assign the deserialized object to the ShapeData property of the Maps control as shown below.
public ActionResult Index()
{
return View(GetWorldMap());
}
public object GetWorldMap()
{
string allText = System.IO.File.ReadAllText(Server.MapPath("~/App_Data/WorldMap.json"));
return JsonConvert.DeserializeObject(allText, typeof(object));
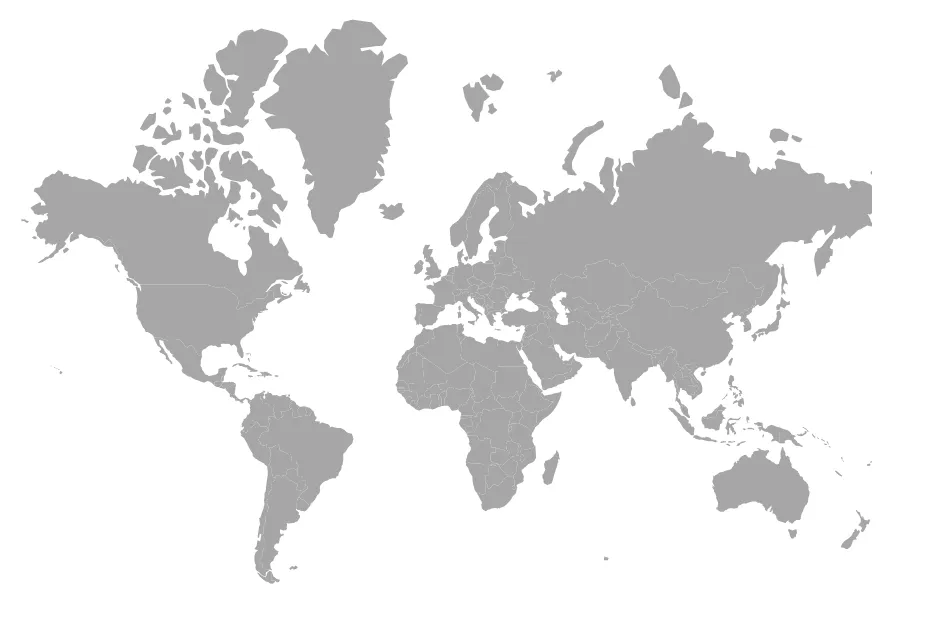
}Run the application
Press Ctrl+F5 (Windows) or ⌘+F5 (macOS) to launch the application. The ASP.NET MVC Maps control will render in your default web browser.
NOTE
Map layers render only when
ShapeDatais provided here.
NOTE
Explore the sample on GitHub to understand how this getting started example works.