Getting Started with the Vue Form Builder Component in Vue 3
23 Sep 20266 minutes to read
The Form Builder is an intuitive, visual form designer that lets the user to create and customize forms interactively by dragging and dropping fields—no code required. Users can visually design forms, configure field properties, and preview the generated form in real time. The Form Builder also allows to export the form schema for use with the Form Renderer control.
This article provides a step-by-step guide for setting up a Vite project with a JavaScript environment and integrating the Syncfusion® Vue Form Builder component using the Composition API / Options API.
The Composition API is a new feature introduced in Vue.js 3 that provides an alternative way to organize and reuse component logic. It allows developers to write components as functions that use smaller, reusable functions called composition functions to manage their properties and behavior.
The Options API is the traditional way of writing Vue.js components, where the component logic is organized into a series of options that define the component’s properties and behavior. These options include data, methods, computed properties, watchers, life-cycle hooks, and more.
Prerequisites
Ensure that the development environment meets the required criteria listed in System requirements for Syncfusion® Vue UI components.
Set Up the Vite Project
Easily set up a Vue 3 application using Vite, which provides a faster development environment, smaller bundle sizes, and optimized builds compared to traditional tools. For detailed steps, refer to the Vite installation instructions. Vite sets up your environment using JavaScript and optimizes your application for production.
Note: To create a Vue application using
create-vue, refer to this documentation for more details.
To create a new Vue 3 application, run one of the following commands based on your preferred language:
Vue with JavaScript
npm create vite@latest my-app -- --template vueyarn create vite@latest my-app -- --template vueVue with TypeScript
npm create vite@latest my-app -- --template vue-tsyarn create vite@latest my-app -- --template vue-tsDuring the setup process, the CLI will prompt you for a few configuration options. Select the following:
- Install with npm and start now? → No
Selecting Yes automatically installs the project dependencies and starts the development server.
Then, navigate to the project directory:
cd my-appAdd Vue Form Builder package
To install the Form Builder package, use the following command:
npm install @syncfusion/ej2-vue-form-builderyarn add @syncfusion/ej2-vue-form-builderAdding CSS reference
Themes for Syncfusion® components can be applied using CSS files provided through npm theme packages. For available themes, refer to the Themes documentation.
Install the Material 3 theme package using the following command:
npm install @syncfusion/ej2-material3-theme --saveThen add the following CSS reference to the src/App.vue file:
<style>
@import "../node_modules/@syncfusion/ej2-material3-theme/style/material3.css";
</style>
Adding Vue Form Builder component
The Form Builder code should be added in the src/App.vue file.
<template>
  <ejs-formbuilder></ejs-formbuilder>
</template>

<script>
import {
  FormBuilderPlugin,
  FormBuilderComponent
} from "@syncfusion/ej2-vue-form-builder";

export default {
  name: "App",
  // Register the Form Builder plugin so that all form fields are globally registered.
  provide: {
    FormBuilderPlugin: [FormBuilderPlugin]
  },
  components: {
    "ejs-formbuilder": FormBuilderComponent
  },
  // Import the bundled module that wires up every built-in widget (textbox, checkbox, button, etc.).
};
</script>

<style>
@import "../node_modules/@syncfusion/ej2-material3-theme/styles/material3.css";
</style><template>
<ejs-formbuilder></ejs-formbuilder>
</template>
<script>
import {
FormBuilderPlugin,
FormBuilderComponent
} from "@syncfusion/ej2-vue-form-builder";
export default {
name: "App",
// Register the Form Builder plugin so that all form fields are globally registered.
provide: {
FormBuilderPlugin: [FormBuilderPlugin]
},
components: {
"ejs-form-builder": FormBuilderComponent
}
};
</script>
<style>
@import "../node_modules/@syncfusion/ej2-material3-theme/styles/material3.css";
</style>Run the project
To run the project, use the following command:
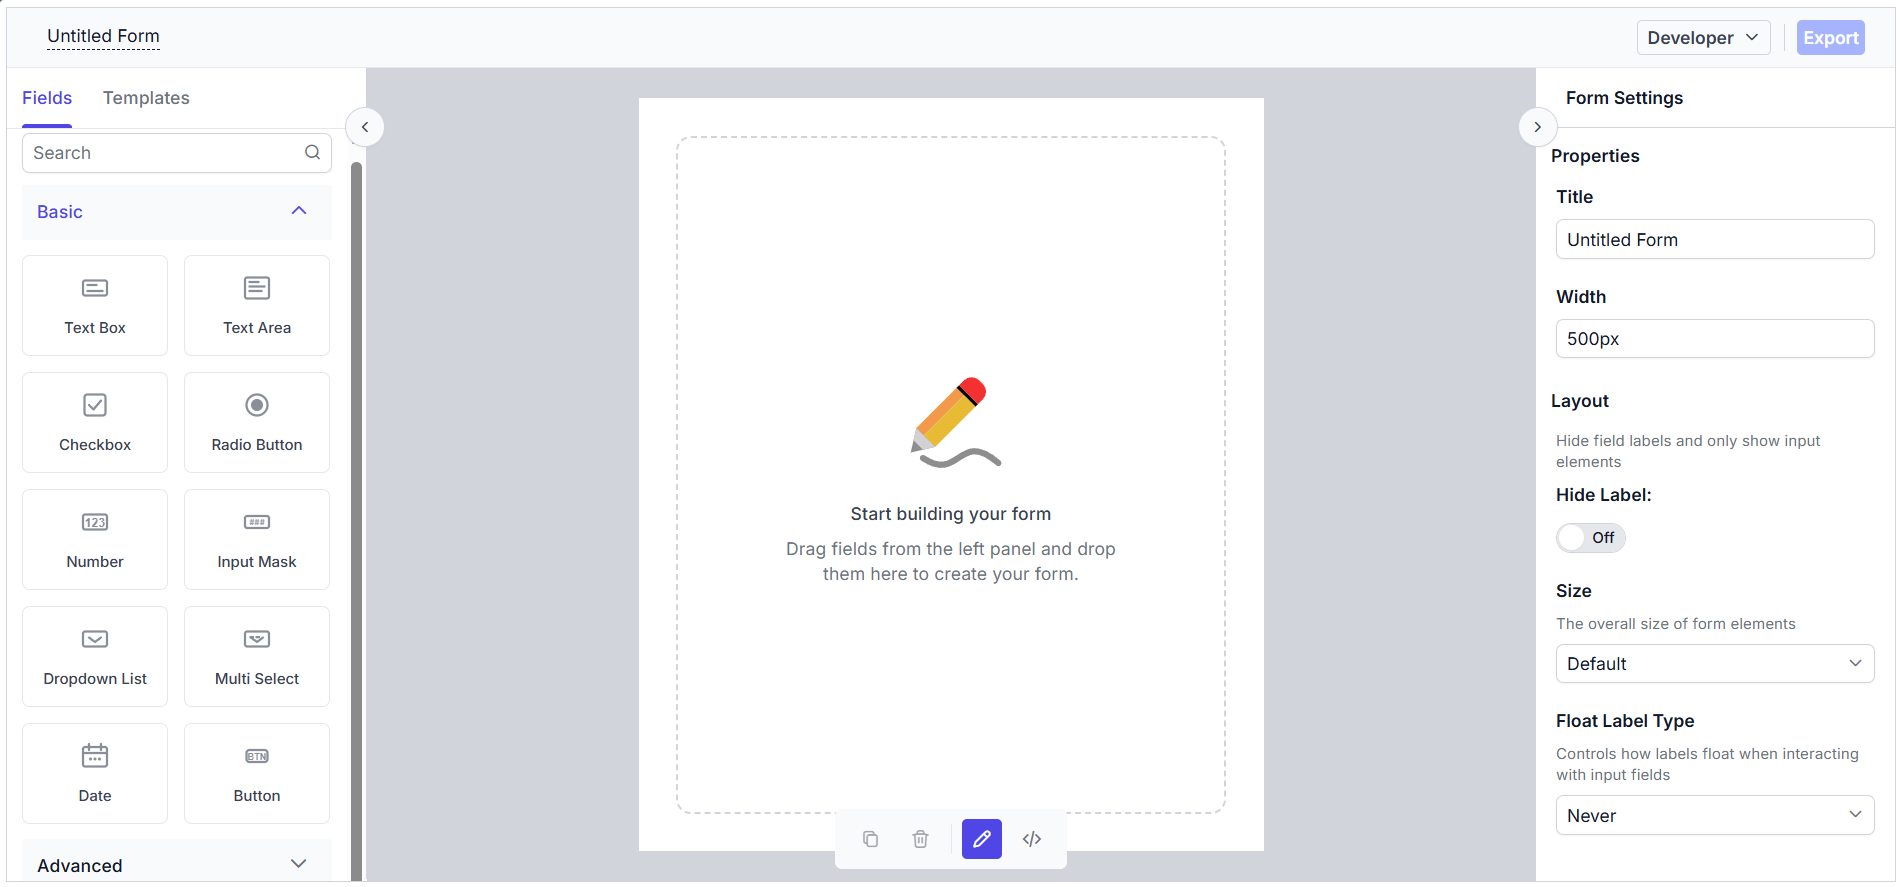
npm run devyarn run devThe output will appear as follows:
Registering Syncfusion license
The Syncfusion® Vue Form Builder requires a valid license key to be registered in the application. To prevent license validation warnings, refer to the Syncfusion licensing documentation.
Basic components of the Form Builder
The Form Builder control consists of the following sections:
- Left Pane / Toolbox — Displays all the supported form fields, which can be dragged and dropped.
- Central design canvas — Holds the dropped form fields to construct the form.
- Right Pane — Provides options to customize the form settings as well as the selected form fields.
- Code view — Displays the form schema during the form design process.
- Form Preview — Allows you to preview and interact with the generated form in real time once it is created.
Adding form fields to the design canvas
Form fields can be added to the central design canvas in the following ways:
- Form Components Panel — A toolbox of form fields is available in the left-side pane to drag and drop them onto the design canvas.
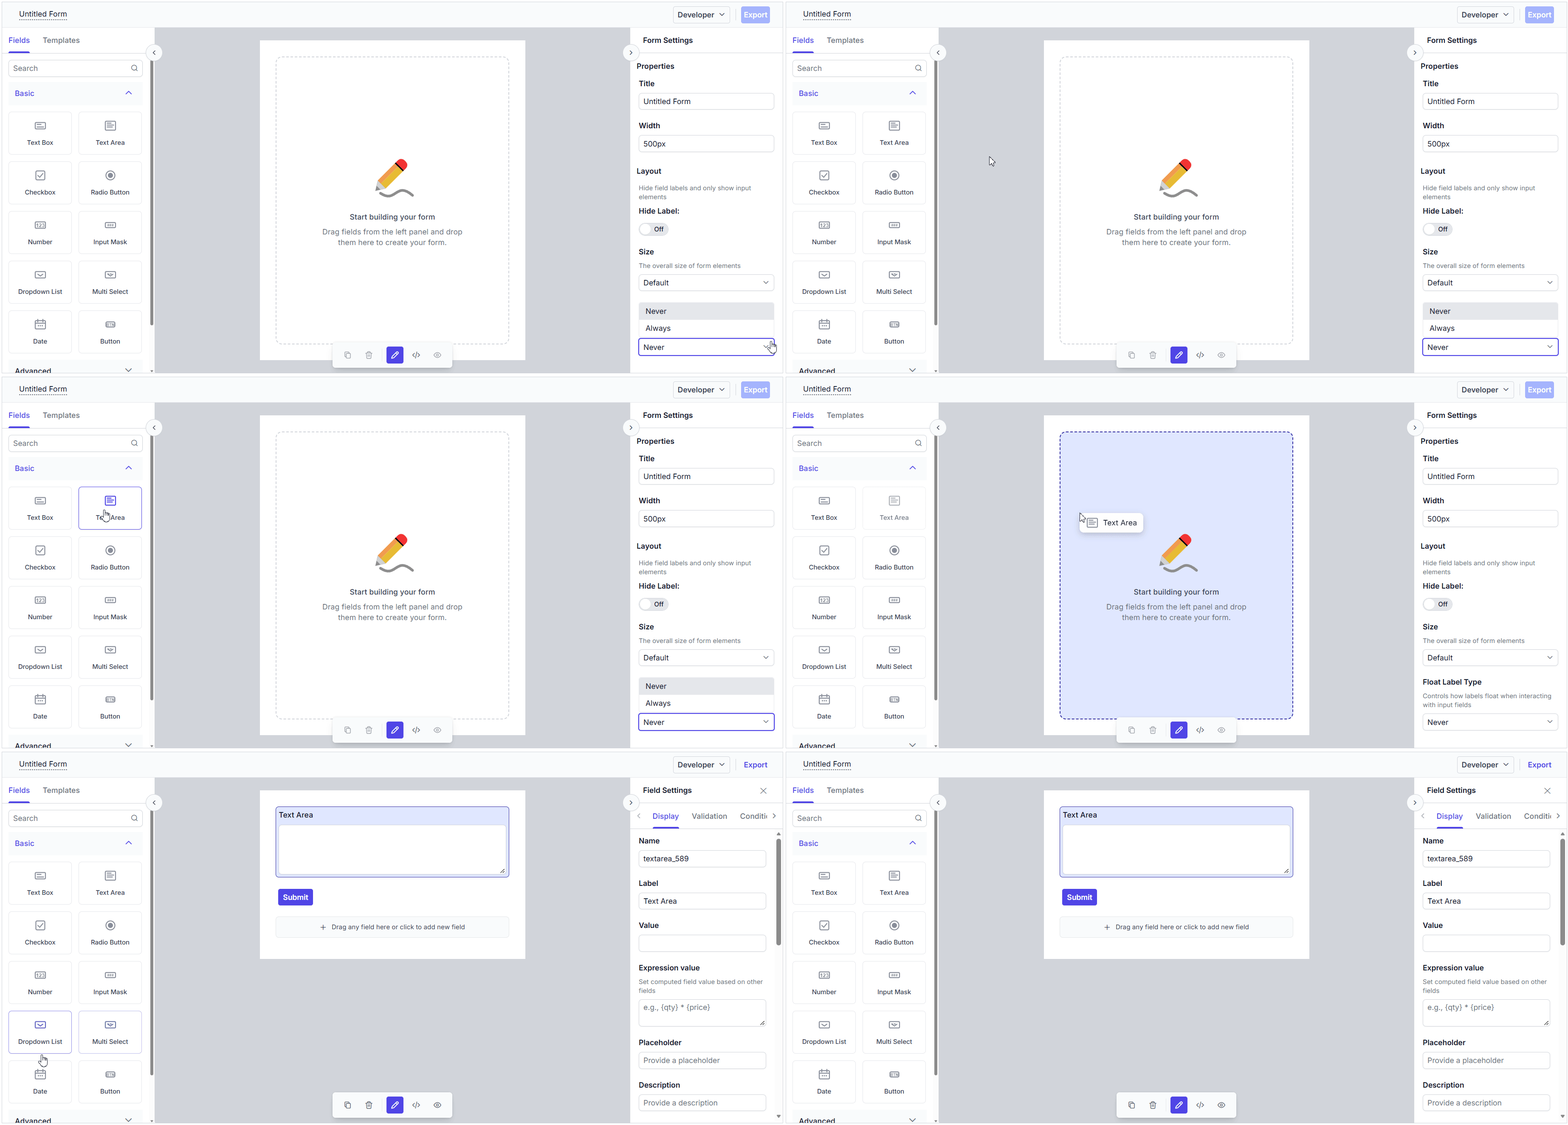
- Context Menu in the Design Canvas — After the first form field is dropped, a button at the end of the central canvas can be used to add additional form fields using a context menu that appears when the button is clicked.