How can I help you?
Panel state maintenance
23 Jan 20257 minutes to read
The current layout structure of the Dashboard Layout control can be obtained and saved to construct another dashboard with same panel structure using the serialize public method of the control. This method returns the control’s current panel setting which can be used to construct a dashboard with the same layout settings.
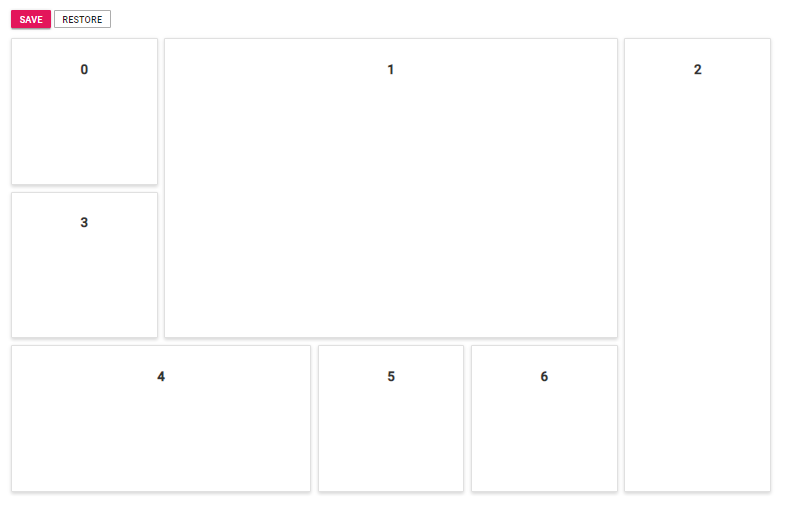
The following sample demonstrates how to save and restore the state of the panels using the serialize method. Click Save to store the panel’s settings and click Restore to restore the previously saved panel settings.
@{
    ...
    stateSpacingModel modelValue = new stateSpacingModel();
    modelValue.cellSpacing = new double[] { 20, 20 };
}
<div>
    <!--  Button element declaration -->
    <ejs-button id="save" cssClass="e-primary" content="Save"></ejs-button>
    <ejs-button id="restore" cssClass="e-flat e-outline" content="Restore"></ejs-button>
    <!-- end of button element -->
</div>
<div style="padding-top: 15px;">
    <!--  DashboardLayout element declaration -->
    <ejs-dashboardlayout id="dashboard_default" columns="5" created="onCreated" cellSpacing="@modelValue.cellSpacing">
        <e-dashboardlayout-panels>
            <e-dashboardlayout-panel sizeX="1" sizeY="1" row="0" col="0" content="<div class='content'>0</div>">
            </e-dashboardlayout-panel>
            <e-dashboardlayout-panel sizeX="3" sizeY="2" row="0" col="1" content="<div class='content'>1</div>">
            </e-dashboardlayout-panel>
            <e-dashboardlayout-panel sizeX="1" sizeY="3" row="0" col="4" content="<div class='content'>2</div>">
            </e-dashboardlayout-panel>
            <e-dashboardlayout-panel sizeX="1" sizeY="1" row="1" col="0" content="<div class='content'>3</div>">
            </e-dashboardlayout-panel>
            <e-dashboardlayout-panel sizeX="2" sizeY="1" row="2" col="0" content="<div class='content'>4</div>">
            </e-dashboardlayout-panel>
            <e-dashboardlayout-panel sizeX="1" sizeY="1" row="2" col="2" content="<div class='content'>5</div>">
            </e-dashboardlayout-panel>
            <e-dashboardlayout-panel sizeX="1" sizeY="1" row="2" col="3" content="<div class='content'>6</div>">
            </e-dashboardlayout-panel>
        </e-dashboardlayout-panels>
    </ejs-dashboardlayout>
    <!-- end of dashboardlayout element -->
</div>

<script>
    document.addEventListener('DOMContentLoaded', function () {
        // Create instances for dashboardlayout element
        var dashboard = document.getElementById('dashboard_default').ej2_instances[0];
        // Save the current panels
        document.getElementById('save').onclick = function (e) {
            onCreated();
        };
        // Restore the initial panels
        document.getElementById('restore').onclick = function (e) {
            dashboard.panels = restoreModel;
        };
    });
    function onCreated() {
        var dashboard = document.getElementById('dashboard_default').ej2_instances[0];
        restoreModel = dashboard.serialize();
        restoreModel[0].content = '<div class="content">0</div>';
        restoreModel[1].content = '<div class="content">1</div>';
        restoreModel[2].content = '<div class="content">2</div>';
        restoreModel[3].content = '<div class="content">3</div>';
        restoreModel[4].content = '<div class="content">4</div>';
        restoreModel[5].content = '<div class="content">5</div>';
        restoreModel[6].content = '<div class="content">6</div>';
    }
</script>

<style>
    /* DashboardLayout element styles  */
    #dashboard_default .e-panel .e-panel-container .content {
        vertical-align: middle;
        font-weight: 600;
        font-size: 20px;
        text-align: center;
        line-height: 90px;
    }
</style>
using System;
using System.Collections.Generic;
using System.Linq;
using System.Web;
using Microsoft.AspNetCore.Mvc;
namespace WebApplication.Controllers
{
public class HomeController : Controller
{
public class spacingModel
{
public double[] cellSpacing { get; set; }
}
public ActionResult Index()
{
spacingModel modelValue = new spacingModel();
modelValue.cellSpacing = new double[] { 20, 20 };
return View(modelValue);
}
}
}NOTE
You can refer to our ASP.NET Core Dashboard Layout feature tour page for its groundbreaking feature representations. You can also explore our ASP.NET Core Dashboard Layout example to know how to present and manipulate data.
