Floating panels
23 Jan 20255 minutes to read
The floating functionality of the control allows to effectively use the entire layout for the panel’s placement. If the floating functionality is enabled, the panels within the layout get floated upwards automatically to occupy the empty cells available in previous rows. This functionality can be enabled or disabled using the allowFloating property of the control.
The following sample demonstrates how to enable or disable the floating of panels in the DashboardLayout control using allowFloating property.
@{
    ....
    floatingSpacingModel modelValue = new floatingSpacingModel();
    modelValue.cellSpacing = new double[] { 10, 10 };
}

<div>
    <!--  Button element declaration -->
    <ejs-button id="toggle" cssClass="e-flat e-primary e-outline" content="Enable Floating" isToggle="true"></ejs-button>
    <!-- end of button element -->
</div>
<div style="padding-top: 15px;">
    <!--  DashboardLayout element declaration -->
    <ejs-dashboardlayout id="dashboard_default" columns="6" allowFloating="false" cellSpacing="@modelValue.cellSpacing">
        <e-dashboardlayout-panels>
            <e-dashboardlayout-panel sizeX="2" sizeY="2" row="1" col="0" content="<div class='content'>0</div>">
            </e-dashboardlayout-panel>
            <e-dashboardlayout-panel sizeX="2" sizeY="2" row="2" col="2" content="<div class='content'>1</div>">
            </e-dashboardlayout-panel>
            <e-dashboardlayout-panel sizeX="2" sizeY="2" row="3" col="4" content="<div class='content'>2</div>">
            </e-dashboardlayout-panel>
        </e-dashboardlayout-panels>
    </ejs-dashboardlayout>
    <!-- end of dashboardlayout element -->
</div>

<script>
    document.addEventListener('DOMContentLoaded', function () {
        // Create instances for dashboardlayout
        var dashboard = document.getElementById('dashboard_default').ej2_instances[0];
        var resetPanels = dashboard.serialize();
        resetPanels[0].content = '<div class="content">0</div>';
        resetPanels[1].content = '<div class="content">1</div>';
        resetPanels[2].content = '<div class="content">2</div>';
        // Toggle button to enable and disable floating
        document.getElementById('toggle').onclick = function (e) {
            var toggleBtn = document.getElementById('toggle').ej2_instances[0];
            let panels = [];
            if (toggleBtn.content == "Disable Floating and Reset") {
                toggleBtn.content = 'Enable Floating';
                dashboard.allowFloating = false;
                dashboard.panels = resetPanels;
            } else {
                toggleBtn.content = 'Disable Floating and Reset';
                dashboard.allowFloating = true;
            }
        };
    });
</script>

<style>
    /* DashboardLayout element styles  */
    #dashboard_default .e-panel .e-panel-container .content {
        vertical-align: middle;
        font-weight: 600;
        font-size: 20px;
        text-align: center;
        line-height: 90px;
    }
</style>
public class floatingSpacingModel
{
public double[]? cellSpacing { get; set; }
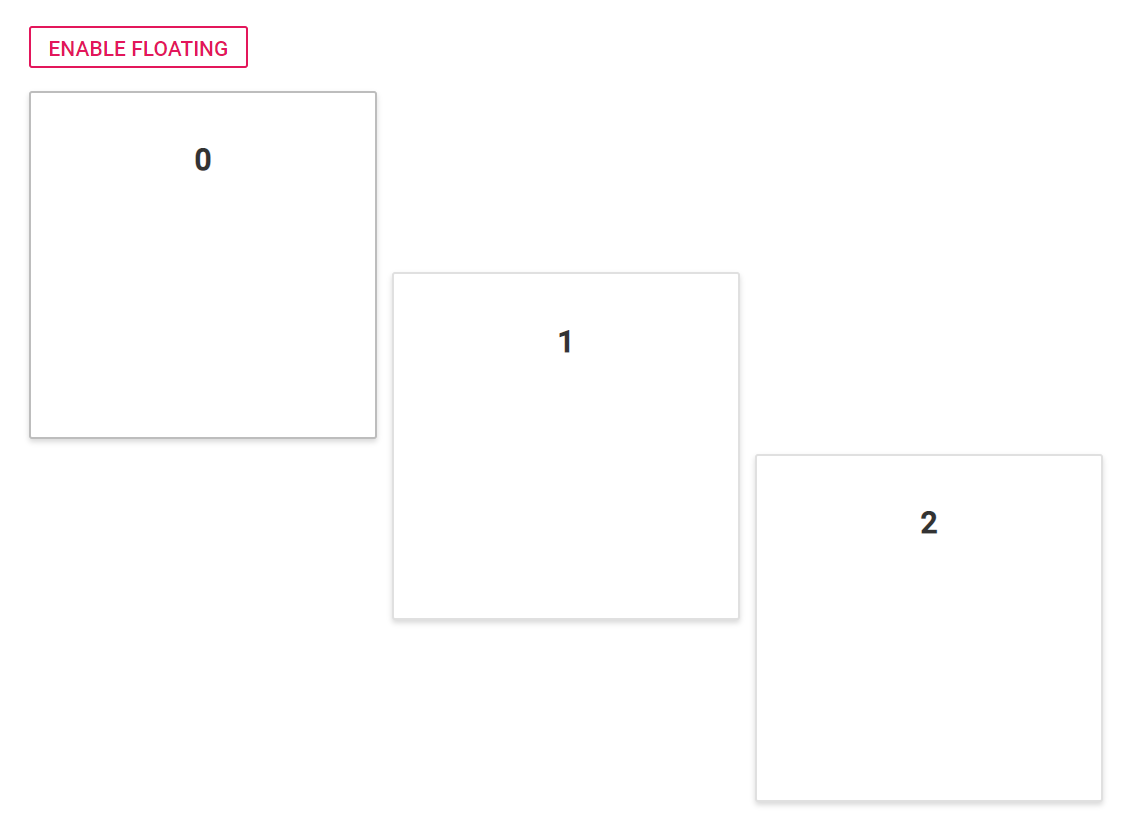
}When allowFloating value set as false, the output is like the below.
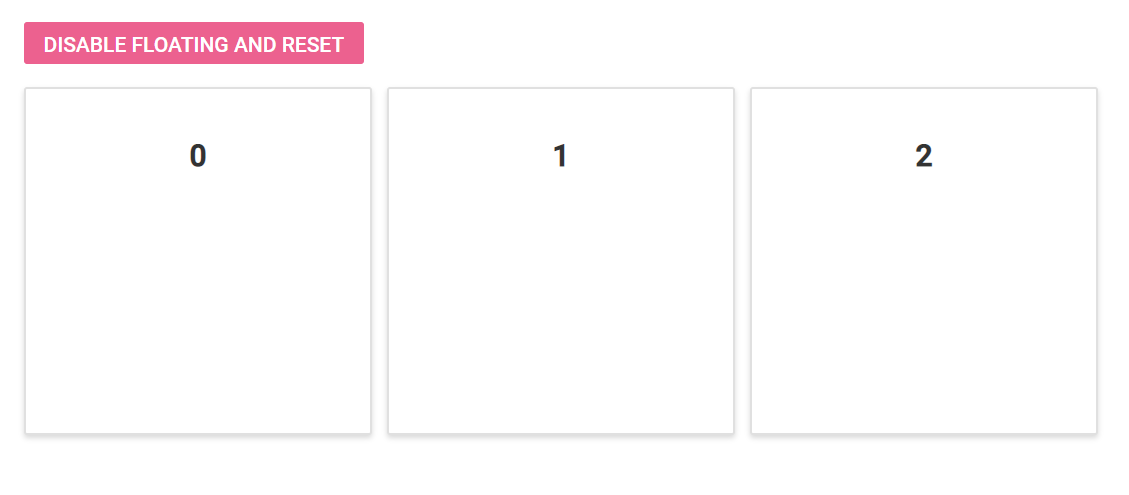
When allowFloating value set as true, the output is like the below.
NOTE
You can refer to our ASP.NET Core Dashboard Layout feature tour page for its groundbreaking feature representations. You can also explore our ASP.NET Core Dashboard Layout example to know how to present and manipulate data.