Getting Started with the Vue Avatar Component in Vue 3
29 Jul 20263 minutes to read
This article provides a step-by-step guide for setting up a Vite project with a JavaScript environment and integrating the Syncfusion® Vue Avatar component using the Composition API / Options API.
The Composition API is a new feature introduced in Vue.js 3 that provides an alternative way to organize and reuse component logic. It allows developers to write components as functions that use smaller, reusable functions called composition functions to manage their properties and behavior.
The Options API is the traditional way of writing Vue.js components, where the component logic is organized into a series of options that define the component’s properties and behavior. These options include data, methods, computed properties, watchers, life cycle hooks, and more.
Prerequisites
System requirements for Syncfusion® Vue UI components
Setup for local development
Easily set up a Vue 3 application using Vite, which provides a faster development environment, smaller bundle sizes, and optimized builds compared to traditional tools. For detailed steps, refer to the Vite installation instructions. Vite sets up your environment using JavaScript and optimizes your application for production.
Note: To create a Vue application using
create-vue, refer to this documentation for more details.
To create a new Vue 3 application, run one of the following commands based on your preferred language:
Vue with JavaScript
npm create vite@latest my-app -- --template vueVue with TypeScript
npm create vite@latest my-app -- --template vue-tsDuring the setup process, the CLI will prompt you for a few configuration options. Select the following:
- Which linter to use? → Default ([Vue 3] babel, eslint)
- Install with npm and start now? → Yes
Selecting Yes automatically installs the project dependencies and starts the development server.
After verifying that the application starts successfully, terminate the development server in the terminal and proceed to the next step.
Then, navigate to the project directory:
cd my-appAdding CSS reference
Themes for Syncfusion® components can be applied using CSS files provided through npm theme packages. For available themes, refer to the Themes documentation.
Install the Material 3 theme package using the following command:
npm install @syncfusion/ej2-material3-theme --saveThen add the following CSS reference to the src/App.vue file:
<style>
  @import "../node_modules/@syncfusion/ej2-material3-theme/styles/avatar/index.css";
</style>
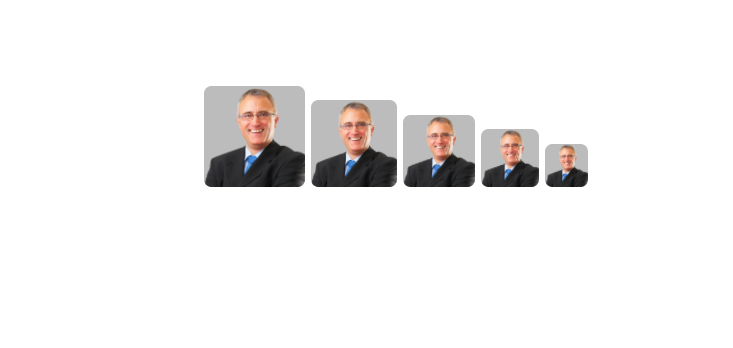
Adding Vue Avatar component
The Avatar code should be added in the src/App.vue file.
<template>
  <div id='element'>
      <span class="e-avatar e-avatar-xlarge"></span>
      <span class="e-avatar e-avatar-large"></span>
      <span class="e-avatar"></span>
      <span class="e-avatar e-avatar-small"></span>
      <span class="e-avatar e-avatar-xsmall"></span>
  </div>
</template>

<style>
 @import "../node_modules/@syncfusion/ej2-material3-theme/styles/avatar/index.css";

 #element {
     display: block;
     width: 300px;
     margin: 130px auto;
     border-radius: 3px;
     justify-content: center;
 }

 /* Add your custom avatar image. */
 .e-avatar {
     background-image: url(https://ej2.syncfusion.com/demos/src/grid/images/2.png);
     margin: 2px;
 }
 </style>
Run the project
To run the project, use the following command:
npm run devor
yarn run dev