Getting Started with React File Manager
This section explains how to create and configure the File Manager component in a React application.
To get started quickly with the React File Manager, refer to the video below:
Prerequisites
- Node.js 24+ (LTS recommended).
- Syncfusion CLI.
Install the Syncfusion CLI
Install the Syncfusion CLI globally using the following command:
npm install -g @syncfusion/syncfusion-cliSet up the Vite project using Syncfusion CLI
You can create a React Vite application using the Syncfusion CLI. The CLI provides two ways to create a project:
Non-interactive mode
Non-interactive mode allows you to create a project directly using a single command with the required command-line arguments.
sf new my-app --framework react --template file-manager --theme tailwind3In this mode, the project configuration is passed directly in the command. The above command creates a React Vite application configured with the Syncfusion® File Manager component.
Interactive mode
Interactive mode guides you through the project creation process with step-by-step prompts.
sfWhen you run the sf command, the CLI prompts you to select the required project configuration. To create a React Vite application with the Syncfusion® File Manager component, select the following options:
√ Project name? ... my-app
√ Choose Framework: » React
√ Choose Build Tool: » Vite
√ Choose Language: » JavaScript
√ Choose Template: » File Manager
√ Choose Theme: » Tailwind3
√ Choose Style Format: » CSS
√ Would you like to integrate the Syncfusion MCP Server (AI Assistant) into this project? ... no
√ Would you like to install Syncfusion Component Skills for AI-powered development? ... no
√ Install dependencies and start app now? ... no
The above selections generate a React Vite application configured with the Syncfusion® File Manager component. You can choose different values for language, theme, style format, MCP setup, and skills installation based on your project requirements.
The Syncfusion® CLI creates the project with a predefined template. After the project is generated, you can customize or replace the component code based on your application requirements.
Run the project
Once the project is created, navigate to the project directory and run the following commands in your terminal.
cd my-app
npm install
npm run dev
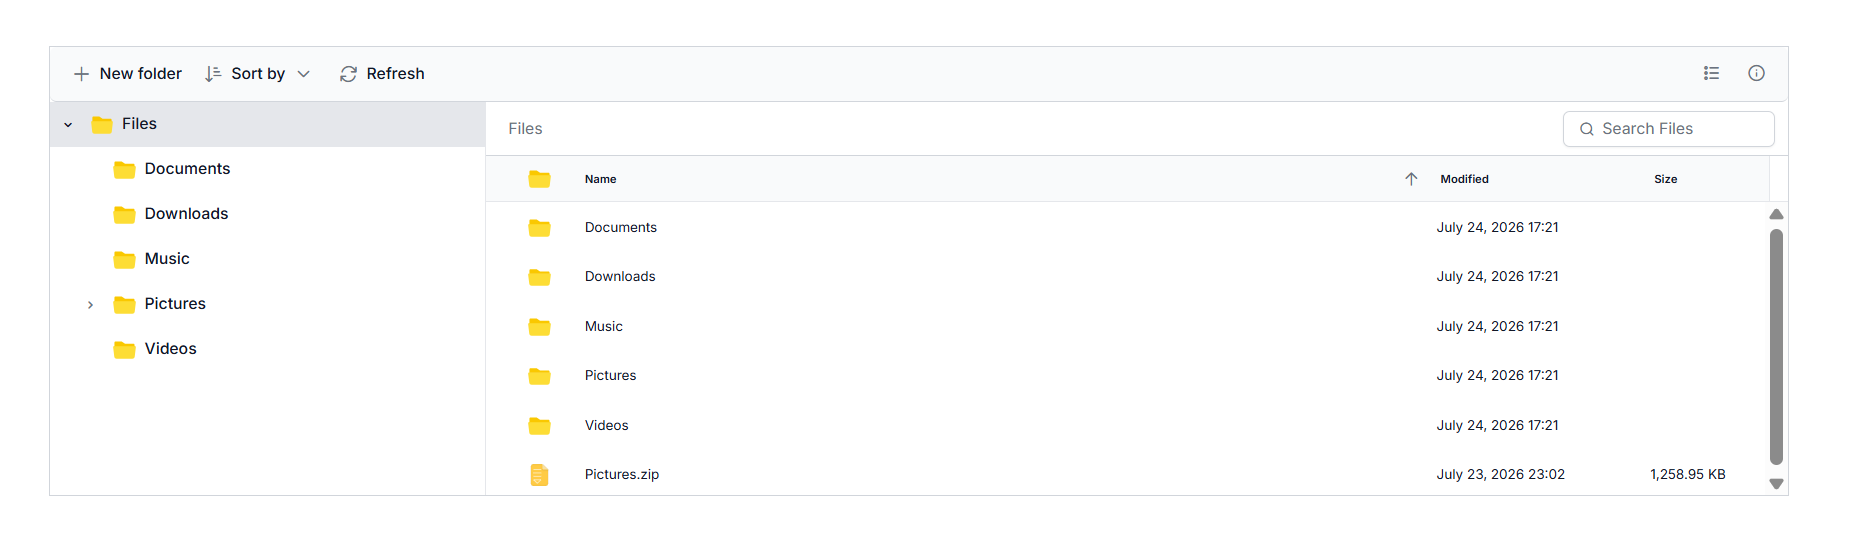
The output will appear as follows:
Prerequisites
| Requirement | Version |
|---|---|
| React | 15.5.4 or higher |
| Node.js | 14.0.0 or above |
| Yarn (optional) | 0.25 or above |
React supported versions
| React version | Minimum Syncfusion React File Manager version |
|---|---|
| React v19 | 29.1.33 and above |
| React v18 | 20.2.36 and above |
| React v17 | 18.3.50 and above |
| React v16 | 16.2.45 and above |
Browser Support
| Browser | Supported versions |
|---|---|
| Chrome | Latest |
| Firefox | Latest |
| Opera | Latest |
| Edge | 13+ |
| Internet Explorer (IE) | 11+ |
| Safari | 9+ |
| iOS Safari | 9+ |
| Android Browser / Chrome for Android | 4.4+ |
| Windows Mobile | IE 11+ |
Setup for local development
Easily set up a React application using create-vite-app, which provides a faster development environment, smaller bundle sizes, and optimized builds compared to traditional tools like create-react-app. For detailed steps, refer to the Vite installation instructions. Vite sets up your environment using JavaScript and optimizes your application for production.
Note: To create a React application using
create-react-app, refer to this documentation for more details.
To create a new React application, run one of the following commands based on your preferred language:
React with JavaScript
npx create-vite@latest my-app -- --template react
React with TypeScript
npx create-vite@latest my-app -- --template react-ts
During the setup process, the CLI will prompt you for a few configuration options. Select the following:
- Which linter to use? → ESLint
- Install with npm and start now? → Yes
Selecting Yes automatically installs the project dependencies and starts the development server.
After verifying that the application starts successfully, terminate the development server in the terminal and proceed to the next step.
Then, navigate to the project directory:
cd my-app
Adding React File Manager packages
To install the File Manager component, use the following command:
npm i @syncfusion/ej2-react-filemanager
Adding CSS reference
Themes for Syncfusion® File Manager component can be applied using CSS files provided through npm theme packages. For available themes, refer to the Themes documentation.
Install the Tailwind 3 theme package using the following command:
npm install @syncfusion/ej2-tailwind3-theme --saveThen add the following CSS reference to the src/App.css file:
@import "../node_modules/@syncfusion/ej2-tailwind3-theme/styles/file-manager/index.css";To reference App.css in the application, import it into the src/App.tsx file. Also, remove any unnecessary styles from src/index.css and src/App.css, as they may affect the File Manager component UI.
Note: If you want to use combined component styles, make use of the Custom Resource Generator (CRG) in your application.
Adding File Manager component
The File Manager component code should be placed in the src/App.tsx file.
To enable file operation functionality in the File Manager, configure the url property within the ajaxSettings. This URL handles the file operation requests from the server.
import { FileManagerComponent } from '@syncfusion/ej2-react-filemanager';
import './App.css';

function App() {
  let hostUrl: string = "https://physical-service.syncfusion.com/";
  let ajaxSettings: object = {
    url: hostUrl + "api/FileManager/FileOperations"
  };
  let height: string = "375px";

  return (
    <FileManagerComponent id="file" height={height} ajaxSettings={ajaxSettings} />
  );
}
export default App;
import { FileManagerComponent } from '@syncfusion/ej2-react-filemanager';
import './App.css';
function App() {
let hostUrl = "https://physical-service.syncfusion.com/";
let ajaxSettings = {
url: hostUrl + "api/FileManager/FileOperations"
};
let height = "375px";
return (
<FileManagerComponent id="file" height={height} ajaxSettings={ajaxSettings} />
);
}
export default App;@import "../node_modules/@syncfusion/ej2-tailwind3-theme/styles/file-manager/index.css";Server-side setup
The sample uses https://physical-service.syncfusion.com/ as the url endpoint in ajaxSettings.
To use your own files, host a File Manager service and replace the url value with your service endpoint. See the File System Provider documentation for setup details.
Registering Your Syncfusion License
Generate a license key from the Syncfusion License Dashboard and register it before rendering your React application:
import { registerLicense } from '@syncfusion/ej2-base';

registerLicense('YOUR_LICENSE_KEY');
Note: A valid Syncfusion license is required for production use. Without a valid license, a trial license warning message will be displayed.
Run the application
npm run dev
Production build
To create an optimized production build:
npm run build
Preview the production build locally:
npm run preview
Troubleshooting
-
File Manager not rendering styles: Ensure the theme CSS is imported in
App.cssand that you removed the default Vite CSS inindex.css. -
Trial license warning banner: Register a license key via
registerLicense()from@syncfusion/ej2-base. -
Port 5173 already in use: Stop the conflicting process or run Vite on a different port with
npm run dev -- --port 3000.