- Getting Started with ASP.NET Core
Contact Support
Getting Started with ASP.NET Core and Yeoman in Visual Studio Code
8 Dec 20244 minutes to read
This article provides a step-by-step introduction to configure Essential® JS 2 setup and build a simple ASP.NET Core web application using the Yeoman tool in Visual Studio Code (VS Code).
NOTE
Starting with v16.2.0.x, if you reference to Syncfusion® assemblies from trial setup or NuGet feed, you should include a license key in your projects. Refer to this link to learn about registering Syncfusion® license key in your ASP.NET Core application to use the components.
Getting Started with ASP.NET Core
Prerequisites
The official prerequisites to create and run an ASP.NET Core application on Windows environment are described in the .NET Core documentation website.
Create ASP.NET Core web application
1.Open Command prompt from the desired location and run the following command to install the required npm plugins with global flag.
npm install -g yo generator-aspnet gulp bowerdotnet new webapp -n SyncfusionDemoNOTE
If you are using dotnet new command instead of generator-aspnet then skip the next two steps.
2.After installing the Yeoman generator successfully, run the following command to invoke a ASP.NET Core project creation wizard.
yo aspnet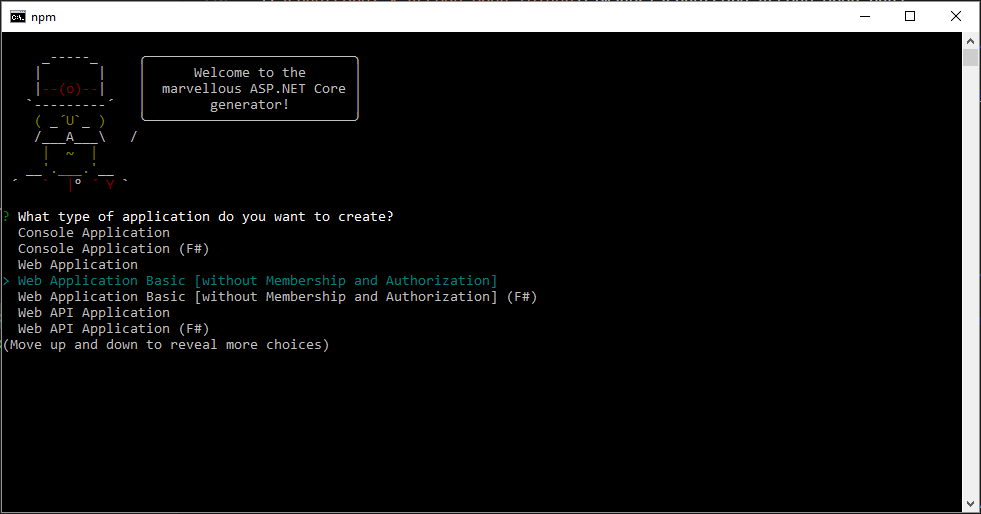
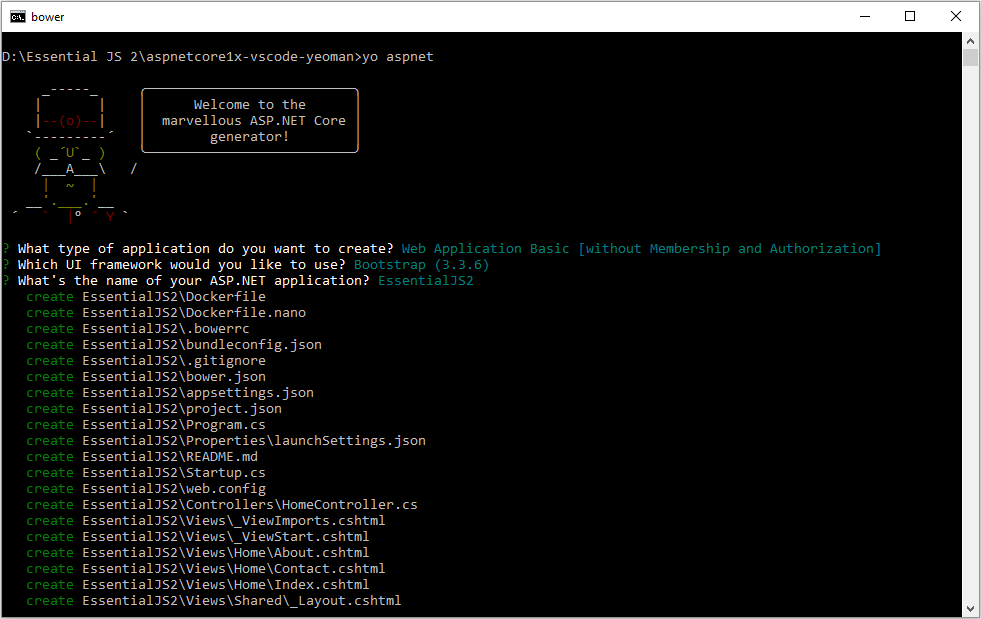
3.Select Web Application Basic [without Membership and Authorization] option and choose the Bootstrap (3.3.7) framework, and then type the web application name for the new application. For example, a new application is created as EssentialJS2.
You can navigate the options by using top and bottom arrow keys and then press Enter key to select the option.
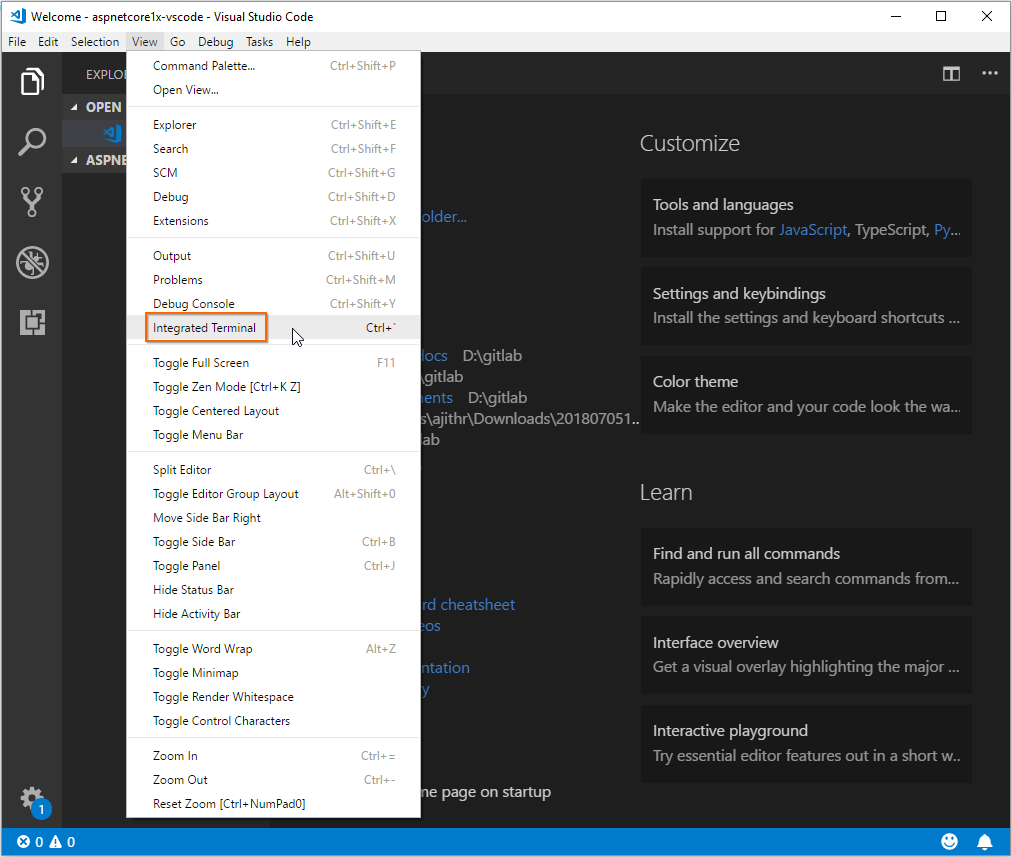
4.Now, a new application is created in a new folder with the provided application name. Open the application in the VS Code and Select View > Integrated Terminal to open the terminal in VS Code.
Configure Essential® JS 2 in the application
1.Run the following command in the VS Code terminal to add Syncfusion.EJ2.AspNet.Core NuGet package in the project.
dotnet add package Syncfusion.EJ2.AspNet.Core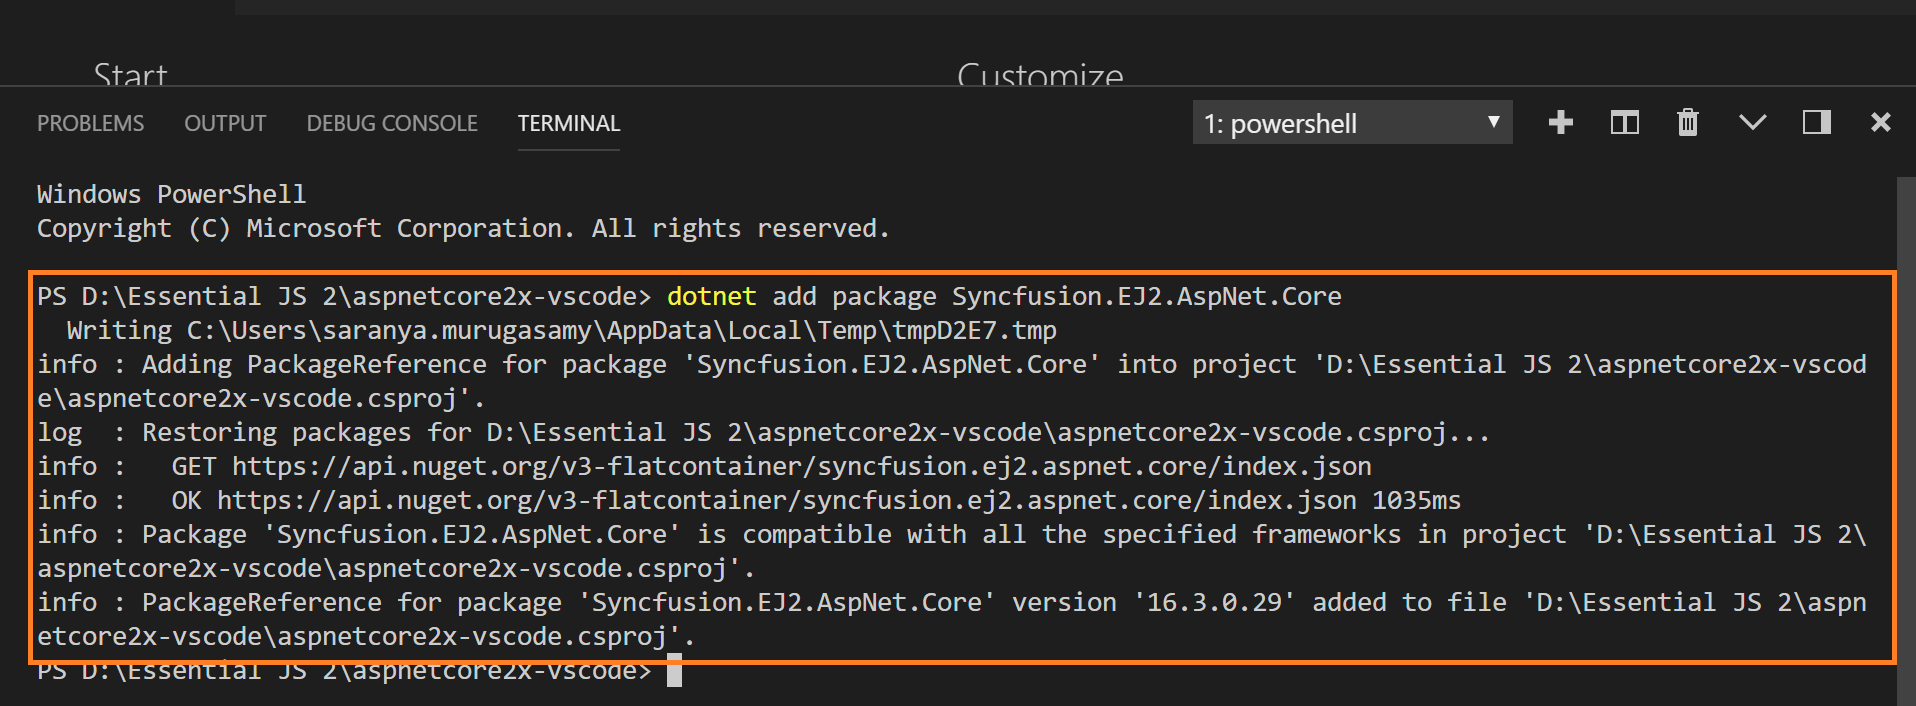
NOTE
Refer to here, to learn more details about
dotnet addcommand.
2.Open ~/Pages/_ViewImports.cshtml file and import the Syncfusion.EJ2 package.
@addTagHelper *, Syncfusion.EJ23.Checkout the Themes topic to learn different ways (CDN, NPM package, and CRG) to refer styles in ASP.NET Core application, and to have the expected appearance for Syncfusion® ASP.NET Core controls. Here, the theme is referred using CDN inside the <head> of ~/Pages/Shared/_Layout.cshtml file as follows,
<head>
    ...
    <!-- Syncfusion ASP.NET Core controls styles -->
    <link rel="stylesheet" href="https://cdn.syncfusion.com/ej2/31.1.17/bootstrap5.css" />
</head>
4.In this getting started walk-through, the required scripts are referred using CDN inside the <head> of ~/Pages/Shared/_Layout.cshtml file as follows,
<head>
    ...
    <!-- Syncfusion ASP.NET Core controls scripts -->
    <script src="https://cdn.syncfusion.com/ej2/31.1.17/dist/ej2.min.js"></script>
</head>
4.Add the Syncfusion® Script Manager at the end of <body> element in the ~/Pages/Shared/_Layout.cshtml layout page.
<body>
    ...
    <!-- Syncfusion ScriptManager -->
    <ejs-scripts></ejs-scripts>
</body>
5.Add the Syncfusion® ASP.NET Core control in any web page (cshtml) in the Pages folder.
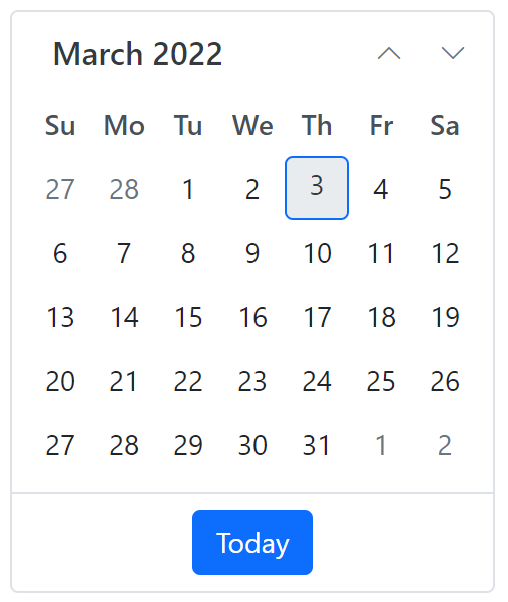
For example, the calendar component is added to the ~/Pages/Index.cshtml page.
<div>
<ejs-calendar id="calendar"></ejs-calendar>
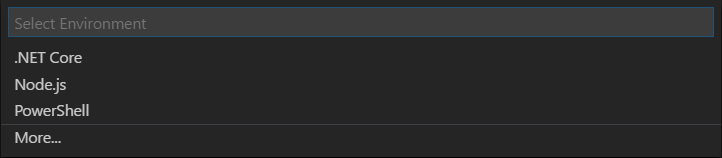
</div>6.Run the application by pressing F5 key. Set Select Environment to .NET Core, if setting required VS Code.
The ASP.NET Core calendar component will render in the web browser.