Getting Started
14 Jul 20265 minutes to read
This section explains how to create a simple Menu and configure its available functionalities in React.
Dependencies
The following list of dependencies are required to use the Menu component in an application.
|-- @syncfusion/ej2-react-navigations
|   |-- @syncfusion/ej2-react-base
|   |-- @syncfusion/ej2-navigations
|   |   -- @syncfusion/ej2-base
Setup for local development
Easily set up a React application using create-vite-app, which provides a faster development environment, smaller bundle sizes, and optimized builds compared to traditional tools like create-react-app. For detailed steps, refer to the Vite installation instructions. Vite sets up your environment using JavaScript and optimizes your application for production.
Note: To create a React application using
create-react-app, refer to this documentation for more details.
To create a new React application, run the following command.
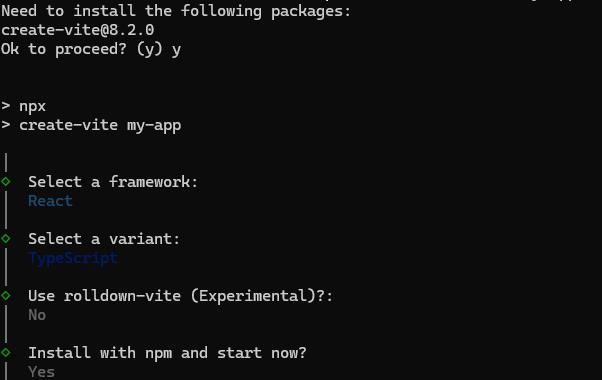
npm create vite@latest my-appThis command will prompt you for a few settings for the new project, such as selecting a framework and a variant.
To set up a React application in TypeScript environment, run the following command.
npm create vite@latest my-app -- --template react-ts
cd my-app
npm run dev
To set up a React application in JavaScript environment, run the following command.
npm create vite@latest my-app -- --template react
cd my-app
npm run dev
Adding Syncfusion® packages
All the available Essential® JS 2 packages are published in the npmjs.com public registry.
To install the Menu component, use the following command:
npm install @syncfusion/ej2-react-navigations --saveThis command installs the necessary packages and their dependencies, which are required to render the component in a React environment.
Adding Stylesheets to the Application
Add the Menu component’s styles as shown below in App.css.
@import "../node_modules/@syncfusion/ej2-base/styles/tailwind3.css";
@import "../node_modules/@syncfusion/ej2-buttons/styles/tailwind3.css";
@import "../node_modules/@syncfusion/ej2-popups/styles/tailwind3.css";
@import "../node_modules/@syncfusion/ej2-navigations/styles/tailwind3.css";
Add Menu to the project
Create the Menu component in the application. Add the Menu component to the src/App.tsx file using the following code snippet. The items property defines the structure of the menu.
import { MenuComponent, MenuItemModel } from '@syncfusion/ej2-react-navigations';
import * as React from 'react';
import * as ReactDom from 'react-dom';

function App() {
    let menuItems: MenuItemModel[] = [
        {
            text: 'File',
            items: [
                { text: 'New' },
                { text: 'Open' },
                { text: 'Save' },
                { text: 'Close' }]
        },
        {
            text: 'Edit',
            items: [
                { text: 'Cut' },
                { text: 'Copy' },
                { text: 'Paste' }]
        },
        {
            text: 'View',
            items: [
                { text: 'Toolbar' },
                { text: 'Sidebar' }]
        },
        {
            text: 'Tools',
            items: [
                { text: 'Options' },
                { text: 'Settings' }]
        },
        {
            text: 'Help'
        }
    ];
    return (
            <div className="container">
                <MenuComponent items={menuItems}></MenuComponent>
            </div>
    );
}
export default App;
Run the application
Run the npm run dev command in the terminal to start the development server. This command compiles your code and serves the application locally, opening it in the browser.
npm run dev