How can I help you?
Split panes
7 Jun 202412 minutes to read
This section explain about split panes behaviours.
Horizontal layout
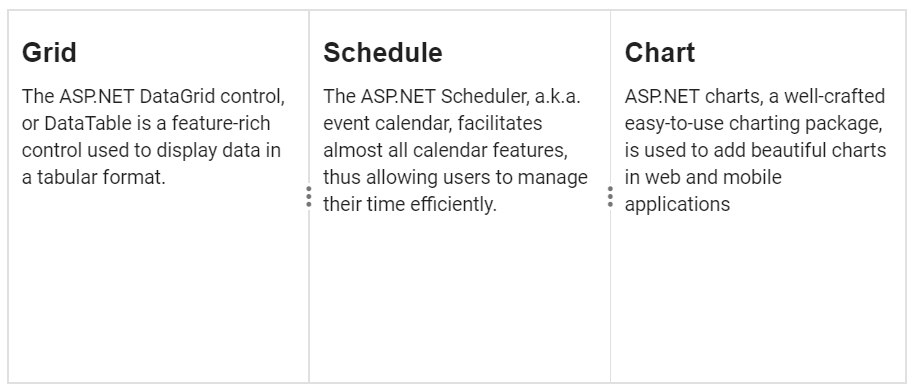
By default, splitter will render in horizontal orientation. Splitter container will be splitted as panes in horizontal flow direction with vertical seperator.
@Html.EJS().Splitter("splitter").Width("600px").Height("250px").PaneSettings(item => {
   item.Size("200px").Content("<div class='content'><h4 class='h4'>Grid</h4>The ASP.NET DataGrid control, or DataTable is a feature-rich control used to display data in a tabular format.</div>").Add();
   item.Size("200px").Content("<div class='content'><h4 class='h4'>Schedule </h4>The ASP.NET Scheduler, a.k.a. event calendar, facilitates almost all calendar features, thus allowing users to manage their time efficiently.</div>").Add();
   item.Size("200px").Content("<div class='content'><h4 class='h4'>Chart </h4>ASP.NET charts, a well-crafted easy-to-use charting package, is used to add beautiful charts in web and mobile applications").Add();
}).Render()
<style>
    .content {
        padding: 9px;
    }

    .h4 {
        font-weight: 550;
    }
</style>
public class HomeController : Controller
{
public ActionResult Index()
{
return View();
}
}Output be like the below.
Vertical layout
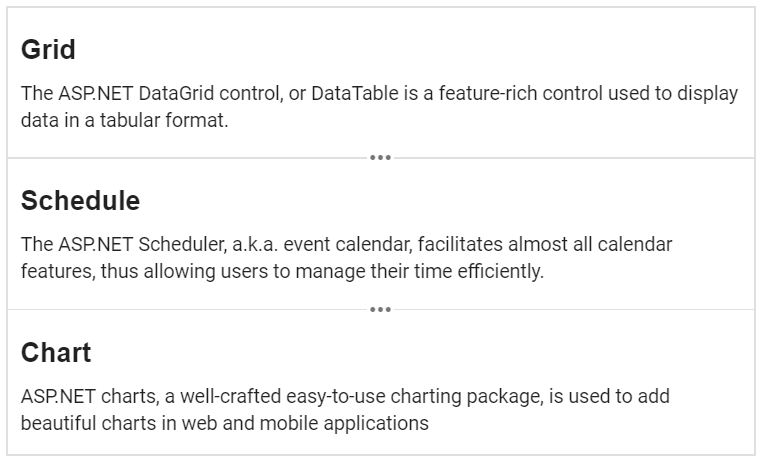
By setting Orientation API as Vertical, splitter will render in vertical orientation. Splitter container will be splitted as panes in vertical flow direction with horizontal seperator.
@using Syncfusion.EJ2.Layouts

@Html.EJS().Splitter("splitter").Width("500px").Height("300px").PaneSettings(item => {
   item.Size("100px").Content("<div class='content'><h4 class='h4'>Grid</h4>The ASP.NET DataGrid control, or DataTable is a feature-rich control used to display data in a tabular format.</div>").Add();
   item.Size("100px").Content("<div class='content'><h4 class='h4'>Schedule </h4>The ASP.NET Scheduler, a.k.a. event calendar, facilitates almost all calendar features, thus allowing users to manage their time efficiently.</div>").Add();
   item.Size("100px").Content("<div class='content'><h4 class='h4'>Chart </h4>ASP.NET charts, a well-crafted easy-to-use charting package, is used to add beautiful charts in web and mobile applications").Add();
}).Orientation(Orientation.Vertical).Render()
<style>
    .content {
        padding: 9px;
    }

    .h4 {
        font-weight: 550;
    }
</style>
public class HomeController : Controller
{
public ActionResult Index()
{
return View();
}
}Output be like the below.
Multiple panes
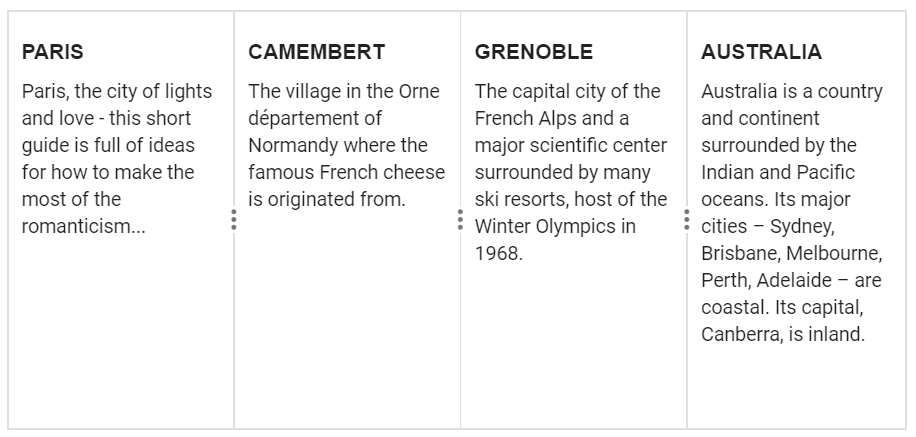
You can render the multiple panes with both Horizontal/Vertical orientations.
@Html.EJS().Splitter("splitter").Width("600px").Height("280px").PaneSettings(item => {
   item.Size("150px").Content("<div class='content'><h4 class='h4'>PARIS </h4>Paris, the city of lights and love - this short guide is full of ideas for how to make the most of the romanticism...</div>").Add();
   item.Size("150px").Content("<div class='content'><h4 class='h4'>CAMEMBERT </h4>The village in the Orne département of Normandy where the famous French cheese is originated from.</div>").Add();
   item.Size("150px").Content("<div class='content'><h4 class='h4'>GRENOBLE </h4>The capital city of the French Alps and a major scientific center surrounded by many ski resorts, host of the Winter Olympics in 1968.</div>").Add();
   item.Size("150px").Content("<div class='content'><h4 class='h4'>AUSTRALIA </h4>Australia is a country and continent surrounded by the Indian and Pacific oceans. Its major cities – Sydney, Brisbane, Melbourne, Perth, Adelaide – are coastal. Its capital, Canberra, is inland.</div>").Add();
 }).Render()
<style>
    .content {
        padding: 9px;
    }

    .h4 {
        font-weight: 550;
        font-size: 14px;
    }
</style>
public class HomeController : Controller
{
public ActionResult Index()
{
return View();
}
}Output be like the below.
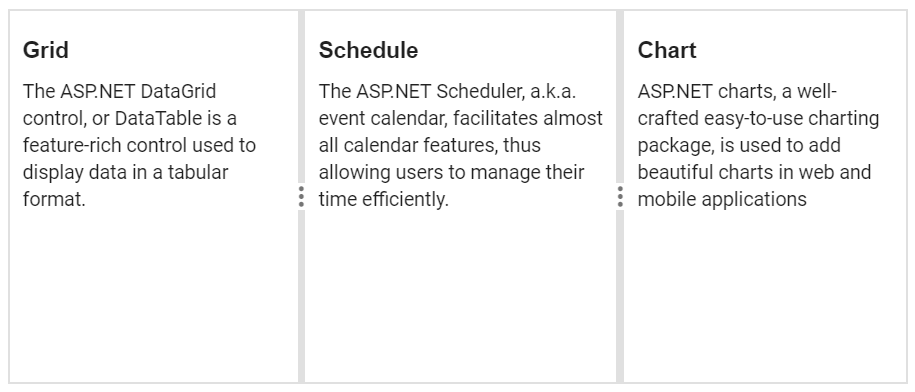
Separator
By default, pane separator will be render with 1px width/height. You can customize the separator size by using SeparatorSize API.
NOTE
For Horizontal orientation, it will be considered as separator width.
For Vertical orientation, it will be considered as separator height.
@Html.EJS().Splitter("splitter").Width("600px").Height("250px").PaneSettings(item => {
   item.Size("200px").Content("<div class='content'><h4 class='h4'>Grid</h4>The ASP.NET DataGrid control, or DataTable is a feature-rich control used to display data in a tabular format.</div>").Add();
   item.Size("200px").Content("<div class='content'><h4 class='h4'>Schedule </h4>The ASP.NET Scheduler, a.k.a. event calendar, facilitates almost all calendar features, thus allowing users to manage their time efficiently.</div>").Add();
   item.Size("200px").Content("<div class='content'><h4 class='h4'>Chart </h4>ASP.NET charts, a well-crafted easy-to-use charting package, is used to add beautiful charts in web and mobile applications").Add();
}).SeparatorSize(5).Render()
<style>
    .content {
        padding: 9px;
    }

    .h4 {
        font-weight: 550;
        font-size: 15px;
    }
</style>
public class HomeController : Controller
{
public ActionResult Index()
{
return View();
}
}Output be like the below.
Nested Splitter
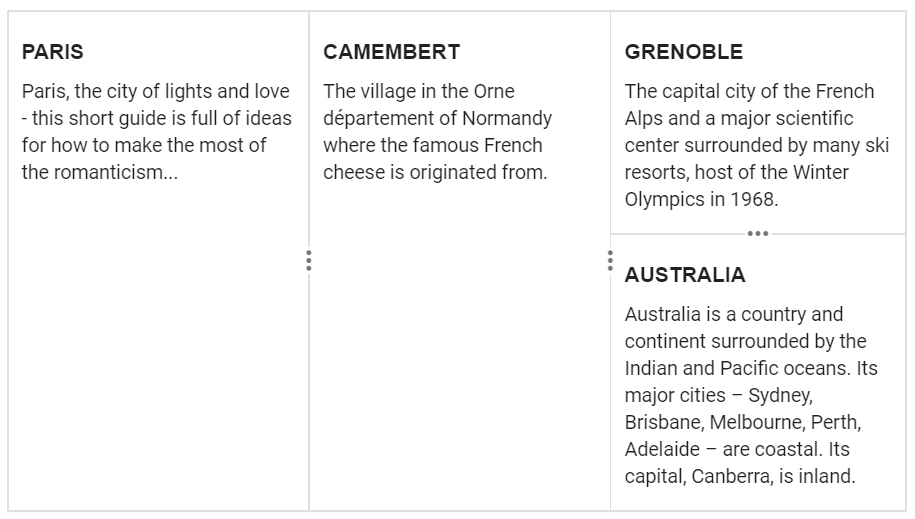
Splitter provides support to render the nested pane to achieve the complex layouts. You can use the same <div> element for splitter pane and nested splitter.
NOTE
Also you can render the nested splitter using direct child of the splitter pane. For this, nested splitter should have
100%width and height to match with the parent pane dimensions.
<div>
    @Html.EJS().Splitter("Horizontal_splitter").Created("onCreate").PaneSettings(item => {
        item.Size("200px").Content("<div class='content'><h4 class='h4'>PARIS </h4>Paris, the city of lights and love - this short guide is full of ideas for how to make the most of the romanticism...</div>").Add();
        item.Size("200px").Content("<div class='content'><h4 class='h4'>CAMEMBERT </h4>The village in the Orne département of Normandy where the famous French cheese is originated from.</div>").Add();
        item.Size("200px").Content("<div id ='vertical_splitter' class='vertical_splitter'><div class='content'><h4 class='h4'>GRENOBLE </h4>The capital city of the French Alps and a major scientific center surrounded by many ski resorts, host of the Winter Olympics in 1968.</div><div class='content'><h4 class='h4'>AUSTRALIA </h4>Australia is a country and continent surrounded by the Indian and Pacific oceans. Its major cities – Sydney, Brisbane, Melbourne, Perth, Adelaide – are coastal. Its capital, Canberra, is inland.</div></div>").Add();
    }).Height("320px").Width("600px").Render()
</div>
<style>
    .content {
        padding: 9px;
    }

    .vertical_splitter.e-splitter.e-splitter-vertical {
        border: none;
    }

    .h4 {
        font-weight: 550;
        font-size: 14px;
    }
</style>

<script type="text/javascript">
    function onCreate(args) {
        var splitterObj = new ej.layouts.Splitter({
            paneSettings: [
                { size: '150px', min: '20%' },
                { size: '100px', min: '20%' }
            ],
            orientation: 'Vertical'
        });
        splitterObj.appendTo('#vertical_splitter');
    }

</script>
public class HomeController : Controller
{
public ActionResult Index()
{
return View();
}
}Output be like the below.
Add or remove pane
You can add the panes programmatic but it will makes you complex. For this, you can use the addPane/removePane methods to add and remove the panes dynamically in the splitter.
Add pane
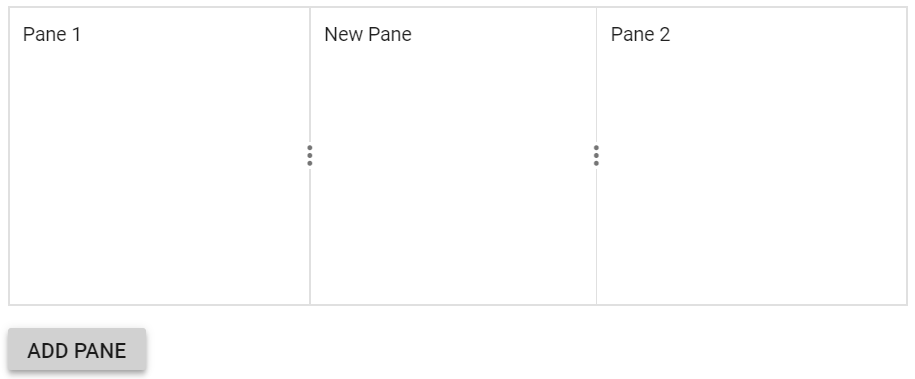
You can add the panes dynamically in the splitter by passing PaneSettings along with index to the addPane method
<div>
    @Html.EJS().Splitter("splitter").Width("600px").Height("200px").PaneSettings(item => {
          item.Size("190px").Content("<div class='content'>Pane 1</div>").Add();
          item.Size("190px").Content("<div class='content'>Pane 2</div>").Add();
    }).Render()
    <button id="addPane" class="e-btn" onclick="onClicked()">Add pane</button>
</div>
<style>
    .content {
        padding: 9px;
    }

    #addPane {
        margin-top: 15px;
    }
</style>

<script type="text/javascript">
    function onClicked() {
        var splitterObj = document.getElementById('splitter');
        var paneDetails = {
            size: '190px',
            content: '<div class="content">New Pane</div>',
            min: '30px',
            max: '250px',
        }
        splitterObj.ej2_instances[0].addPane(paneDetails, 1);
    }
</script>
public class HomeController : Controller
{
public ActionResult Index()
{
return View();
}
}Output be like the below.
Remove pane
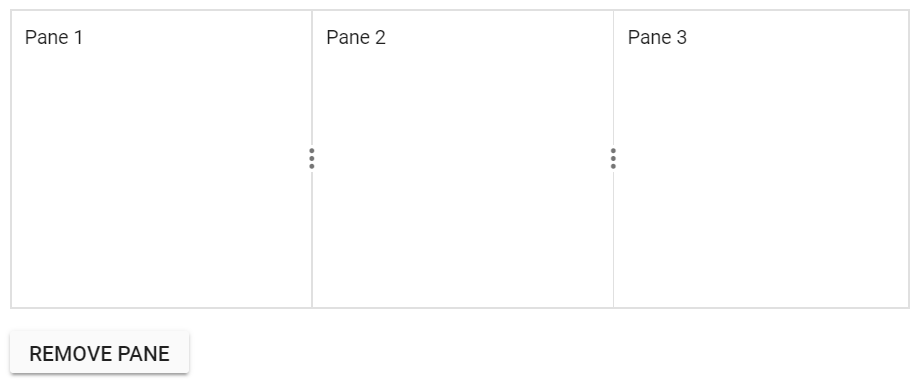
You can remove the split panes dynamically by passing the pane index to removePane method.
<div>
    @Html.EJS().Splitter("splitter").Width("600px").Height("200px").PaneSettings(item => {
        item.Size("200px").Content("<div class='content'>Pane 1</div>").Add();
        item.Size("200px").Content("<div class='content'>Pane 2</div>").Add();
        item.Size("200px").Content("<div class='content'>Pane 3</div>").Add();
    }).Render()
    <button id="removePane" class="e-btn" onclick="onClicked()">Remove pane</button>
</div>
<style>
    .content {
        padding: 9px;
    }

    #removePane {
        margin-top: 15px;
    }
</style>

<script type="text/javascript">
    function onClicked() {
        var splitterObj = document.getElementById('splitter');
        if (!ej.base.isNullOrUndefined(document.querySelector('#splitter').querySelectorAll('.e-pane-horizontal')[1])) {
            splitterObj.ej2_instances[0].removePane(1);
        }
    }
</script>
public class HomeController : Controller
{
public ActionResult Index()
{
return View();
}
}Output be like the below.
