Size Mode for ASP.NET MVC Controls
4 Dec 20246 minutes to read
Syncfusion® ASP.NET MVC controls support touch (bigger theme) and normal size modes. Below topics explains how to enable the same in your application.
Size mode for application
You can enable touch mode (bigger theme) for an application by adding .e-bigger class in the ~/Content/Site.css file and assign to the body element in the ~/Views/Shared/_Layout.cshtml page.
.e-bigger {
    font-size: x-large;
}<body class="e-bigger">...</body>Size mode for a Control
You can enable touch mode (bigger theme) for ASP.NET MVC controls by adding .e-bigger class and assign to the div which contains the control.
<div class="e-bigger">
   @Html.EJS().Calendar("calendar").Render()
</div>

<div class="e-bigger">
    @Html.EJS().Button("element").Content("Button").Render()
</div>

<div class="e-bigger">
    @Html.EJS().CheckBox("default").Label("Checked").Checked(true).Render()
</div>

<style>
    .e-bigger {
     font-size: x-large;
    }
</style>
Change size mode for application at runtime
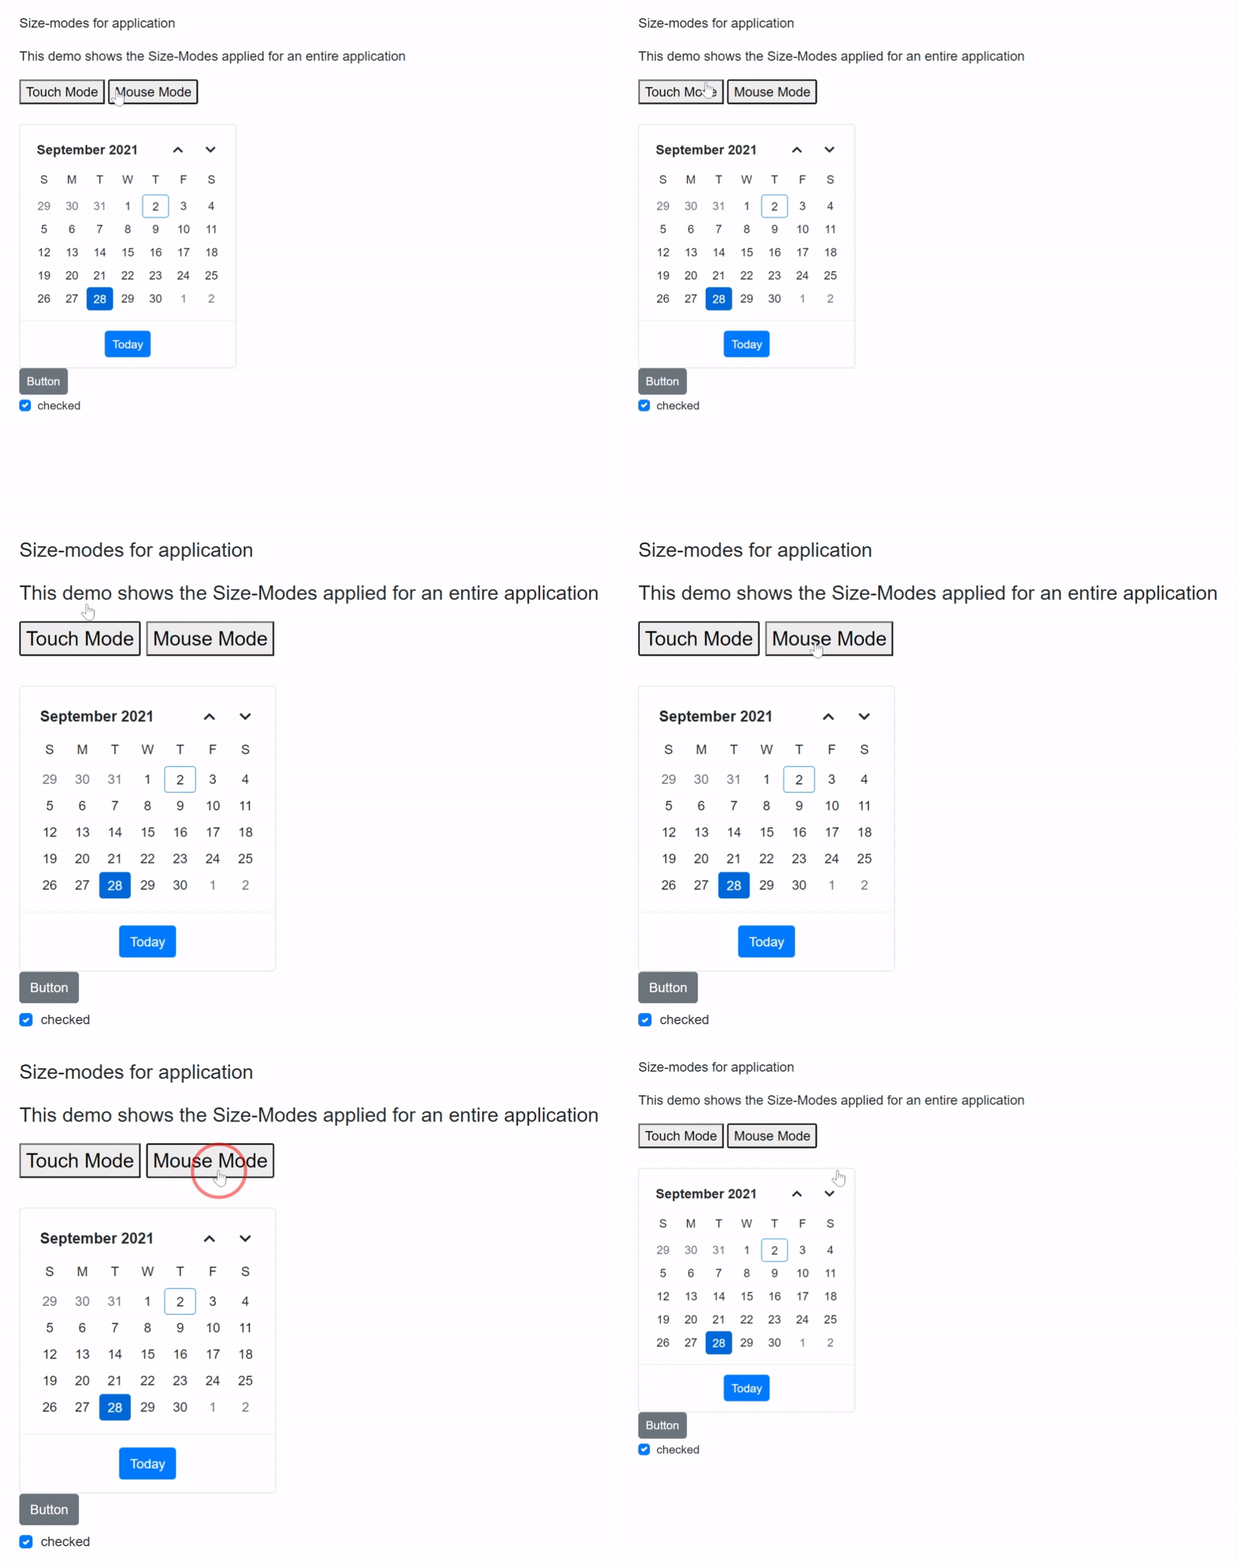
You can change the size mode of an application between touch and normal (mouse) mode at runtime by adding and removing the .e-bigger class.
Follow the below steps to change the size mode for an application at runtime.
1.Add the e-bigger CSS class in the ~/Content/Site.css file.
.e-bigger {
    font-size: x-large;
}
2.Refer to the following code for adding control and the JavaScript click action inside the script tag of ~/Views/Home/Index.cshtml file to switch between touch and mouse mode using e-bigger class.
<p> Size-modes for application </p>
<p> This demo shows the Size-Modes applied for an entire application </p>

<button id="touch">Touch Mode</button>
<button id="mouse">Mouse Mode</button>

<div>
    @Html.EJS().Calendar("calendar").Render()
</div>

<div>
    @Html.EJS().Button("element").Content("Button").Render()
</div>

<div>
    @Html.EJS().CheckBox("default").Label("Checked").Checked(true).Render()
</div>

<script>
    document.getElementById("touch").addEventListener("click", function () {
        document.body.classList.add('e-bigger');
    });
    document.getElementById("mouse").addEventListener("click", function () {
        document.body.classList.remove('e-bigger');
    });
</script>
NOTE
Change size mode for a control at runtime
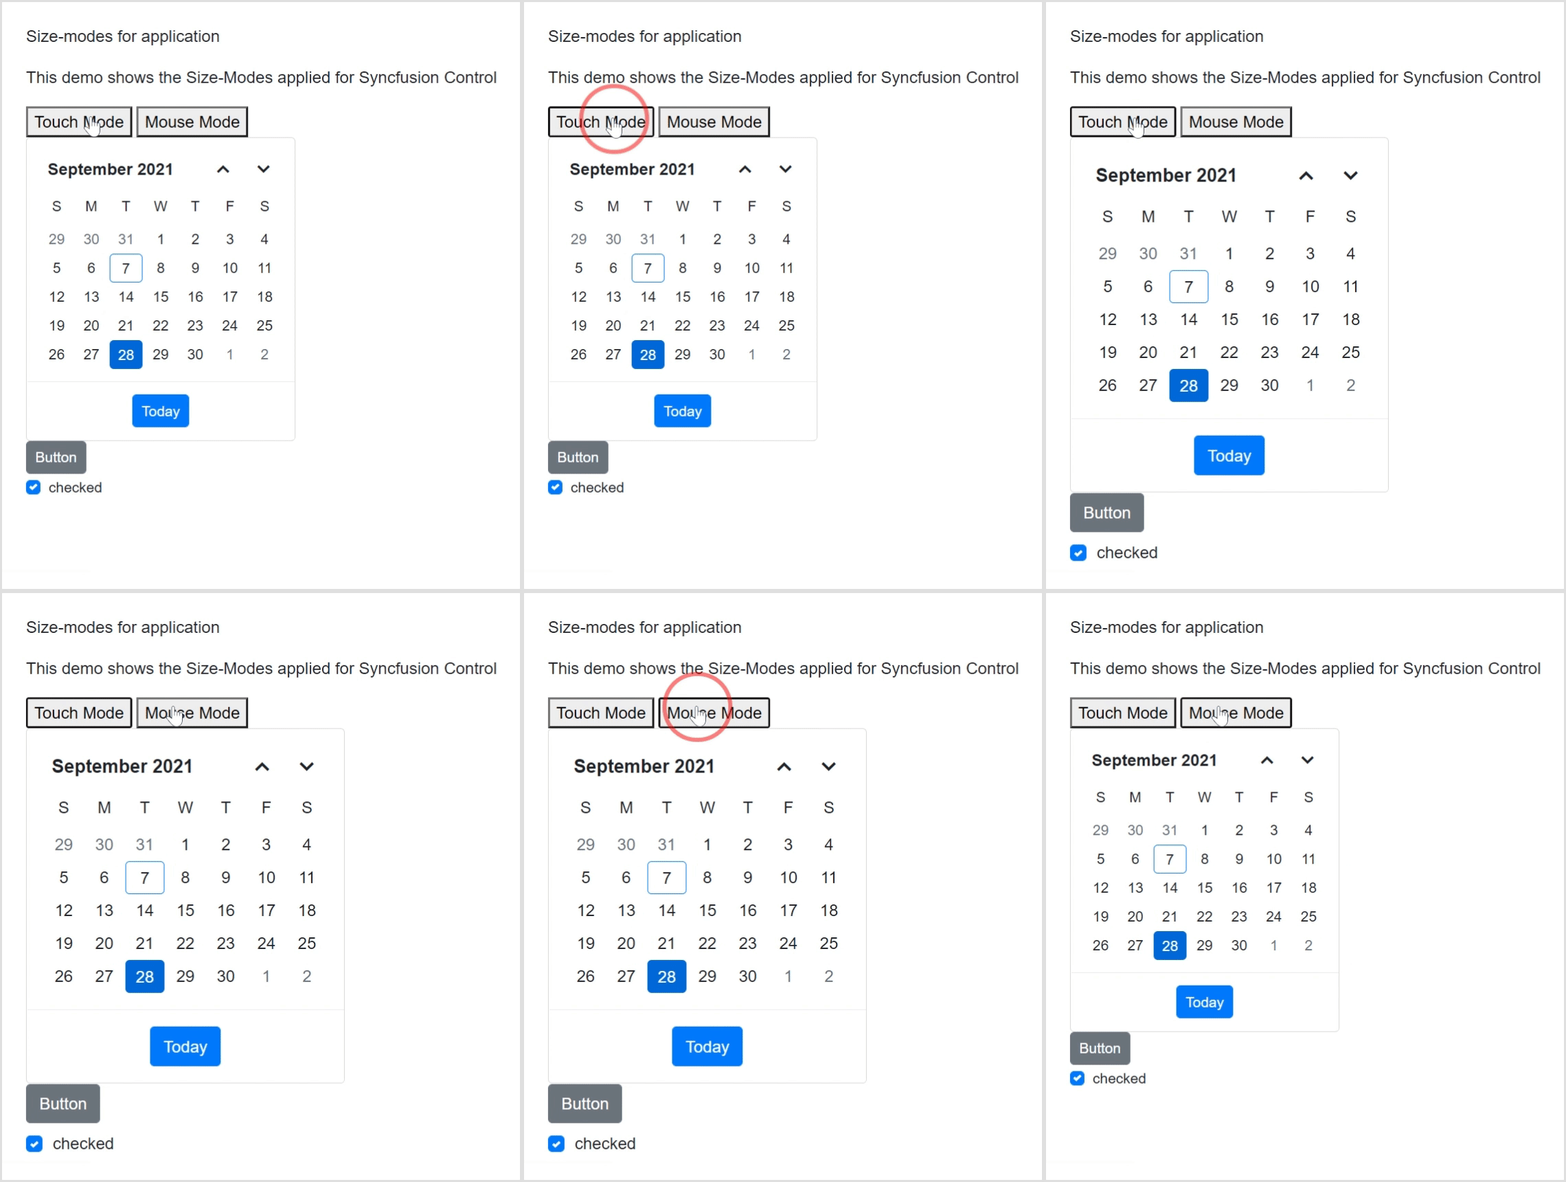
You can change the size mode of a control between touch and normal (mouse) mode at runtime by setting .e-bigger CSS class.
Refer to the following code, in which the e-bigger class is added for enabling touch mode using the for loop in ASP.NET MVC application.
<p> Size-modes for application </p>
<p> This demo shows the Size-Modes applied for Syncfusion Control </p>

<button id="touch">Touch Mode</button>
<button id="mouse">Mouse Mode</button>

<div class="control">
    @Html.EJS().Calendar("calendar").Render()
</div>

<div class="control">
    @Html.EJS().Button("element").Content("Button").Render()
</div>

<div class="control">
    @Html.EJS().CheckBox("default").Label("Checked").Checked(true).Render()
</div>

<style>
    .e-bigger {
        font-size: x-large;
    }
</style>

<script>
    document.getElementById("touch").addEventListener("click", function () {
        var controls = document.querySelectorAll('.control');
        for (var index = 0; index < controls.length; index++) {
            controls[index].classList.add('e-bigger');
        }
    });

    document.getElementById("mouse").addEventListener("click", function () {
        var controls = document.querySelectorAll('.control');
        for (var index = 0; index < controls.length; index++) {
            controls[index].classList.remove('e-bigger');
        }
    });
</script>
NOTE
See Also
Refer below topics to learn about responsiveness controls based on the available size in Syncfusion® ASP.NET MVC Controls.