Getting Started with Angular CLI as the Front End in ASP.NET MVC
29 Jan 20267 minutes to read
This guide details the process for creating an ASP.NET MVC framework with an Angular CLI project serving as the front end, and how to integrate Syncfusion® Angular UI components.
Prerequisites
Ensure the following requirements are met before integrating Syncfusion® Angular Components into an ASP.NET MVC + Angular project:
Create an ASP.NET MVC Web Application
Follow these steps to create a new ASP.NET MVC Web application using the Microsoft template:
-
Open Visual Studio and select the
Create a new projectoption.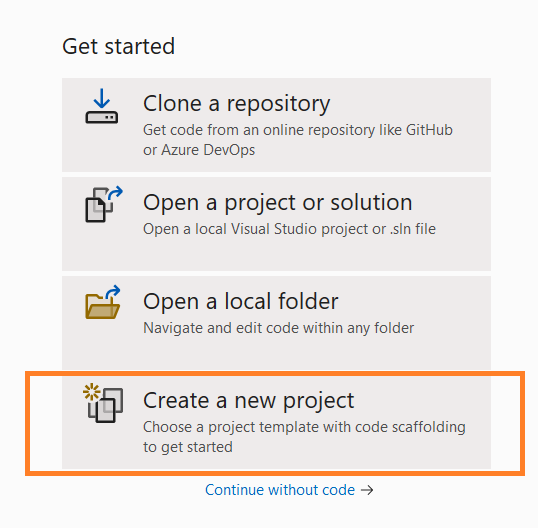
-
Search for the MVC template in the search box and select the
ASP.NET Web Application(.NET Framework)template.
-
Enter the project name as
SyncfusionAngularASPNETMVCand click the Next button.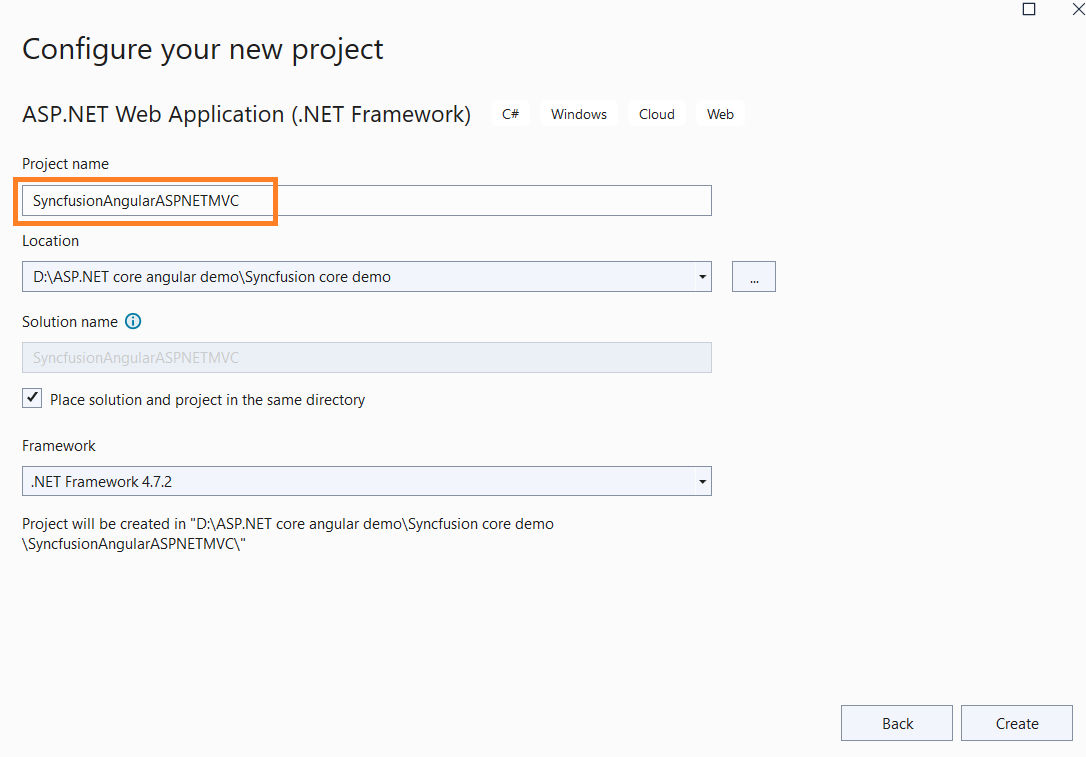
-
Select
MVCas the project template and click Create. The application will be generated.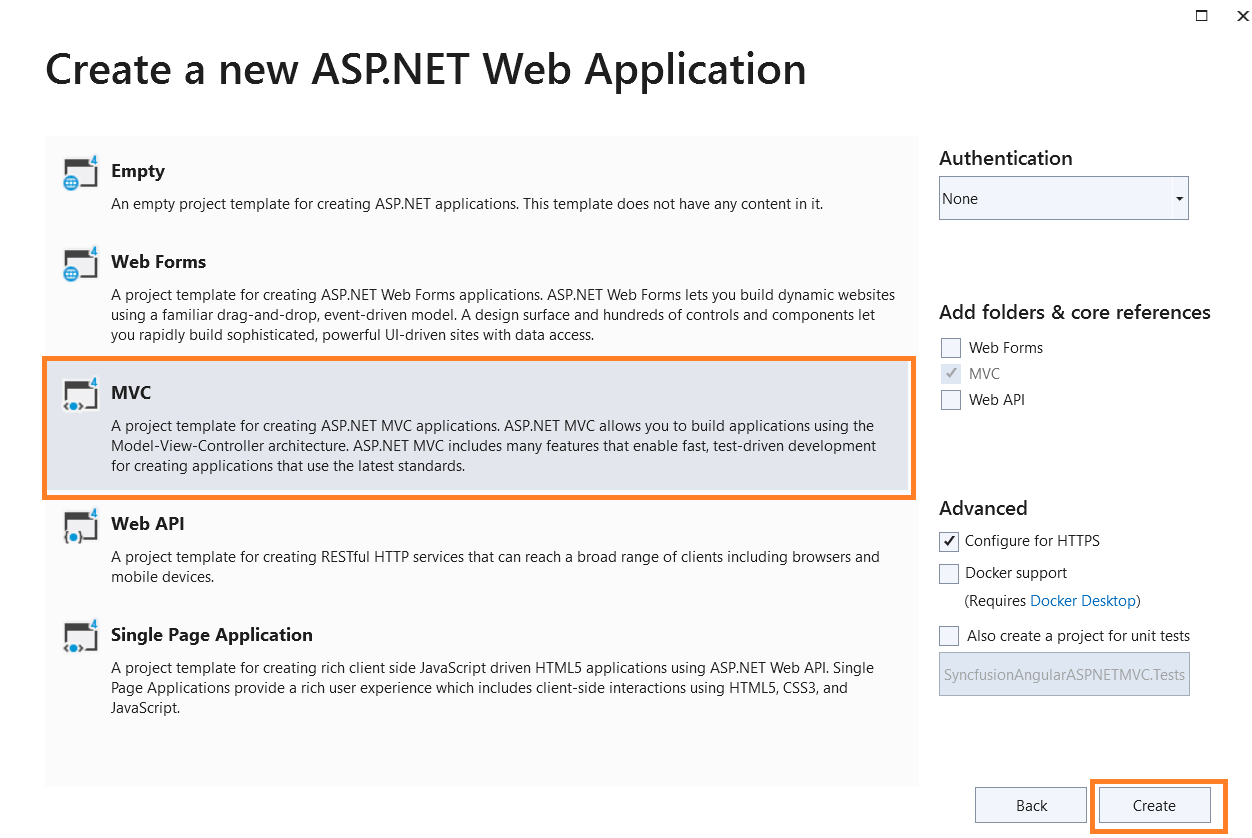
Create Angular CLI Application
Now, create the Angular application that will serve as the frontend:
-
Open the
Developer Command Promptfrom Visual Studio as shown below.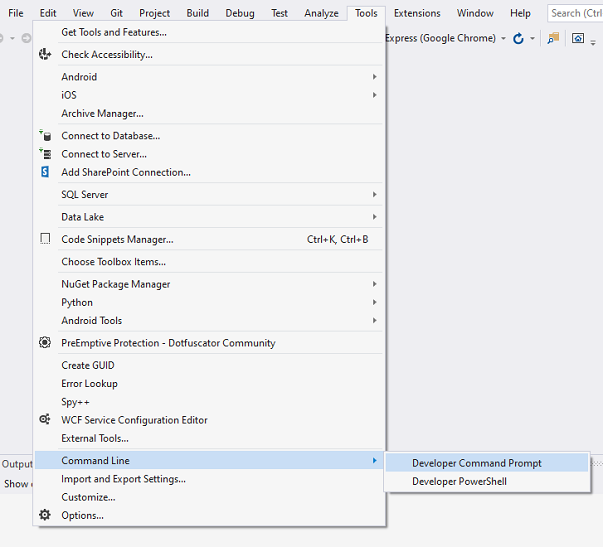
-
Create an Angular CLI application by running
ng new ClientApp(optionally add flags such as--routingor--style=scssto suit your project).
-
Navigate to the ClientApp directory using the
cd ClientAppcommand.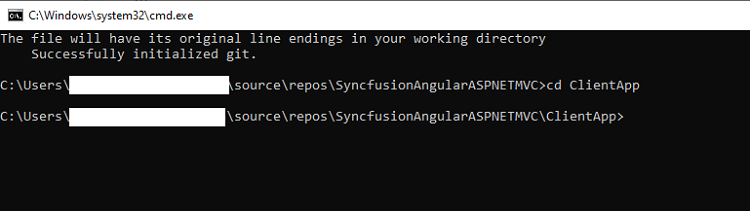
-
Install and add the Syncfusion® Angular components by following the instructions in the Getting Started with Angular CLI documentation.
-
Update
projects.ClientApp.architect.build.options.outputPathinangular.jsonfor the production build to../Scripts/ClientApp.
"projects": {
    "ClientApp": {
      "projectType": "application",
      "schematics": {},
      "root": "",
      "sourceRoot": "src",
      "prefix": "app",
      "architect": {
        "build": {
          "builder": "@angular-devkit/build-angular:browser",
          "options": {
            "outputPath": "../Scripts/ClientApp"
          }
        }
      }
    }
}
Configuring ASP.NET MVC Application
Now, configure the ASP.NET MVC application to integrate with the Angular frontend:
Automating Angular Build with MS Build
To automate the installation and build process of the Angular application when the MVC application is built, append the MS Build configuration to the end of the SyncfusionAngularASPNETMVC.csproj file as illustrated below.
<PropertyGroup>
    <TypeScriptCompileBlocked>true</TypeScriptCompileBlocked>
    <TypeScriptToolsVersion>Latest</TypeScriptToolsVersion>
    <IsPackable>false</IsPackable>
    <SpaRoot>ClientApp\</SpaRoot>
    <DefaultItemExcludes>$(DefaultItemExcludes);$(SpaRoot)node_modules\**</DefaultItemExcludes>
    <BuildServerSideRenderer>false</BuildServerSideRenderer>
</PropertyGroup>

<ItemGroup>
    <!-- Don't publish the SPA source files, but do show them in the project files list -->
    <Content Remove="$(SpaRoot)**" />
    <None Remove="$(SpaRoot)**" />
    <None Include="$(SpaRoot)**" Exclude="$(SpaRoot)node_modules\**" />
</ItemGroup>

<Target Name="BeforeBuild" AfterTargets="ComputeFilesToPublish">
    <!-- As part of publishing, ensure the JS resources are freshly built in production mode -->
    <Exec WorkingDirectory="$(SpaRoot)" Command="npm install" />
    <Exec WorkingDirectory="$(SpaRoot)" Command="npm run build -- --configuration production --base-href /" />
    <Exec WorkingDirectory="$(SpaRoot)" Command="npm run build:ssr --prod" Condition=" '$(BuildServerSideRenderer)' == 'true' " />

    <!-- Include the newly-built files in the publish output -->
    <ItemGroup>
        <DistFiles Include="$(SpaRoot)dist\**; $(SpaRoot)dist-server\**" />
        <DistFiles Include="$(SpaRoot)node_modules\**" Condition="'$(BuildServerSideRenderer)' == 'true'" />
        <ResolvedFileToPublish Include="@(DistFiles->'%(FullPath)')" Exclude="@(ResolvedFileToPublish)">
        <RelativePath>%(DistFiles.Identity)</RelativePath>
        <CopyToPublishDirectory>PreserveNewest</CopyToPublishDirectory>
        <ExcludeFromSingleFile>true</ExcludeFromSingleFile>
        </ResolvedFileToPublish>
    </ItemGroup>
</Target>
Configure MVC Bundle with Angular Production Scripts
Next, set up the ASP.NET MVC bundling system to include the compiled Angular assets. Edit the App_Start\BundleConfig.cs file:
using System.Web;
using System.Web.Optimization;

namespace SyncfusionAngularASPNETMVC
{
    public class BundleConfig
    {
        // For more information on bundling, visit https://go.microsoft.com/fwlink/?LinkId=301862
        public static void RegisterBundles(BundleCollection bundles)
        {
            bundles.Add(new Bundle("~/bundles/clientapp").Include(
                "~/Scripts/ClientApp/runtime.*",
                "~/Scripts/ClientApp/polyfills.*",
                "~/Scripts/ClientApp/main.*"));

            bundles.Add(new StyleBundle("~/Content/clientapp").Include(
                      "~/Scripts/ClientApp/styles.*"));
Ensure BundleConfig.RegisterBundles(BundleTable.Bundles) is called from Application_Start() in Global.asax so the ~/bundles/clientapp and ~/Content/clientapp bundles are registered.
Include Angular Production Scripts in MVC
To incorporate Angular production scripts and style files, add the highlighted sections to the ~/Views/Shared/_Layout.cshtml file.
<!DOCTYPE html>
<html>
<head>
    <meta charset="utf-8" />
    <meta name="viewport" content="width=device-width, initial-scale=1.0">
    <title>@ViewBag.Title - My ASP.NET Application</title>
    <base href="/" />
    @Styles.Render("~/Content/css")
    @Styles.Render("~/Content/clientapp")
    @Scripts.Render("~/bundles/modernizr")
</head>
<body>
    @RenderBody()

    ...
    @Scripts.Render("~/bundles/jquery")
    @Scripts.Render("~/bundles/bootstrap")
    @Scripts.Render("~/bundles/clientapp")
    @RenderSection("scripts", required: false)
</body>
</html>
Add the <app-root> tag in the ~/Views/Home/index.cshtml file.
@{
    ViewBag.Title = "Home Page";
}

<app-root></app-root>
Run the Application
Execute the application from Visual Studio to display the component.
