Getting Started with ASP.NET MVC AI AssistView control
17 Mar 20265 minutes to read
This section briefly explains about how to include ASP.NET MVC AI AssistView control in your ASP.NET MVC application using Visual Studio.
Prerequisites
System requirements for ASP.NET MVC controls
Create ASP.NET MVC application with HTML helper
Install ASP.NET MVC package in the application
To add ASP.NET MVC controls in the application, open the NuGet package manager in Visual Studio (Tools → NuGet Package Manager → Manage NuGet Packages for Solution), search for Syncfusion.EJ2.MVC5 and then install it.
Install-Package Syncfusion.EJ2.MVC5 -Version 34.1.29NOTE
Syncfusion® ASP.NET MVC controls are available in nuget.org. Refer to NuGet packages topic to learn more about installing NuGet packages in various OS environments. The Syncfusion.EJ2.MVC5 NuGet package has dependencies, Newtonsoft.Json for JSON serialization and Syncfusion.Licensing for validating Syncfusion® license key.
Add namespace
Add Syncfusion.EJ2 namespace reference in Web.config under Views folder.
<namespaces>
    <add namespace="Syncfusion.EJ2"/>
</namespaces>
Add stylesheet and script resources
Here, the theme and script is referred using CDN inside the <head> of ~/Pages/Shared/_Layout.cshtml file as follows,
<head>
    ...
    <!-- Syncfusion ASP.NET MVC controls styles -->
    <link rel="stylesheet" href="https://cdn.syncfusion.com/ej2/34.1.29/fluent.css" />
    <!-- Syncfusion ASP.NET MVC controls scripts -->
    <script src="https://cdn.syncfusion.com/ej2/34.1.29/dist/ej2.min.js"></script>
</head>
NOTE
Checkout the Themes topic to learn different ways (CDN, NPM package, and CRG) to refer styles in ASP.NET MVC application, and to have the expected appearance for Syncfusion® ASP.NET MVC controls. Checkout the Adding Script Reference topic to learn different approaches for adding script references in your ASP.NET MVC application.
Register Syncfusion® script manager
Also, register the script manager EJS().ScriptManager() at the end of <body> in the ~/Pages/Shared/_Layout.cshtml file as follows.
<body>
...
    <!-- Syncfusion ASP.NET MVC Script Manager -->
    @Html.EJS().ScriptManager()
</body>
Add ASP.NET MVC AI AssistView control
Now, add the Syncfusion® ASP.NET MVC AI AssistView control in ~/Views/Home/Index.cshtml page.
@using Syncfusion.EJ2.InteractiveChat

<div class="aiassist-container" style="height: 350px; width: 650px;">
    @Html.EJS().AIAssistView("aiAssistView").Render()
</div>
public ActionResult Default()
{
return View();
}Press Ctrl+F5 (Windows) or ⌘+F5 (macOS) to run the app. Then, the Syncfusion® ASP.NET MVC AI AssistView control will be rendered in the default web browser.
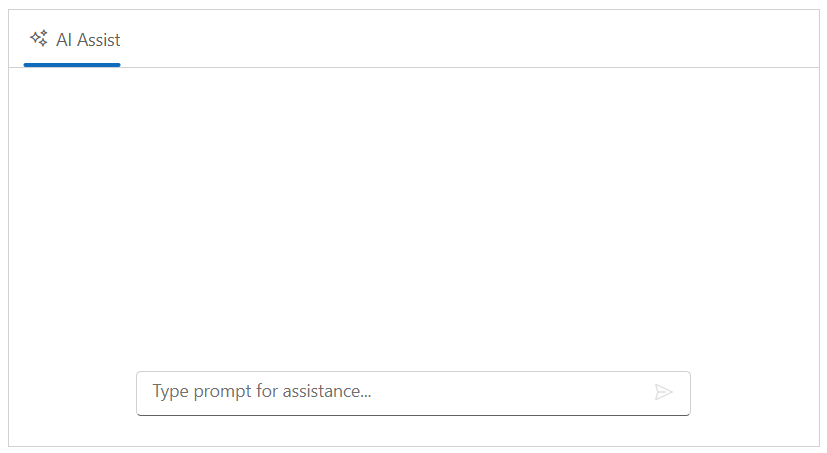
Note: Starting from version 33.1x, when a user submits a prompt to the AI AssistView, the component automatically scrolls and focuses on the latest prompt and response. This behavior eliminates the need for users to manually scroll down to see the new response, ensuring they always view the most recent AI response without interruption. Prior to version 33.1x, the previous responses remained visible when new responses were added.
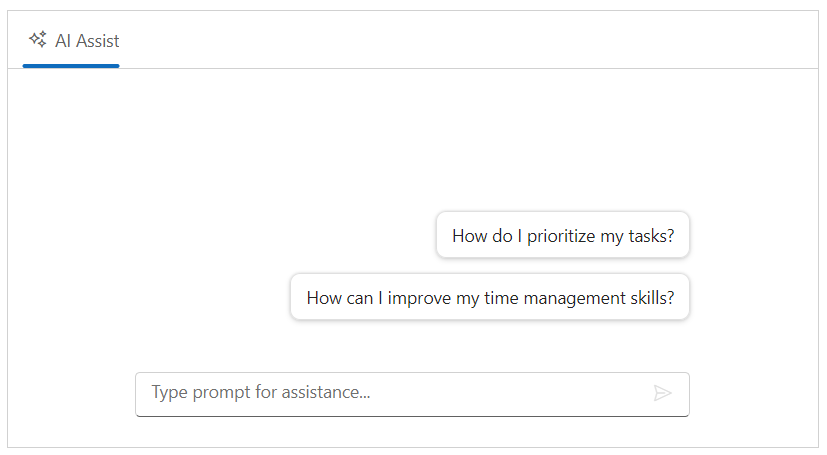
Configure suggestions and responses
You can use the PromptSuggestions property to add prompt suggestions and the PromptRequest event to add responses when the prompt matches the specified prompts data otherwise, the default response will be displayed.
@using Syncfusion.EJ2.InteractiveChat
@using Newtonsoft.Json

@{
    var suggestions = new string[] { "How do I prioritize my tasks?", "How can I improve my time management skills?" };

    var prompts = new[]
    {
        new { prompt = "How do I prioritize my tasks?", response = "Prioritize tasks by urgency and impact: tackle high-impact tasks first, delegate when possible, and break large tasks into smaller steps. For more assistance, feel free to ask—I’m here to help!", suggestionData = new List<string> { } },
        new { prompt = "How can I improve my time management skills?", response = "To improve time management skills, try setting clear goals, using a planner or digital tools, prioritizing tasks, breaking tasks into smaller steps, and minimizing distractions. Regularly review and adjust your approach for better efficiency.", suggestionData = new List<string>  { } }
    };

    var promptsJson = @Html.Raw(JsonConvert.SerializeObject(prompts));
}

<div class="aiassist-container" style="height: 350px; width: 650px;">
    @Html.EJS().AIAssistView("aiAssistView").PromptSuggestions(suggestions).PromptRequest("onPromptRequest").Created("onCreated").Render()
</div>

<script>
    var assistObj;
    var prompts = @Html.Raw(promptsJson);
    function onCreated() {
        assistObj = this;
    }
    function onPromptRequest(args) {
        setTimeout(function () {
            var foundPrompt = prompts.find(prompt => prompt.prompt == args.prompt);
            var defaultResponse = 'For real-time prompt processing, connect the AI AssistView control to your preferred AI service, such as OpenAI or Azure Cognitive Services. Ensure you obtain the necessary API credentials to authenticate and enable seamless integration.';
            assistObj.addPromptResponse(foundPrompt ? foundPrompt.response : defaultResponse);
        }, 2000);
    }
</script>
public ActionResult Default()
{
return View();
}