- Prerequisites
- Setup ASP.NET Core application with Essential JS 2 for ASP.NET Core
- Render Default LinearGauge
- Add Gauge Title
- Axis
Contact Support
Getting Started with ASP.NET Core
17 Feb 20222 minutes to read
Prerequisites
To get start with ASP.NET Core application, need to ensure the following software to be installed on the machine.
- Visual Studio 2017
- DotNet Core 2.0
Setup ASP.NET Core application with Essential JS 2 for ASP.NET Core
The following steps to create ASP.NET Core Application.
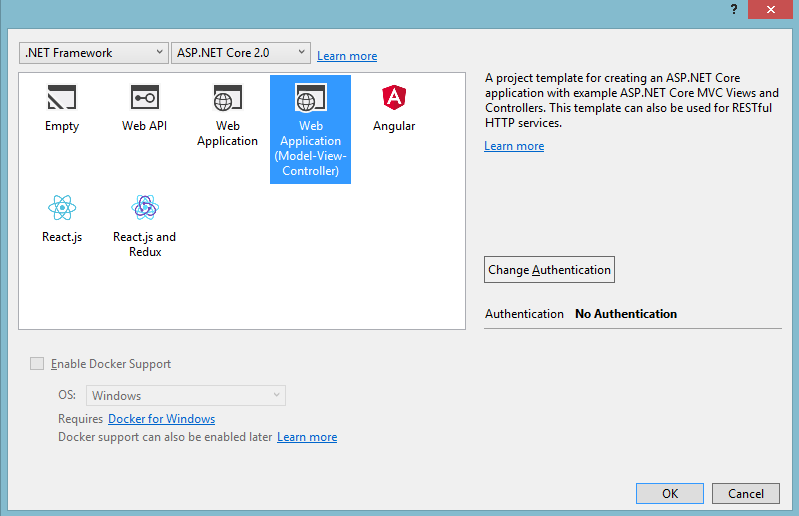
Step 1: Create ASP.NET Core Web Application with default template project in Visual Studio 2017.
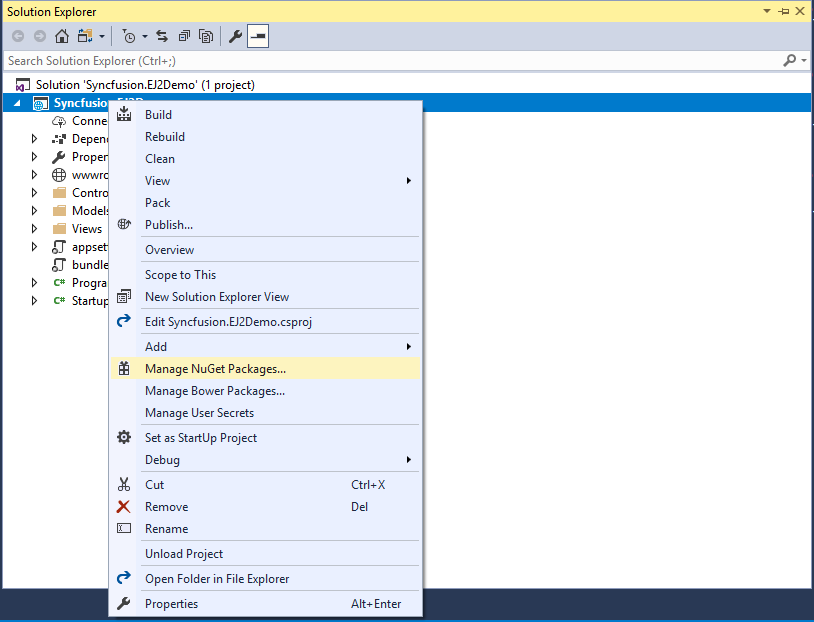
Step 2: Once your project created. We need to add Syncfusion EJ2 package into your application by using Nugget Package Manager.
Open the nuGet package manager.
Install the Syncfusion.EJ2 package to the application
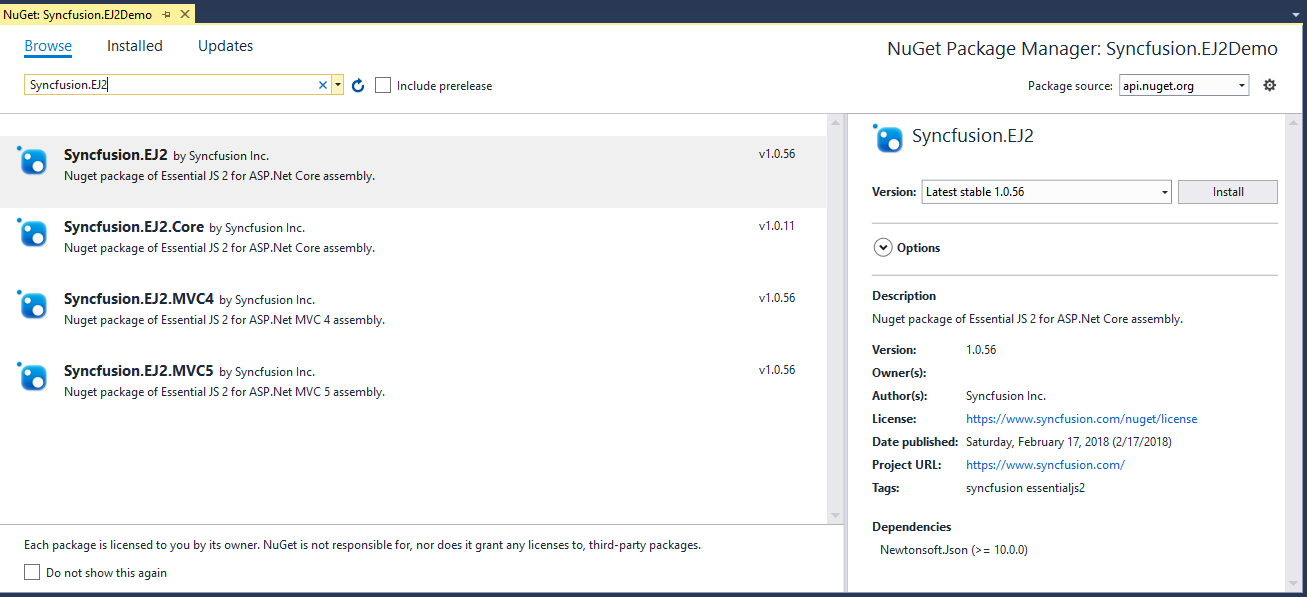
After Installation complete this will included in the project. You can refer it from the Project Assembly Reference.
We need to install NewtonSoft.JSON as dependency since it Syncfusion.EJ2 dependent to NewtonSoft.JSON package.
Step 3: Open the _ViewImports.cshtml to import Syncfusion.EJ2 package.
@addTagHelper *, Syncfusion.EJ2Step 4: Add client side resource through CDN or local package in the layout page _Layout.cshtml.
@* Syncfusion Essential JS 2 Scripts *@
<script src="https://cdn.syncfusion.com/ej2/dist/ej2.min.js"></script>
Step 5: Adding Script Manager in layout page _Layout.cshtml.
<ejs-scripts></ejs-scripts>Step 6: Add the below code to your Index.cshtml view page which is present under Views/Home folder, to initialize the lineargauge.
Render Default LinearGauge
This section explains how to render default lineargauge.
public IActionResult Default()
{
    return View();
}
Add the ejs-lineargauge tag like below code snippet to create the default lineargauge.
@using Syncfusion.EJ2;

<ejs-lineargauge id="linear">
</ejs-lineargauge>
Add Gauge Title
You can add a title using title attribute to the linear gauge to provide quick information to the user.
@using Syncfusion.EJ2;

<ejs-lineargauge id="linear" title="Temperature Measure">
</ejs-lineargauge>
Axis
You can set the range to the axis using minimum and maximum attributes for axis tag.
Refer below code snippet to add the axis range to lineargauge.
<ejs-lineargauge id="linear" orientation="Horizontal">
     <e-lineargauge-axes>
        <e-lineargauge-axis minimum="0" maximum="200">
        </e-lineargauge-axis>
    </e-lineargauge-axes>
</ejs-lineargauge>