Upload in File Manager control
23 Jun 20265 minutes to read
The File Manager control provides a uploadSettings property with various options to customize how files are uploaded, including controlling file size, restricting file types, checking for excessively large and empty files, and enabling chunk uploads.
Directory Upload
The directoryUpload property controls whether users can browse and upload entire directories (folders) in the File Manager control.
To enable directory upload, set the directoryUpload property to true in the uploadSettings configuration.
When set to true, this property enables directory upload in the File Manager, allowing users to upload entire folders. If set to false, only individual files can be uploaded.
Note: When
directoryUploadis set totrue, only folders can be uploaded. When it is set tofalse, only individual files can be uploaded. Simultaneous uploading of files and folders is not supported.
To learn more about the folder upload actions, refer to this link
Sequential Upload
The sequentialUpload property controls whether users can upload files one by one in a sequential manner in the File Manager control.
To enable sequential upload, set the sequentialUpload property to true in the uploadSettings configuration.
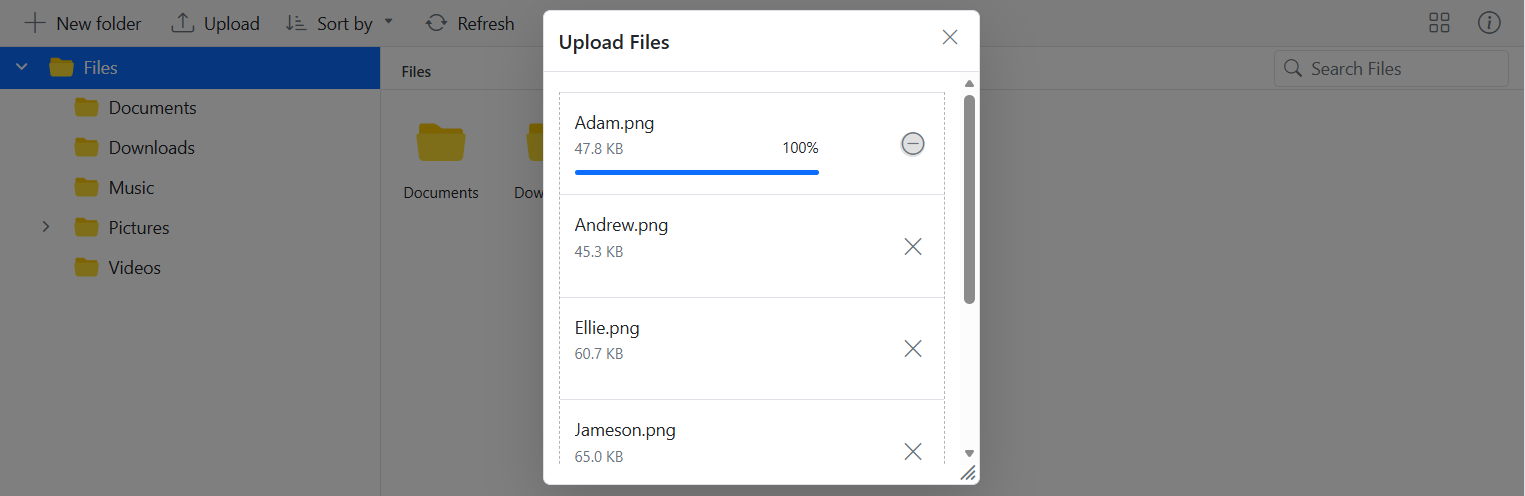
When set to true, the selected files will process sequentially (one after the other) to the server. If the file uploaded successfully or failed, the next file will upload automatically in this sequential upload. This feature helps to reduce the upload traffic and reduce the failure of file upload.
The screenshot below shows that each file begins uploading only after the previous one completes. This demonstrates how the sequentialUpload property works in the File Manager control.
To learn more about the folder upload actions, refer to this link
Chunk Upload
The chunkSize property specifies the size of each chunk when uploading large files. It divides the file into smaller parts, which are uploaded sequentially to the server.
This property allows you to enable chunked uploads for large files by specifying a chunkSize.
By specifying a chunkSize, the large file is divided into smaller parts, reducing the load on the network and making the upload process more efficient.
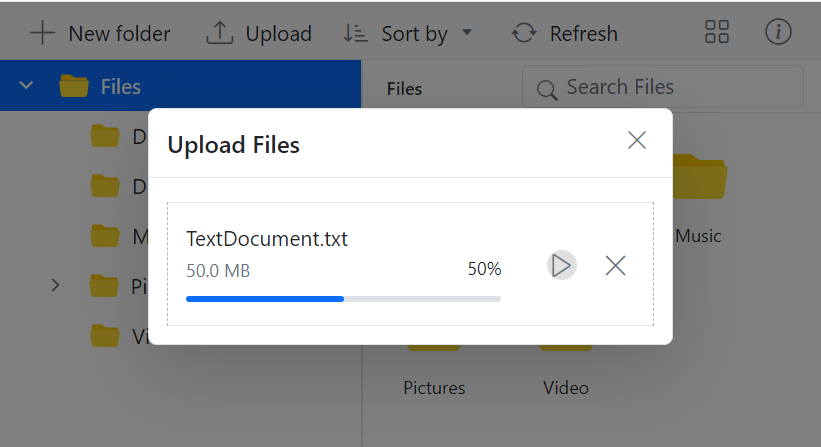
With chunk upload, the pause and resume options give users enhanced control over the file upload process.
Note:
- Chunk upload will work when the selected file size is greater than the specified chunk size. Otherwise, it upload the files normally.
- The pause and resume features are available only when the chunk upload is enabled.
- To handle chunk upload in server side, an additional argument of
sizewithlongtype must be passed to the Upload method in the controller. Refer to the Physical File Provider example on how this can be implemented.
Auto Upload
The autoUpload property controls whether files are automatically uploaded when they are added to the upload queue in the File Manager control.
The default value is true, the File Manager will automatically upload files as soon as they are added to the upload queue. If set to false, the files will not be uploaded automatically, giving you the chance to manipulate the files before uploading them to the server.
Auto Close
The autoClose property controls whether the upload dialog automatically closes after all the files have been uploaded.
The default value is set to false. When set to this value, the upload dialog remains open even after the upload process is complete. If autoClose set to true, the upload dialog will automatically close after all the files in the upload queue are uploaded.
Prevent upload based on file extensions
The allowedExtensions property specifies which file types are allowed for upload in the File Manager control by defining their extensions.
This property lets you define which file types can be uploaded by specifying allowed extensions, separated by commas. For example, to allow only image files, you would set the allowedExtensions property to .jpg,.png.
By setting the allowedExtensions property, you restrict the file types that can be uploaded. Only files with the specified extensions will be accepted.
Restrict drag and drop upload
The File Manager control provides support for external drag-and-drop functionality for uploading files by dragging it from local file system to File Manager.
To completely prevent the external drag-and-drop upload functionality (i.e., disallowing users from dragging and dropping files from outside into the File Manager), you can set the dropArea property to null. This can be done by accessing the File Manager instance via its class methods.
Note: Setting allowDragAndDrop property to false will not prevent the file upload operation through external drag and drop. It will only prevent drag and drop action within the File Manager control.
The following example demonstrates the uploadSettings customizations.
<div class=" control-section">
    <div class="sample-container">
        <!-- Declare File Manager control -->
        <ejs-filemanager id="filemanager" created="onCreated">
            <e-filemanager-ajaxsettings url="/Home/FileOperations" downloadUrl="/Home/Download" uploadUrl="/Home/Upload"
                getImageUrl="/Home/GetImage">
            </e-filemanager-ajaxsettings>
        </ejs-filemanager>
        <!-- end of File Manager control -->
    </div>
</div>
<script>
    function onCreated() {
        var filemanagerInstance = document.getElementById("filemanager").ej2_instances[0];
        filemanagerInstance.uploadObj.dropArea = null;  // Restrict file uploads by dragging them from the local file system to the File Manager.
    }
</script>