Download and Installation
2 Feb 20262 minutes to read
Syncfusion® publishes its Visual Studio extension in the Visual Studio Marketplace. You can install the extension directly within Visual Studio or download and install it from the Marketplace using the appropriate link:
Prerequisites
Ensure that the following prerequisites are installed before using the Syncfusion® ASP.NET Core extension. These are required for creating projects, adding snippets, converting, or upgrading Syncfusion® ASP.NET Core applications:
Install via Visual Studio Manage Extensions
Follow these steps to install the Syncfusion® ASP.NET Core extensions from Visual Studio’s Manage Extensions:
-
Open Visual Studio.
-
Navigate to Extensions → Manage Extensions.
In Visual Studio 2017, go to Tools → Extensions and Updates.
-
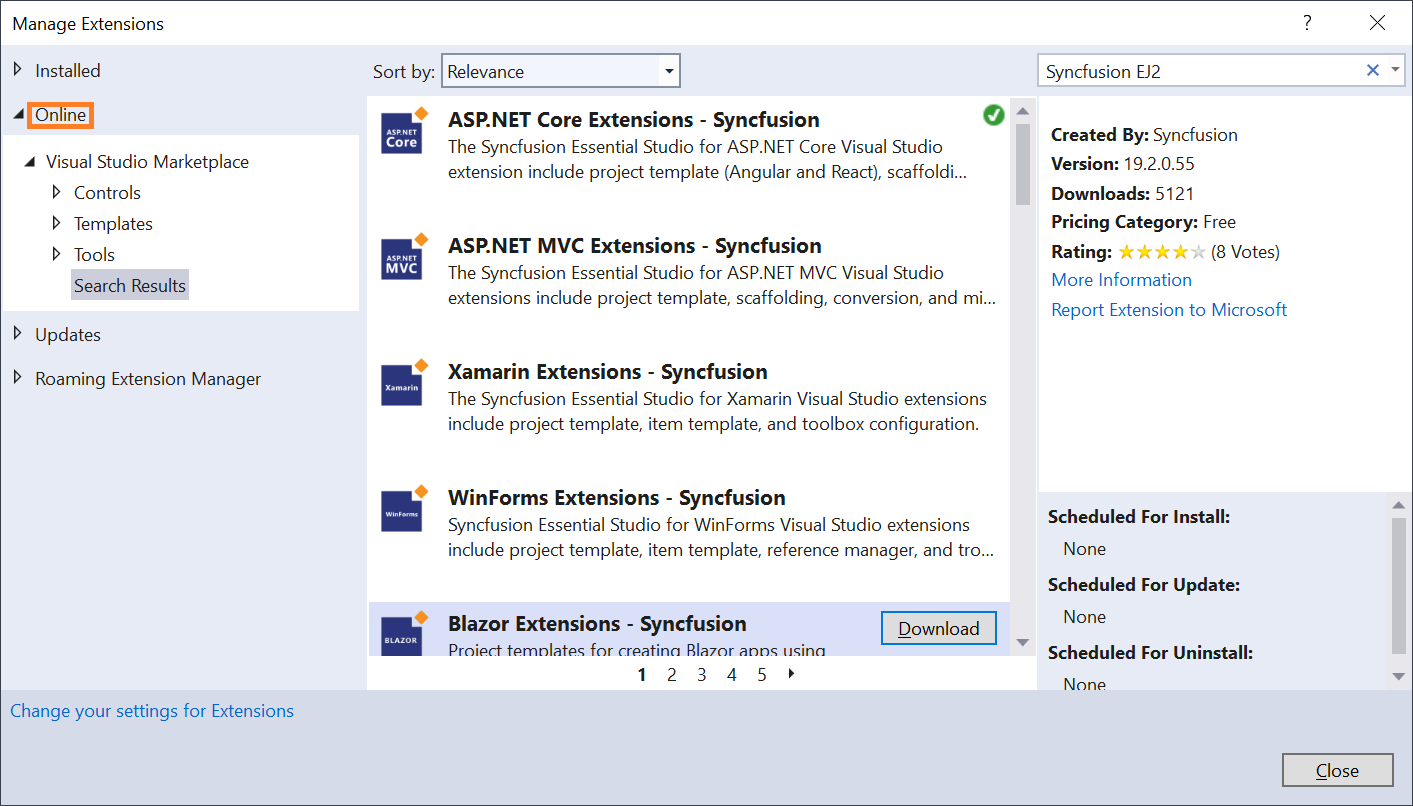
In the Manage Extensions window, click the Online tab and type “Syncfusion EJ2” into the search box.
-
Click the Download button for ASP.NET Core Extension - Syncfusion.
-
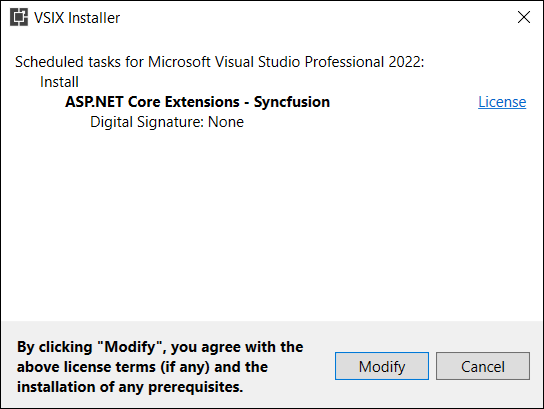
Close all Visual Studio instances to begin the installation process. The VSIX installer prompt appears.
-
Click the Modify button to install the extension.
-
After installation completes, launch Visual Studio.
-
The Syncfusion® extensions are now available from the Extensions menu.

In Visual Studio 2017, the Syncfusion® menu may appear directly in the main Visual Studio menu.
Install from the Visual Studio Marketplace
To install the Syncfusion® ASP.NET Core extension from the Visual Studio Marketplace:
- Download the relevant extension for your Visual Studio version:
-
Close all running instances of Visual Studio.
-
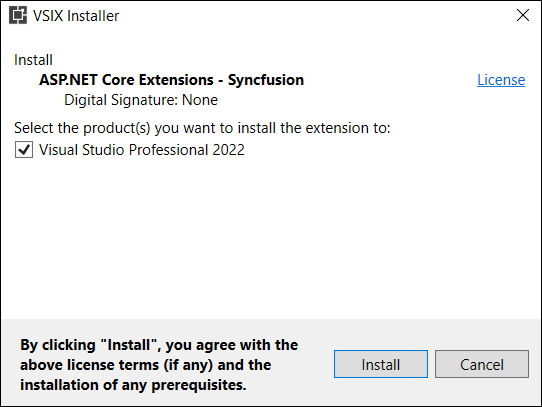
Double-click the downloaded VSIX file to launch the installer. The VSIX installer prompts you to select the Visual Studio version(s) in which to install the extension.
-
Click Modify to proceed with installation.
-
After installation, launch Visual Studio. The Syncfusion® extensions are accessible from the Extensions menu.
In Visual Studio 2017, the Syncfusion® menu may appear directly in the main Visual Studio menu.