Installation using the web installer
17 Aug 202611 minutes to read
This guide explains how to install the Syncfusion® Essential JS 2 JavaScript - EJ2 web installer on Windows, and how to uninstall it.
Prerequisites
- A Windows machine with administrator privileges.
- An active internet connection (the web installer downloads the selected products at install time).
- A downloaded copy of the Syncfusion® Essential Studio® Web Installer for JavaScript - EJ2.
- A valid Syncfusion® account (for the login step) or a Syncfusion® unlock key.
Overview
For the Essential® Studio® JavaScript - EJ2 product, Syncfusion® offers a Web Installer. This installer reduces the need to download a large installer package. You can download and run the online installer (which is smaller in size), and it will download and install the Essential® Studio® products you select. You can download the latest version of the Essential® Studio® Web Installer from the Syncfusion account downloads page.
The frameworks supported by this installer are:
- JavaScript
- Angular
- React
- Vue
- JavaScript (ES5)
Installation
The steps below show how to install the Essential® Studio® JavaScript - EJ2 Web Installer.
-
Open the Syncfusion® Essential® Studio® JavaScript - EJ2 Web Installer file from the downloaded location by double-clicking it. The Installer Wizard automatically opens and extracts the package.
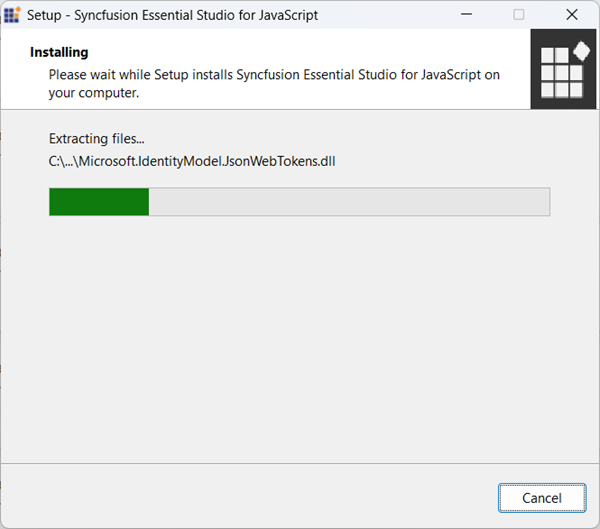
The installer wizard extracts the
syncfusionejs2webinstaller_<version>.exedialog, which displays the package’s unzip operation. -
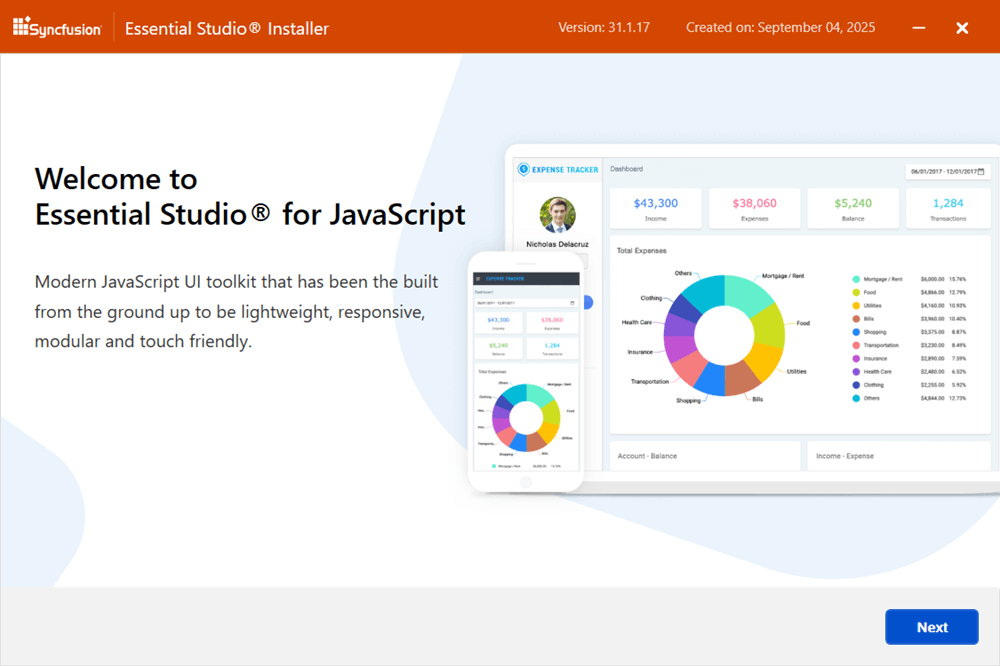
The Syncfusion® JavaScript - EJ2 Web Installer’s welcome wizard is displayed. Click Next.
-
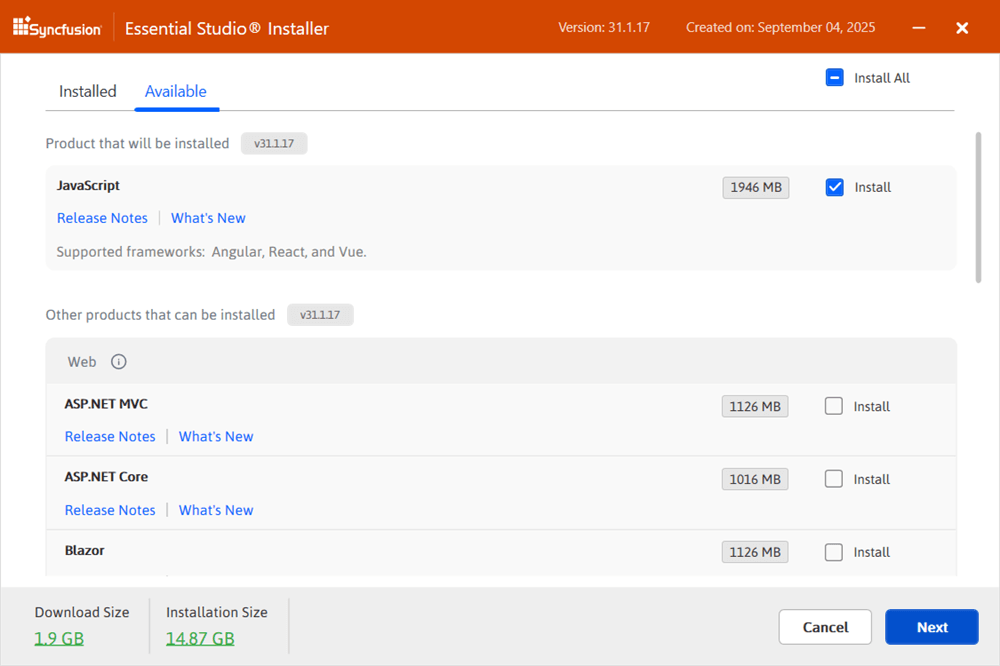
The Platform Selection Wizard appears. From the Available tab, select the products to install. To install all products, select the Install All check box.
Available
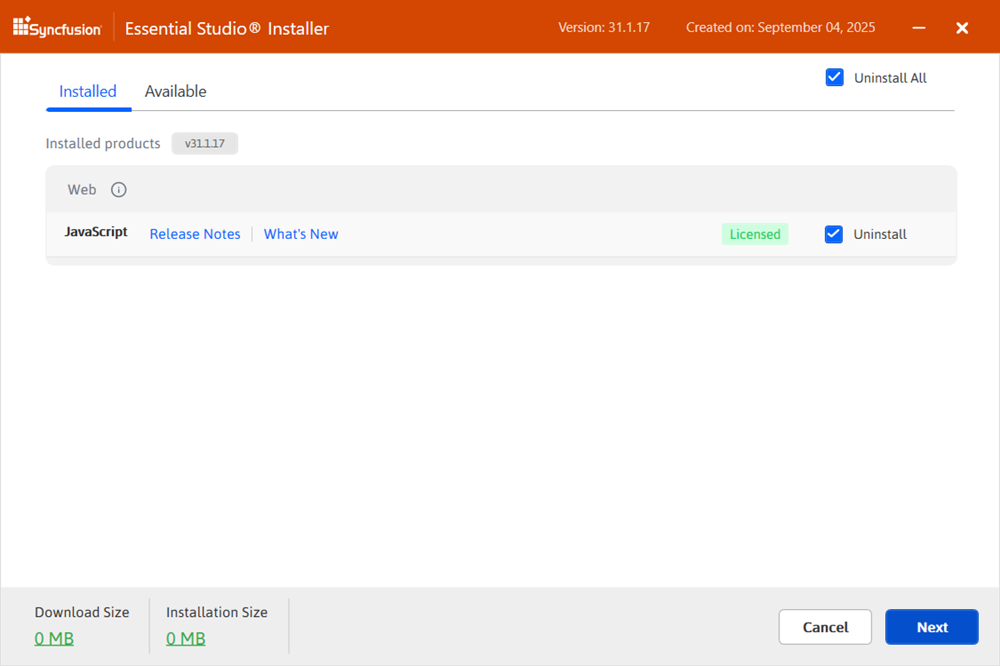
If you have multiple products installed in the same version, they appear under the Installed tab. You can also select which products to uninstall from the same version. Click Next.
Installed
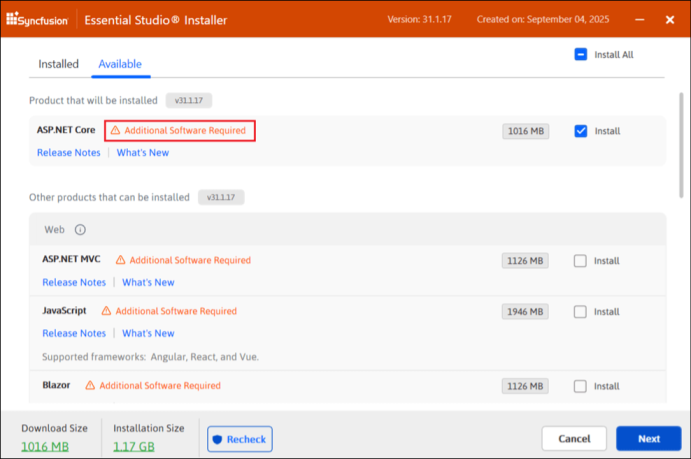
If the required software for the selected product is not already installed, the Additional Software Required alert will appear. You can continue the installation and install the necessary software later.
Required Software
-
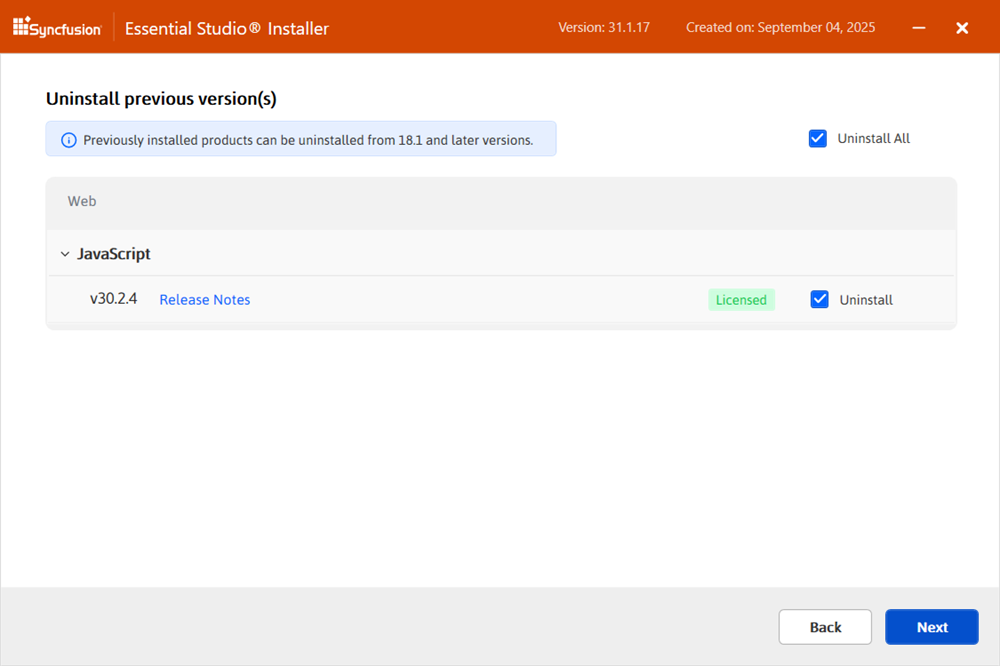
If previous versions of the selected products are installed, the Uninstall Previous Version wizard is displayed. The list of previously installed versions for the products you have chosen is shown here. To remove all versions, check the Uninstall All check box. Click Next.
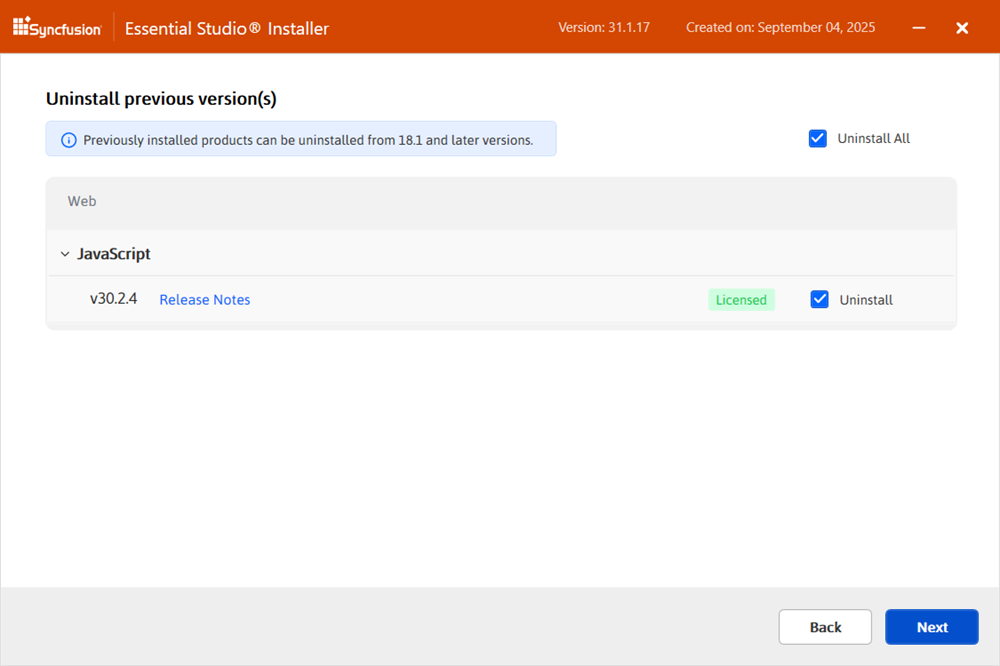
From the 2021 Volume 1 release, Syncfusion® provides the option to uninstall previous versions from 18.1 onward while installing the new version.
-
A pop-up screen is displayed to confirm the uninstall of the selected previous versions. Click Continue to proceed.
-
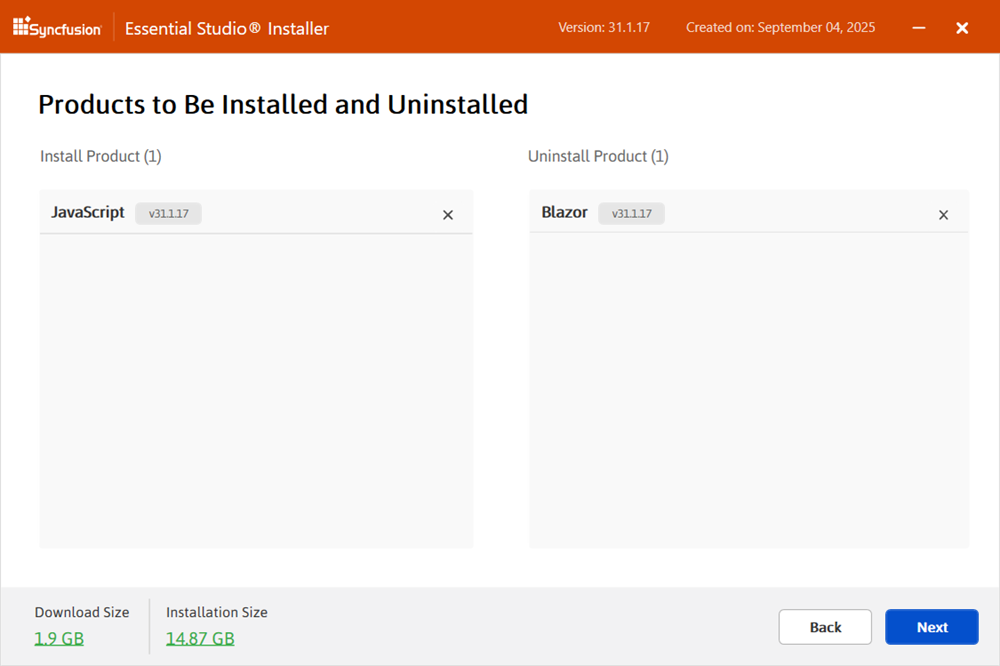
The Confirmation Wizard appears with the list of products to be installed and uninstalled. You can view and modify the list of products that will be installed and uninstalled from this page.
By clicking the Download Size and Installation Size links, you can determine the approximate size of the download and installation.
-
The Configuration Wizard appears. You can change the Download, Install, and Demos locations from here. You can also change the Additional Settings on a product-by-product basis. Click Next to install with the default settings.
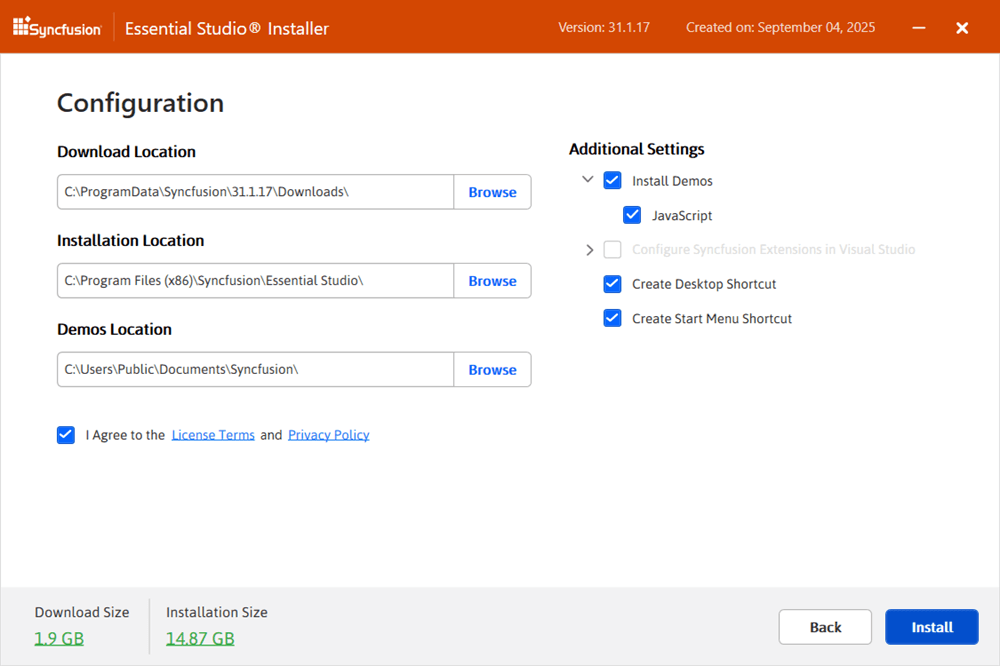
Additional Settings
- Select the Install Demos check box to install Syncfusion® samples, or leave the check box unchecked if you do not want to install samples.
- Select the Configure Syncfusion® Extensions controls in Visual Studio check box to configure the Syncfusion® Extensions in Visual Studio. Clear this check box if you do not want to configure the extensions.
- Check the Create Desktop Shortcut check box to add a desktop shortcut for Syncfusion® Control Panel.
- Check the Create Start Menu Shortcut check box to add a shortcut to the start menu for Syncfusion® Control Panel.
-
After reading the License Terms and Conditions, check the I agree to the License Terms and Privacy Policy check box. Click Next.
-
The Login Wizard appears. Enter your Syncfusion® email address and password. If you do not already have a Syncfusion® account, you can create one by clicking Create an Account. If you have forgotten your password, click Forgot Password to create a new one. Click Install.
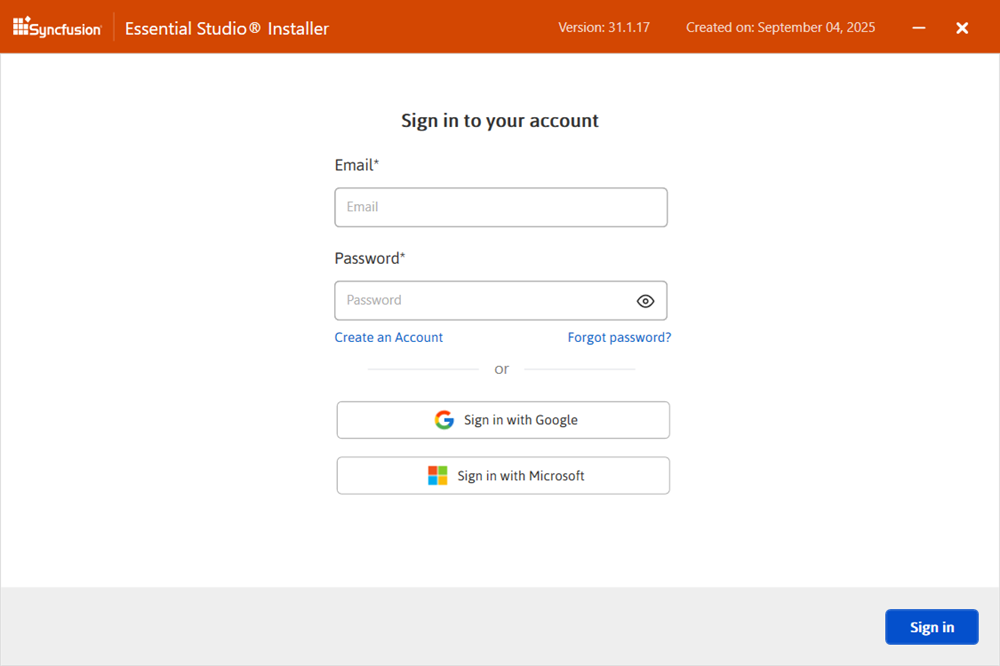
The products you have chosen will be installed based on your Syncfusion® license (Trial or Licensed).
-
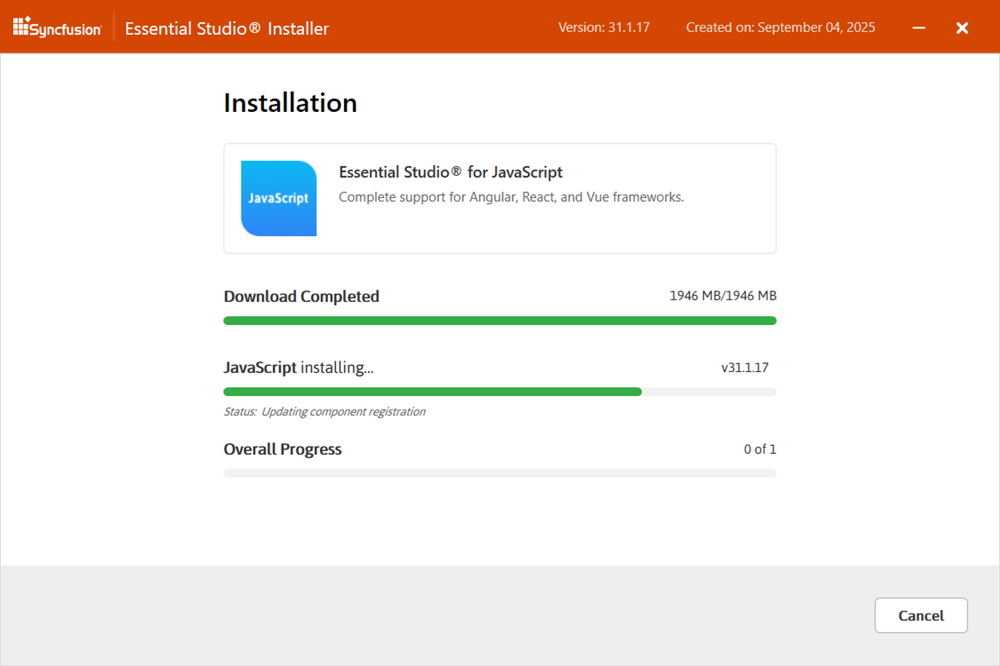
The download and installation / uninstallation progress is displayed as shown below.
-
When the installation is finished, the Summary wizard appears. Here you can see the list of products that have been installed successfully and those that have failed. To close the Summary wizard, click Finish.
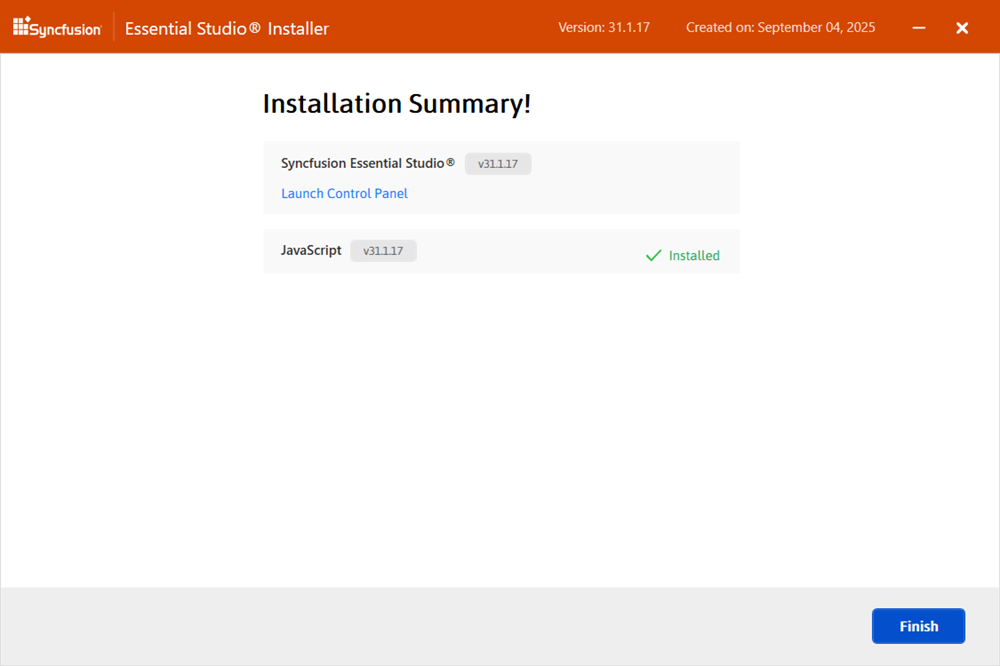
- To open the Syncfusion® Control Panel, click Launch Control Panel.
-
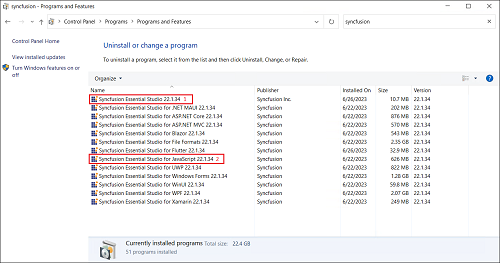
After installation, there are two Syncfusion® Control Panel entries, as shown below. The Essential® Studio® entry manages all Syncfusion® products installed in the same version, while the Product entry only uninstall the specific product setup.
Uninstallation
The Syncfusion® JavaScript - EJ2 web installer can be uninstalled in two ways:
- Uninstall the JavaScript - EJ2 installer using the Syncfusion® JavaScript - EJ2 web installer.
- Uninstall the JavaScript - EJ2 installer from the Windows Control Panel.
Follow either one of the options below to uninstall the Syncfusion® Essential® Studio® JavaScript - EJ2 installer.
Option 1: Uninstall the JavaScript - EJ2 using the web installer
Syncfusion® provides the option to uninstall products of the same version directly from the Web Installer application. Select the products to be uninstalled from the list, and the Web Installer will uninstall them one by one.
-
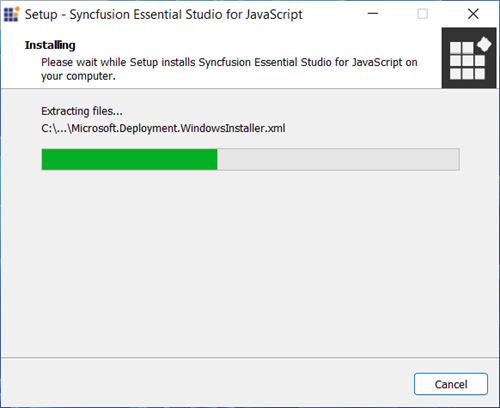
Open the Syncfusion® Essential® Studio® JavaScript - EJ2 Online Installer file from the downloaded location by double-clicking it. The Installer Wizard automatically opens and extracts the package.
-
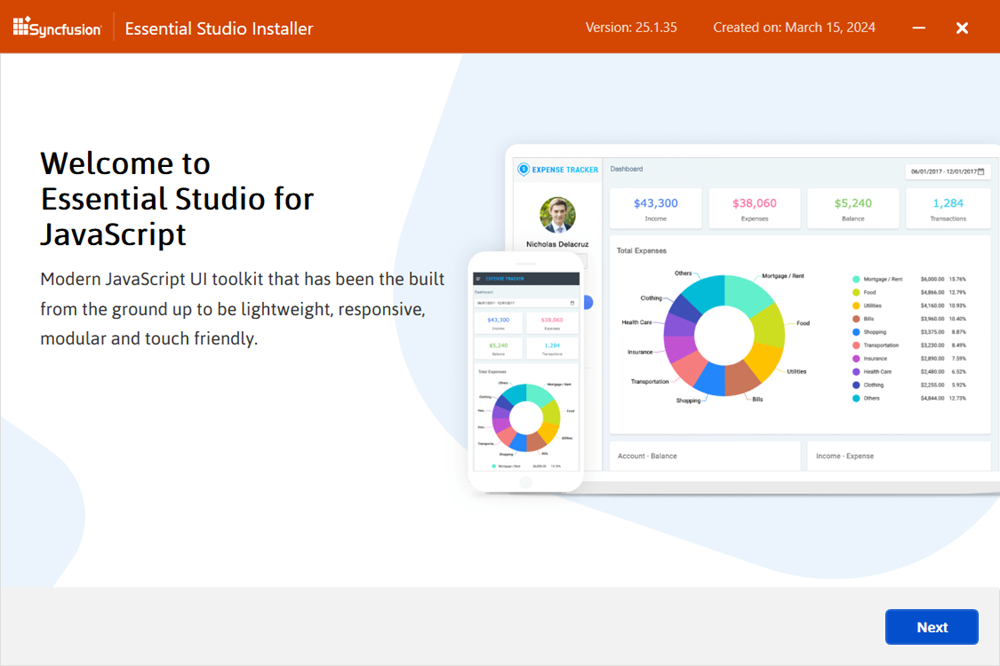
The Syncfusion® JavaScript - EJ2 Web Installer’s welcome wizard is displayed. Click Next.
-
From the Platform Selection Wizard, use the Installed tab to choose the products to uninstall. To uninstall all products, check the Uninstall All check box. Click Next, then follow the on-screen prompts to confirm and complete the uninstallation.
Option 2: Uninstall the JavaScript - EJ2 from the Windows Control Panel
You can uninstall all installed products by selecting the Syncfusion® Essential Studio® {version} entry (element 1 in the screenshot below) from the Windows Control Panel. Alternatively, you can uninstall only the JavaScript - EJ2 product by selecting the Syncfusion® Essential Studio® for JavaScript - EJ2 {version} entry (element 2 in the screenshot below).
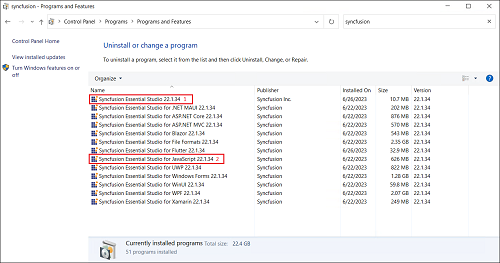
If the Syncfusion® Essential Studio® for JavaScript - EJ2 {version} entry is selected from the Windows Control Panel, only the Syncfusion® Essential Studio® JavaScript - EJ2 product is removed, and the default MSI uninstallation window is displayed.
-
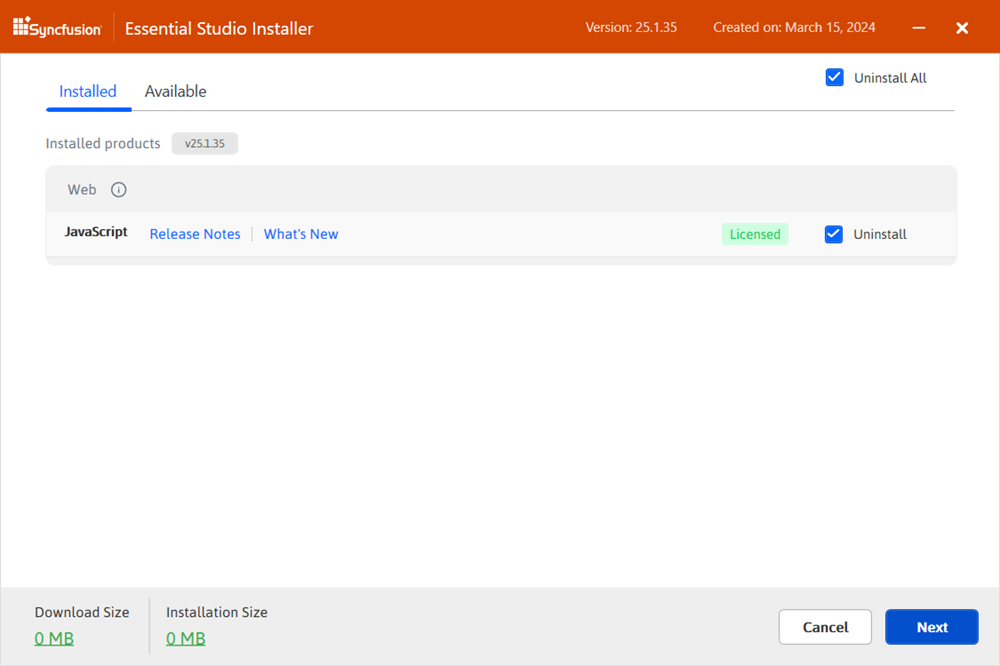
The Platform Selection Wizard appears. From the Installed tab, select the products to be uninstalled. To select all products, check the Uninstall All check box. Click Next.
Installed
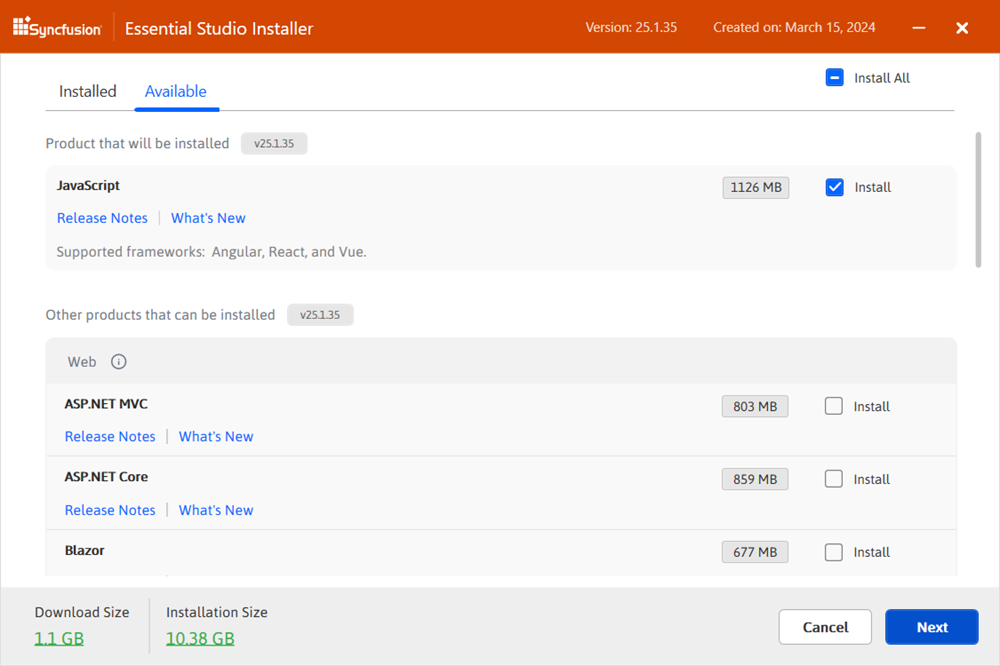
You can also select the products to install from the Available tab. Click Next.
Available
-
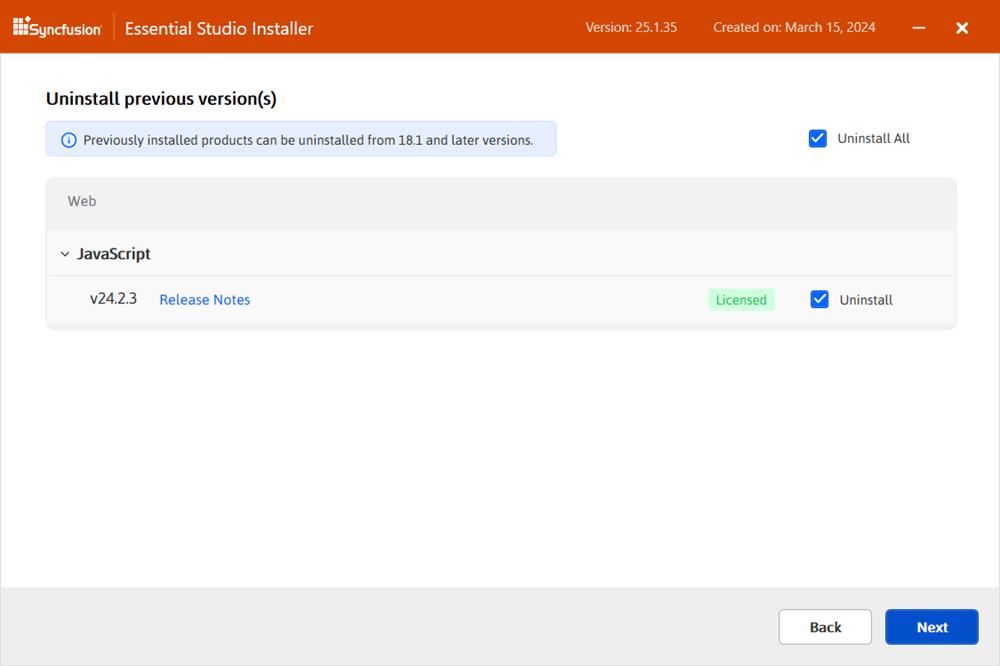
If any other products are selected for installation, the Uninstall Previous Version wizard is displayed with the previous version(s) installed for the selected products. You can view the list of installed previous versions for the selected products. To select all versions, check the Uninstall All check box. Click Next.
-
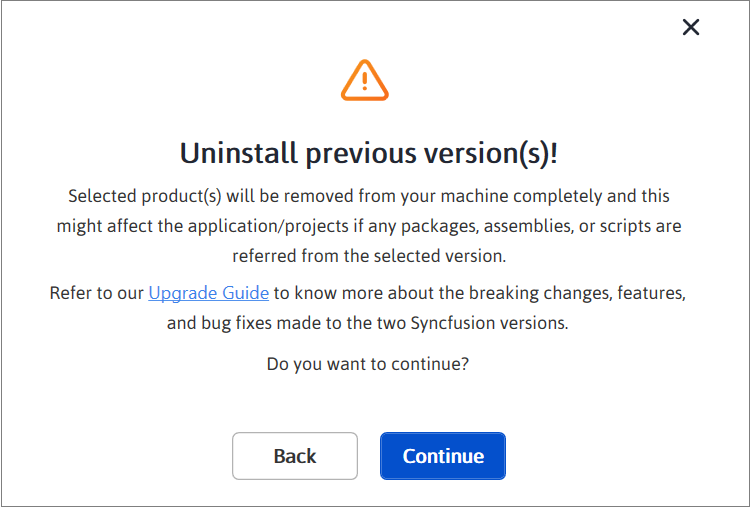
A pop-up screen is displayed to confirm the uninstall of the selected previous versions.
-
The Confirmation Wizard appears with the list of products to be installed and uninstalled. You can view and modify the list of products that will be installed and uninstalled from this page.
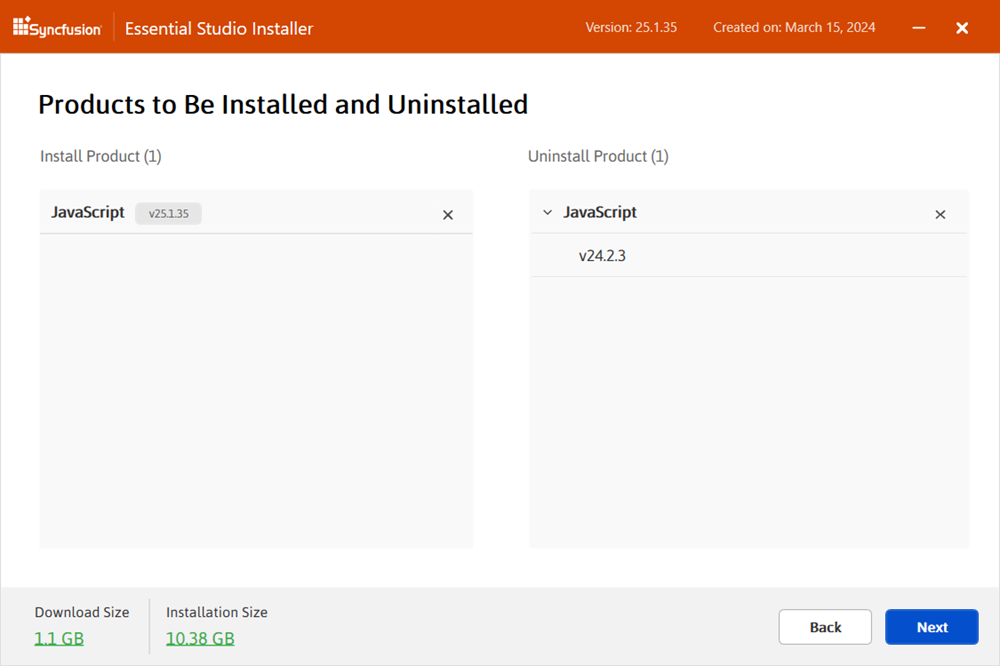
By clicking the Download Size and Installation Size links, you can determine the approximate size of the download and installation.
-
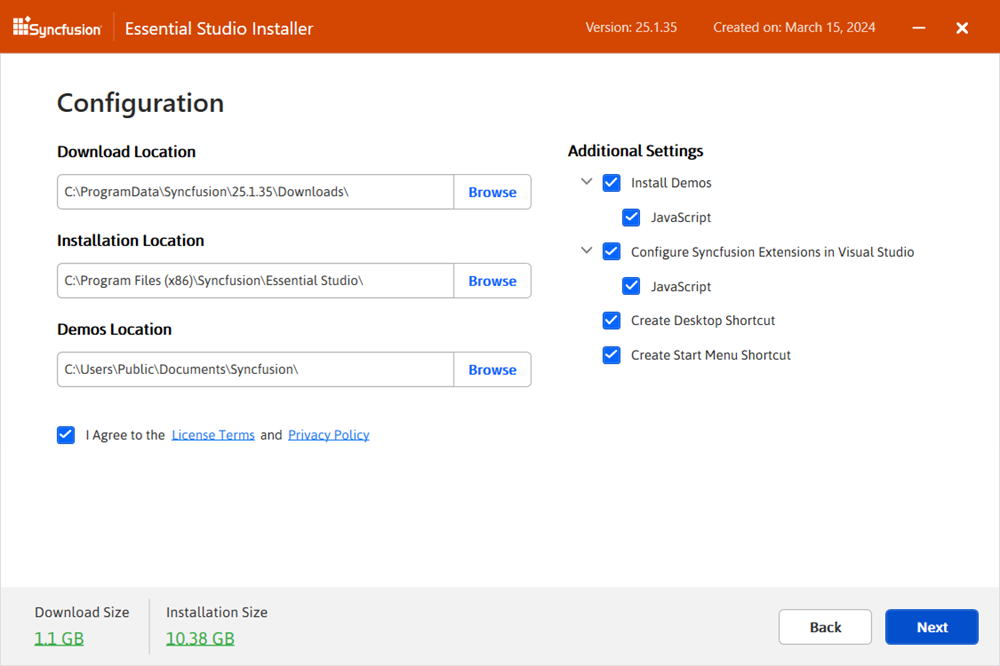
The Configuration Wizard appears. You can change the Download, Install, and Demos locations from here. You can also change the Additional Settings on a product-by-product basis. Click Next to install with the default settings.
-
After reading the License Terms and Conditions, check the I agree to the License Terms and Privacy Policy check box. Click Next.
-
The Login Wizard appears. Enter your Syncfusion® email address and password. If you do not already have a Syncfusion® account, you can create one by selecting Create an Account. If you have forgotten your password, select Forgot Password to reset it. Click Install.
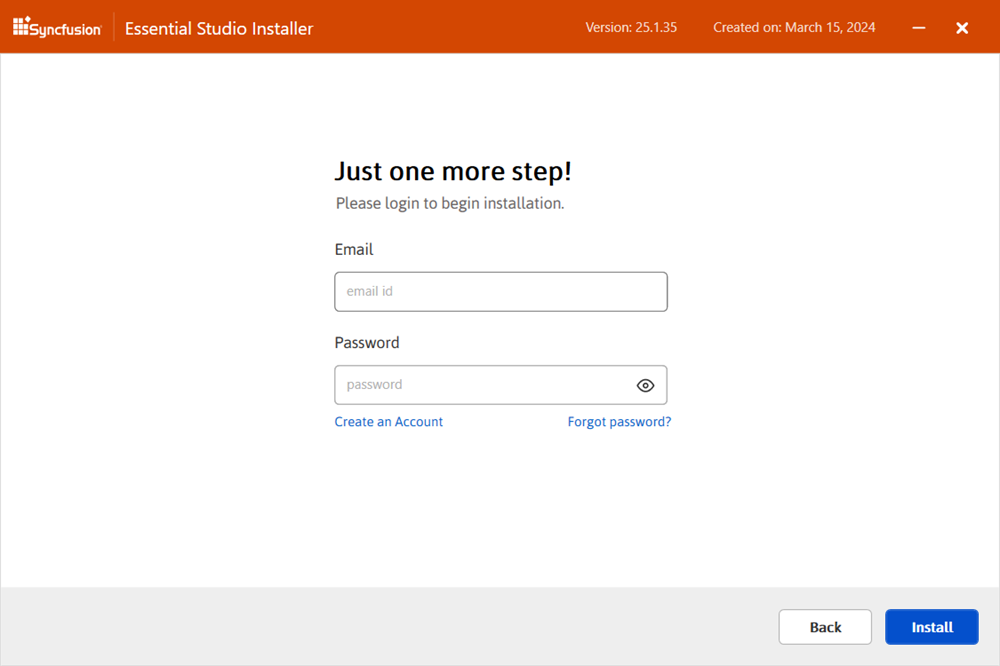
The products you have chosen will be installed based on your Syncfusion® license (Trial or Licensed).
-
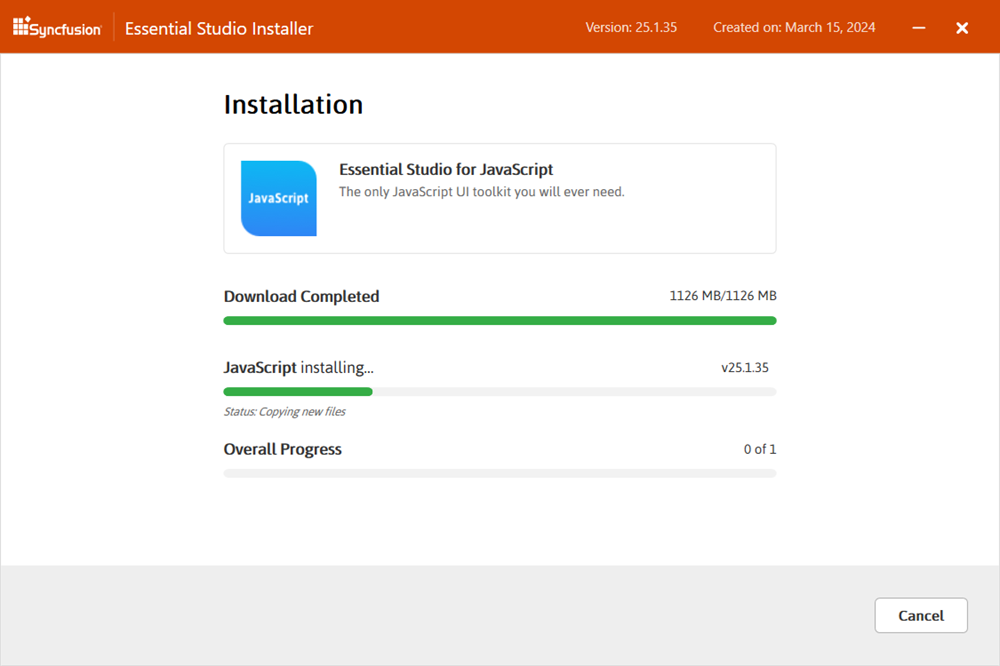
The download, installation, and uninstallation progress is shown.
-
When the installation is complete, the Summary wizard appears. Here you can see the list of products that were installed or uninstalled successfully, and any that failed. To close the Summary wizard, click Finish.
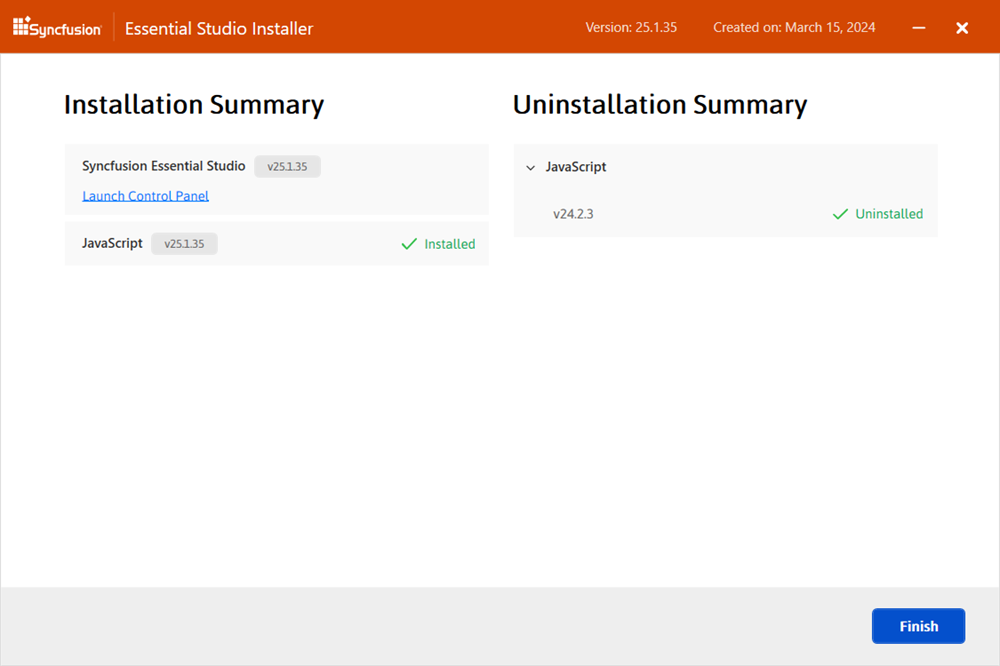
- To open the Syncfusion® Control Panel, click Launch Control Panel.
Troubleshooting
| Issue | Possible Cause | Suggested Fix |
|---|---|---|
| Installer fails with “Another installation is in progress.” | Another MSI installation is currently running. | End the running msiexec.exe process in Task Manager, or wait for the other install to finish. See Common Installation Errors. |
| “Additional Software Required” alert blocks install. | A prerequisite such as Node.js, Visual Studio, or another runtime is missing. | Install the listed prerequisite and re-run the Web Installer, or continue and install the prerequisite later. |
| Installer cannot download products during install. | No internet connection, or a firewall is blocking the download. | Verify your connection and allow the installer through your firewall or proxy. |
| License warning appears after install. | The unlock key was not applied, or the trial expired. | Re-run the installer, sign in with the licensed account, or apply the unlock key. See Common Installation Errors. |
| Old version is still listed in the Control Panel after upgrade. | The previous version was not selected for uninstall during the install. | Re-run the installer, choose Uninstall for the old version, or remove it from Apps & features in Windows Settings. |
For additional help, see Common Installation Errors.