Getting Started with Angular File Manager component
4 Jul 20264 minutes to read
The File Manager component provides a graphical user interface for browsing, managing, and organizing files and folders. This section explains how to create a simple File Manager component and its basic usage.
Prerequisites
Ensure your development environment meets the System Requirements for Syncfusion® Angular UI Components.
Setup the Angular application
A straightforward approach to beginning with Angular is to create a new application using the Angular CLI. Install Angular CLI globally with the following command:
npm install -g @angular/cliAngular 21 Standalone Architecture: Standalone components are the default in Angular 21. This guide uses the modern standalone architecture. If you need more information about the standalone architecture, refer to the Standalone Guide.
Create a new application
With Angular CLI installed, execute this command to generate a new application:
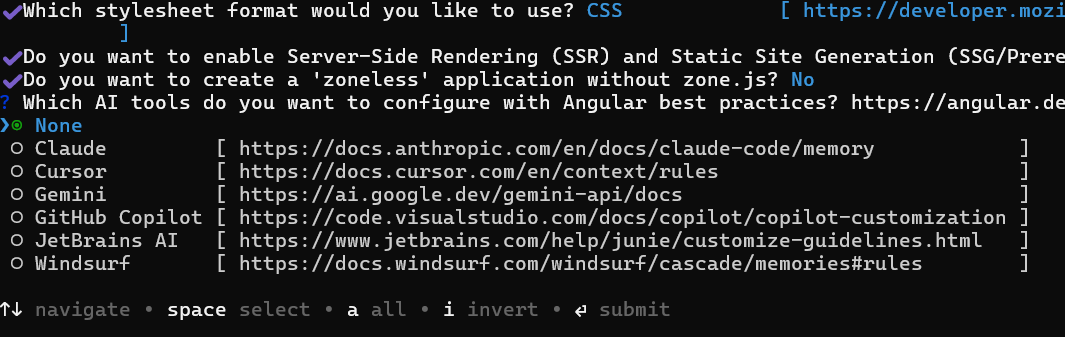
ng new syncfusion-angular-app- This command will prompt you to configure settings like enabling Angular routing and choosing a stylesheet format.
? Which stylesheet format would you like to use? (Use arrow keys)
> CSS             [ https://developer.mozilla.org/docs/Web/CSS                     ]
  Sass (SCSS)     [ https://sass-lang.com/documentation/syntax#scss                ]
  Sass (Indented) [ https://sass-lang.com/documentation/syntax#the-indented-syntax ]
Less [ http://lesscss.org ]- By default, a CSS-based application is created. Use SCSS if required:
ng new syncfusion-angular-app --style=scss- During project setup, when prompted for the Server-side rendering (SSR) option, choose the appropriate configuration.

- Select the required AI tool or ‘none’ if you do not need any AI tool.
- Navigate to your newly created application directory:
cd syncfusion-angular-appNote: In Angular 19 and below, it uses
app.component.ts,app.component.html,app.component.cssetc. In Angular 20+, the CLI generates a simpler structure withsrc/app/app.ts,app.html, andapp.css(no.component.suffixes).
Adding Syncfusion® Angular packages
To install the File Manager component, use the following command:
npm install @syncfusion/ej2-angular-filemanager --saveAdding CSS reference
To install the Material3 theme package, use the following command:
npm i @syncfusion/ej2-material3-themeIn this package, the File Manager component includes an index.css file that automatically loads all the required dependency styles. Add the following import to the src/styles.css file.
@import "../node_modules/@syncfusion/ej2-material3-theme/styles/file-manager/index.css";Ensure that the import order aligns with the component’s dependency sequence.
For using SCSS styles, refer to this guide.
Add File Manager component
Modify the template in the src/app/app.ts file to render the File Manager component. Add the Angular File Manager by using <ejs-filemanager> selector in template section of the app.ts file.
The ajaxSettings property must be defined while initializing the File Manager. File Manager utilizes the URL’s mentioned in ajaxSettings to send file operation request to the server. The File Manager service link is provided in the hostUrl variable.
import { BrowserModule } from '@angular/platform-browser'
import { NgModule } from '@angular/core'
import { FileManagerModule } from '@syncfusion/ej2-angular-filemanager'
import { Component } from '@angular/core';

@Component({
  imports: [FileManagerModule,],
  standalone: true,
  selector: 'app-root',
  template: `<ejs-filemanager id='default-filemanager' #filemanagerObj [ajaxSettings]='ajaxSettings' height="375px">
  </ejs-filemanager>`
})
export class App {
  public hostUrl: string = 'https://ej2-aspcore-service.azurewebsites.net/';
  public ajaxSettings: object = {
    url: this.hostUrl + 'api/FileManager/FileOperations'
  };
}
@import "node_modules/@syncfusion/ej2-material3-theme/styles/file-manager/index.css";import { bootstrapApplication } from '@angular/platform-browser';
import { App } from './app.component';
import 'zone.js';
bootstrapApplication(App).catch((err) => console.error(err));Run the application
Use the npm start command to run the application in the browser:
npm startNOTE
Looking for the full Angular File Manager component overview, features, pricing, and documentation? Visit the Angular File Manager page.