Search results
Getting Started with Syncfusion JavaScript (Essential JS 2) library and Ionic Framework
23 Mar 2023 / 3 minutes to read
This article provides a step-by-step introduction to configure Syncfusion JavaScript (Essential JS 2) library and build it in the Ionic framework.
Prerequisites
Setup development environment
- Open the command prompt, and run the following command line to install the
ionicwith global flag.
on Windows:
npm install -g ionic cordovaon OSX / LINUX:
sudo npm install -g ionic cordova- Then, run the following command line to create a new Ionic blank template application. The new application will be placed under
ej2-ionicfolder after the command complete its process, and it will install the defaultnpmdependent packages when creating the application.
ionic start ej2-ionic blankThe list of available starter template can be listed by running
ionic start --listcommand line.
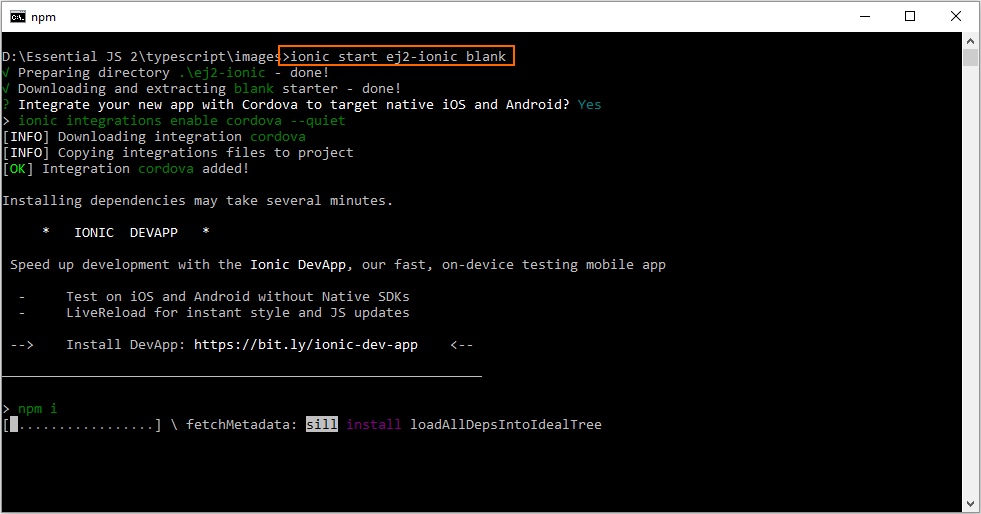
Type
yesand press the Enter key if the application needs to be integrated with Cordova to target native IOS and Android.
Configuring Syncfusion JavaScript UI control in application
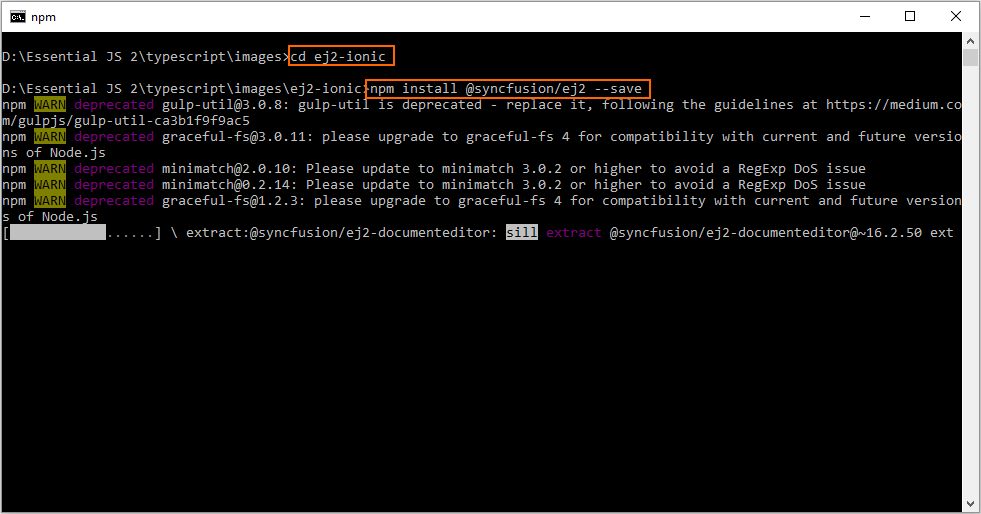
- Navigate to the
ej2-ionicfolder from the command prompt, and install the@syncfusion/ej2npm package in the application using the following command line.
cd ej2-ionic
npm install @syncfusion/ej2 --save
- For getting started, the Calendar control will be added in the new application. Open the application in Visual Studio Code, and add the
<div>element inside the<ion-content>element in~/src/app/home/home.page.htmlfile for rendering the Calendar control.
<ion-header>
    ....
    ....
</ion-header>

<ion-content padding>
    ....
    ....

    <h2>Essential JS 2 Calendar</h2>
    <!--HTML element which is going to render as Essential JS 2 Calendar control-->
    <div id="element"></div>
</ion-content>- Import the Calendar class from
@syncfusion/ej2-calendarspackage, and render the Calendar control inside theplatform.ready()method’s callback function ofMyAppclass in~/src/app/home/home.page.tsfile.
....
....
import { Calendar } from "@syncfusion/ej2-calendars";

@Component({
    templateUrl: 'home.page.html'
})

export class MyApp {
    rootPage:any = HomePage;

    constructor(platform: Platform, statusBar: StatusBar, splashScreen: SplashScreen) {
        platform.ready().then(() => {
            ....
            ....

            // initialize calendar control
            let calendarObject = new Calendar();

            // render initialized calendar
            calendarObject.appendTo('#element');
        });
    }
}- Add the Syncfusion JavaScript styles inside
<head>element in~/src/index.htmlfile.
<!DOCTYPE html>
<html lang="en" dir="ltr">
    <head>
        ....
        ....
        <!-- Essential JS 2 styles -->
        <link href="https://cdn.syncfusion.com/ej2/20.4.48/material.css" rel="stylesheet">
    </head>

    <body>
        ....
        ....
    </body>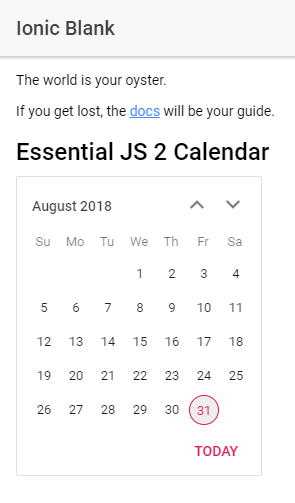
</html>- Finally, run the following command line to start the Ionic application.
ionic serveThe Calendar control will be rendered in the Ionic application as shown in the following screenshot.
HELP US TO IMPROVE THIS PAGE
Thank you for your feedback and comments.We will rectify this as soon as possible!