How can I help you?
Visual Studio Code Extensions
2 Feb 20262 minutes to read
Create project
Syncfusion® provides project templates for Visual Studio Code to streamline the creation of Syncfusion® React applications. These templates automatically configure the project with required Syncfusion NPM packages, component render code for Grid, Chart, and Scheduler components, and appropriate styling to accelerate development with Syncfusion components.
The Syncfusion Visual Studio Code project template provides support for web project templates from v18.3.0.47.
Follow the steps below to create a Syncfusion Web Application using Visual Studio Code:
-
In Visual Studio Code, open the command palette by pressing Ctrl+Shift+P. In the palette, search for Syncfusion to view the available templates.

-
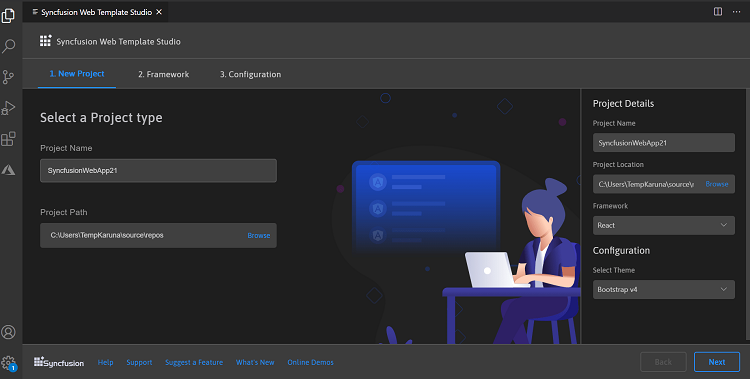
Select Syncfusion Web Template Studio: Launch and press Enter. The Template Studio wizard appears for configuring the Syncfusion Web app. Provide the required project name and path, then choose a framework (React, Pure React, Angular, or Vue).
-
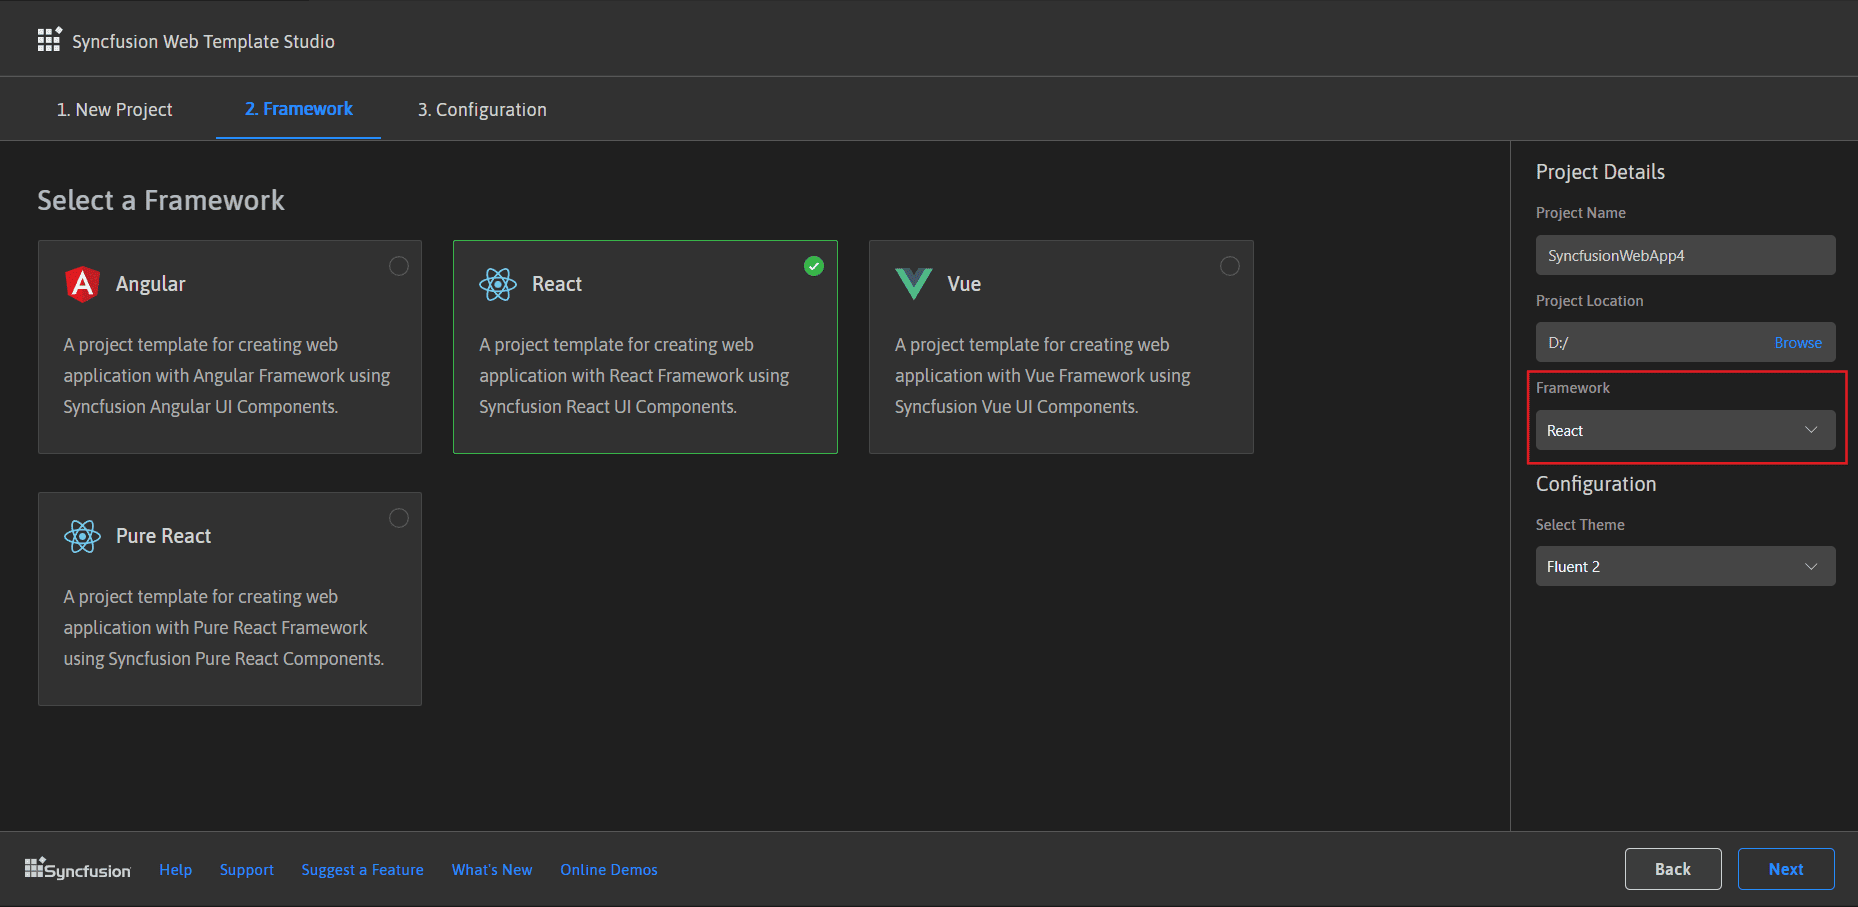
Click Next or open the Framework tab to select a framework:
- React
- Pure React
- Angular
- Vue
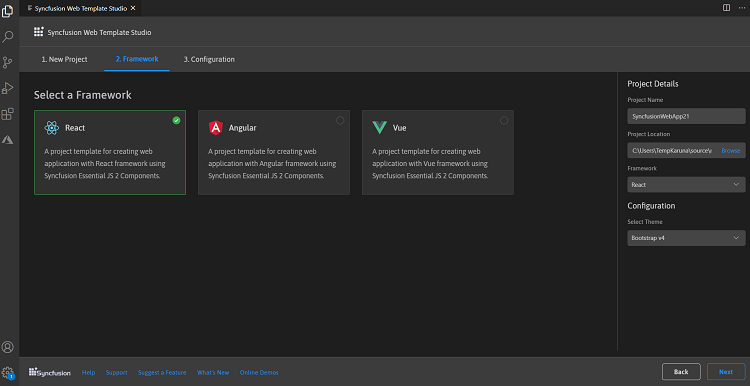
If you choose React, it will appear in the Project Details section and you can proceed to create the React application.
-
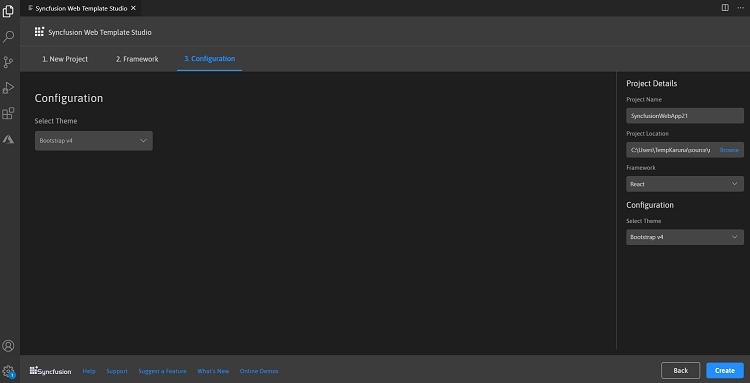
Click Next or open the Configuration tab to choose the preferred theme and other options, then click Create. The project will be created.
-
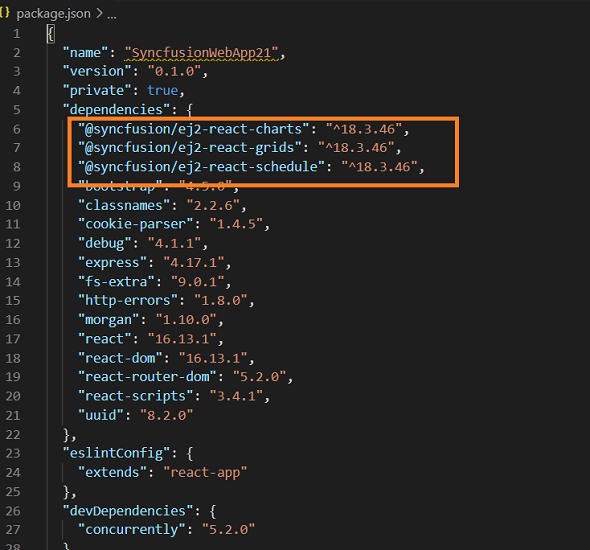
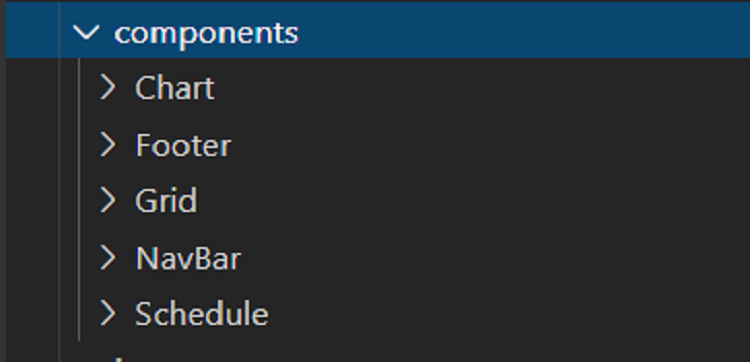
The created Syncfusion Web App is configured with Syncfusion NPM packages, styles, and component render code for the selected Syncfusion components.

Run the application
-
Press F5 or navigate to Run > Start Debugging.

-
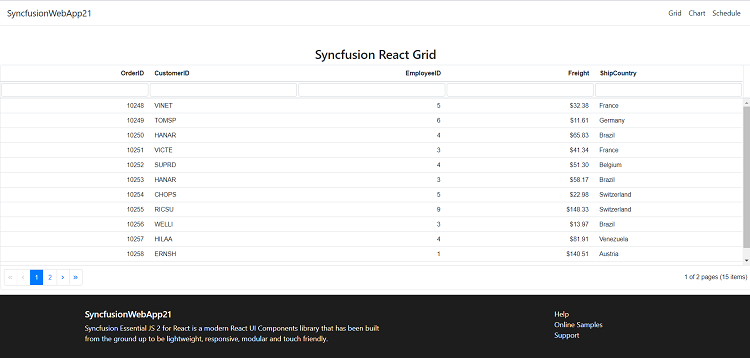
After compilation completes, open the localhost URL shown in the terminal or browser to view the output.
Add Syncfusion® components to the application
The template showcases Chart, Grid, and Schedule components. To use other Syncfusion components, install the required component package and import it in your application. For npm package details, see Installation with npm packages.
Upgrading npm packages
When creating a new Syncfusion web app, the template installs the latest package versions. To update packages in an existing project without uninstalling, see Update npm packages.