ASP.NET Web API Remote Data Binding in Syncfusion React Components
20 May 202616 minutes to read
The WebApiAdaptor extends the ODataAdaptor and is specifically designed to interact with Web APIs that support OData query conventions. It facilitates seamless communication with Web API endpoints, enabling efficient data operations while ensuring compatibility with standard Web API architecture.
WebApiAdaptor vs ODataV4Adaptor
While both adaptors work with OData-style queries, they have distinct use cases:
| Feature | WebApiAdaptor | ODataV4Adaptor |
|---|---|---|
| Server type | ASP.NET Web API with custom handling. | Full OData V4 service. |
| Query format | OData query strings. | Standard OData V4 protocol. |
| Response format | Custom: { Items: [], Count: number }
|
Standard OData: { value: [], @odata.count: number }
|
| Server control | Full control over query processing. | Framework handles queries automatically. |
| Use case | Existing Web APIs with custom logic. | Standard OData V4 services. |
WebApiAdaptor is compatible with existing ASP.NET Web API projects, provides full control over server‑side query processing, allows flexible response formatting and custom business logic implementation, and supports OData‑style query syntax without requiring the full OData infrastructure.
Prerequisites
| Software | Recommended version | Download / Command |
|---|---|---|
| Visual Studio | Community, Professional, or Enterprise | Visual Studio |
| Node.js | 14.0 or later | Node.js |
Configure Web API service in ASP.NET Core (server-side)
This section covers the complete configuration of an ASP.NET Core Web API service for data operations with WebApiAdaptor.
Backend setup (ASP.NET Core API)
ASP.NET Core is a powerful backend framework that offers cross‑platform support, high performance, and built‑in dependency injection. It integrates seamlessly with Syncfusion’s DataManagerRequest and QueryableOperation, enabling efficient parameter parsing, filtering, sorting, and paging with strong typing. This combination ensures scalable APIs that deliver optimized query handling and a smooth experience.
Step 1: Create project
New projects can be created in several ways depending on the platform.
Option 1: Visual Studio
To create the project, launch Visual Studio or later, select Create a new project, choose the ASP.NET Core with React.js template, and click Next. Set the project name to WebApiAdaptor, choose the location, then click Create, select .NET 8.0 or later, and finalize by clicking Create again.
Reference: For detailed React and ASP.NET Core integration guidance, consult the official Microsoft documentation.
Option 2: Using terminal
Windows (PowerShell):
Press the Windows key, type PowerShell, and press Enter. A terminal window opens for running commands.
Visual Studio Code:
Open VS Code, then from the top menu select View → Terminal. The integrated terminal appears at the bottom of the editor.
macOS (Terminal):
Press Command + Space to open Spotlight Search, type Terminal, and press Enter.
dotnet new react -n WebApiAdaptor
cd WebApiAdaptor
Project structure after creation:
WebApiAdaptor/
├── WebApiAdaptor.client/           # React frontend (Vite/React project).
│   ├── src/
│   │   ├── App.css
│   │   └── App.jsx                  # Add WebApiAdaptor here.
│   └── package.json
└── WebApiAdaptor.Server/            # ASP.NET Core backend (API).
    ├── Controllers/                 # API controllers (will be created here).
    ├── Models/                      # Data models (will be created here).
    └── Program.cs                   # Server configuration.
Step 2: Install required NuGet package
In Visual Studio, navigate to Tools → NuGet Package Manager → Manage NuGet Packages for Solution, select the Browse tab, search for Microsoft.AspNetCore.Mvc.NewtonsoftJson, select the package version matching your project’s target framework , and click Install.
The Microsoft.AspNetCore.Mvc.NewtonsoftJson package provides essential JSON serialization extensions for ASP.NET Core applications, including:
- Enabling the
Newtonsoft.Jsonserializer instead of the defaultSystem.Text.Json. - Support for property casing, contract resolution, and custom naming strategies.
- Configuration options for reference loop handling, null value handling, and date formatting.
- Backward compatibility for applications previously relying on
Newtonsoft.Jsonbehavior
This package is required when applying JSON casing in Syncfusion ASP.NET Core Grid. Refer to the troubleshooting guide for more details.
Data model definition
-
In Solution Explorer, right-click the Server project, choose Add → New Folder, and name it Models.
-
Right-click the Models folder, select Add → Class, name it OrdersDetails.cs, and replace its default content with the provided implementation.
namespace WebApiAdaptor.Server.Models
{
    public class OrdersDetails
    {
        public static List<OrdersDetails> order = new List<OrdersDetails>();

        public OrdersDetails()
        {

        }

        public OrdersDetails(
            int OrderID, string CustomerId, int EmployeeId, double Freight, bool Verified,
            DateTime OrderDate, string ShipCity, string ShipName, string ShipCountry,
            DateTime ShippedDate, string ShipAddress)
        {
            this.OrderID = OrderID;
            this.CustomerID = CustomerId;
            this.EmployeeID = EmployeeId;
            this.Freight = Freight;
            // Add the remining fields.
            .  .  .
            .  .  .
            .  .  .
        }

        public static List<OrdersDetails> GetAllRecords()
        {
            if (order.Count() == 0)
            {
                int code = 10000;
                for (int i = 1; i < 10; i++)
                {
                    order.Add(new OrdersDetails(code + 1, "ALFKI", i + 0, 2.3 * i, false, new DateTime(1991, 05, 15), "Berlin", "Simons bistro", "Denmark", new DateTime(1996, 7, 16), "Kirchgasse 6"));
                    order.Add(new OrdersDetails(code + 2, "ANATR", i + 2, 3.3 * i, true, new DateTime(1990, 04, 04), "Madrid", "Queen Cozinha", "Brazil", new DateTime(1996, 9, 11), "Avda. Azteca 123"));
                    ...
                    ...
                    ...
                    code += 5;
                }
            }
            return order;
        }

        public int? OrderID { get; set; }
        public string? CustomerID { get; set; }
        public int? EmployeeID { get; set; }
        public double? Freight { get; set; }
        // Add the remining fields.
        ...
        ...
        ...
    }
}
Model components explained:
- Static list: In-memory data storage for demonstration purposes.
- Constructor: Initializes order properties with sample data.
- GetAllRecords(): Static method generating 45 sample order records for testing.
-
Nullable properties (
?): Allow optional field values. - Production Implementation: Replace in-memory data with database integration using Entity Framework Core.
Step 3: Web API controller configuration
-
In Solution Explorer, right-click the Server project, select Add → New Folder, and name it Controllers (if it doesn’t already exist).
-
Right-click the Controllers folder, choose Add → Controller, select API Controller - Empty, name it OrdersController.cs, and replace its generated content with the provided basic GET implementation.
This initial implementation returns all data in the format required by WebApiAdaptor: { Items: [], Count: number }
using Microsoft.AspNetCore.Mvc;
using WebApiAdaptor.Server.Models;

namespace WebApiAdaptor.Server.Controllers
{
    [Route("api/[controller]")]
    [ApiController]
    public class OrdersController : ControllerBase
    {
        /// <summary>
        /// Retrieves all orders with custom response format required by WebApiAdaptor.
        /// </summary>
        /// <returns>Object containing Items array and Count property</returns>
        [HttpGet]
        public object Get()
        {
            var data = OrdersDetails.GetAllRecords().ToList();

            // WebApiAdaptor requires this specific response format
            return new { Items = data, Count = data.Count() };
        }
    }
}
Controller implementation analysis:
-
[Route(“api/[controller]”)]: Defines API endpoint as
/api/Orders. - [ApiController]: Enables automatic model validation and routing features.
-
Response format: Returns object with two properties:
-
Items: Array of order records. -
Count: Total number of records (required for pagination).
-
-
Why this format?: WebApiAdaptor expects
{ Items, Count }structure, unlike OData which uses{ value, @odata.count }.
Step 4: CORS configuration
Web API projects require CORS (Cross-Origin Resource Sharing) configuration to allow React client to communicate with the API server.
Open Program.cs and add CORS configuration:
using Newtonsoft.Json.Serialization;

var builder = WebApplication.CreateBuilder(args);

// Add services to the container.
builder.Services.AddControllers();

// Learn more about configuring OpenAPI at https://aka.ms/aspnet/openapi
builder.Services.AddOpenApi();

// Add CORS support (required for React app to call API).
builder.Services.AddCors(options =>
{
    options.AddDefaultPolicy(policy =>
    {
        policy.AllowAnyOrigin()  // Allows requests from any origin.
              .AllowAnyMethod()  // Allows all HTTP methods (GET, POST, PUT, DELETE).
              .AllowAnyHeader(); // Allows any request headers.
    });
});

// Add NewtonsoftJson for controlling JSON contract resolution (required for casing behavior).
builder.Services.AddMvc().AddNewtonsoftJson(options =>
{
    options.SerializerSettings.ContractResolver =
        new DefaultContractResolver(); // Applies PascalCase (DefaultContractResolver).
});

var app = builder.Build();

app.UseDefaultFiles();
app.MapStaticAssets();

// Configure middleware.
if (app.Environment.IsDevelopment())
{
    app.UseDeveloperExceptionPage();
}

app.UseHttpsRedirection();
app.UseCors(); // Important: Enable CORS middleware.
app.UseAuthorization();
app.MapControllers();

app.Run();
AllowAnyOrigin()is suitable for development. Production environments should specify exact origins:policy.WithOrigins("https://yourdomain.com")
Step 5: Web API service verification
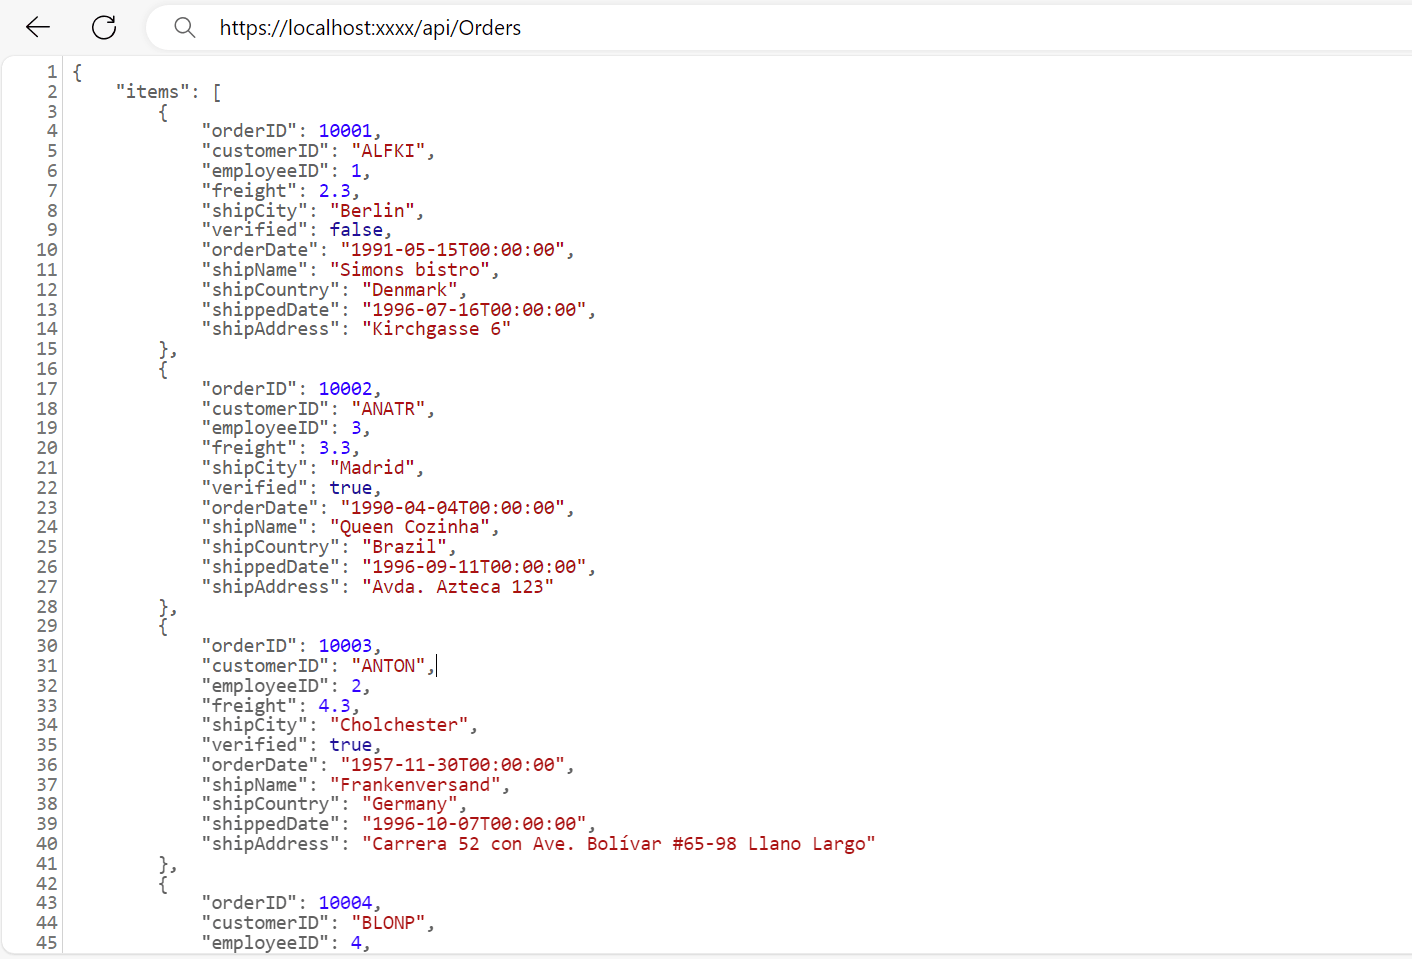
Run the application in Visual Studio by pressing F5 or clicking the Run button and the application launches and opens in default browser like https://localhost:xxxx. Verify the API returns order data at https://localhost:xxxx/api/Orders, where xxxx is the port.
Example response:
{
  "Items": [
    {
      "orderID": 10001,
      "customerID": "ALFKI",
      "employeeID": 1,
      "freight": 2.3,
      "shipCity": "Berlin",
      "verified": false,
      "orderDate": "1991-05-15T00:00:00",
      "shipName": "Simons bistro",
      "shipCountry": "Denmark",
      "shippedDate": "1996-07-16T00:00:00",
      "shipAddress": "Kirchgasse 6"
    }
    // ... more records
  ],
  "count": 45
}
Step 6: Understanding the required response format
When using the WebApiAdaptor, every backend API endpoint must return data in a specific JSON structure. This ensures that Syncfusion® React DataManager can correctly interpret the response and bind it to the component. The expected format is:
{
  "Items": [
    { "OrderID": 10001, "CustomerID": "ALFKI", "ShipCity": "Berlin" },
    { "OrderID": 10002, "CustomerID": "ANATR", "ShipCity": "Madrid" },
    ...
  ],
  "Count": 45
}- Items: Returns the data records for the current page/request displayed in the UI.
- Count: Indicates the total number of records in the dataset, enabling accurate pagination.
- Without the
Countfield, paging and virtual scrolling cannot function correctly.- APIs returning just an array
[{...}, {...}]instead of{Items: [...], Count: ...}will prevent proper data display. Responses must wrap in the required structure.
Integration with Syncfusion® React components
To integrate the Syncfusion® React components with the WebApiAdaptor, refer to the documentation below: