Getting Started with Syncfusion® JavaScript (ES5) UI Controls
20 May 20264 minutes to read
Build your first Syncfusion JavaScript (ES5) application with a simple Grid control in just a few minutes. This quickstart guides you through creating a minimal, runnable HTML page that loads the Syncfusion EJ2 (ES5) Grid from the CDN, initializes it with sample data, and renders a responsive data table.
Prerequisites
- Visual Studio Code (or any text editor)
- A web browser to view the result
Quick Setup
Step 1: Create Folder and HTML file
- Create a folder named
quickstartin your desired directory - Inside the
quickstartfolder, create a new file namedindex.html
Step 2: Add Syncfusion® CDN Resources
Include the following CSS and JavaScript links in the <head> section.
Styles (CSS):
https://cdn.syncfusion.com/ej2/33.2.3/ej2-base/styles/bootstrap5.3.css
https://cdn.syncfusion.com/ej2/33.2.3/ej2-grids/styles/bootstrap5.3.css
Scripts (JavaScript):
https://cdn.syncfusion.com/ej2/33.2.3/ej2-base/dist/global/ej2-base.min.js
https://cdn.syncfusion.com/ej2/33.2.3/ej2-data/dist/global/ej2-data.min.js
https://cdn.syncfusion.com/ej2/33.2.3/ej2-popups/dist/global/ej2-popups.min.js
https://cdn.syncfusion.com/ej2/33.2.3/ej2-grids/dist/global/ej2-grids.min.js
Step 3: Add Syncfusion®control to the application
Copy and paste the following complete code into your index.html file:
<!DOCTYPE html>
<html>
  <head>
    <title>Syncfusion Grid - Quick Start</title>
    <!-- Styles -->
    <link href="https://cdn.syncfusion.com/ej2/33.2.3/ej2-base/styles/bootstrap5.3.css" rel="stylesheet" />
    <link href="https://cdn.syncfusion.com/ej2/33.2.3/ej2-grids/styles/bootstrap5.3.css" rel="stylesheet" />

    <!-- Scripts -->
    <script src="https://cdn.syncfusion.com/ej2/33.2.3/ej2-base/dist/global/ej2-base.min.js"></script>
    <script src="https://cdn.syncfusion.com/ej2/33.2.3/ej2-data/dist/global/ej2-data.min.js"></script>
    <script src="https://cdn.syncfusion.com/ej2/33.2.3/ej2-popups/dist/global/ej2-popups.min.js"></script>
    <script src="https://cdn.syncfusion.com/ej2/33.2.3/ej2-grids/dist/global/ej2-grids.min.js"></script>
  </head>

  <body>
    <h1>Syncfusion Grid</h1>
    <div id="Grid"></div>

    <script>
      // Sample data
      var data = [
        { OrderID: 10248, CustomerID: 'VINET', Freight: 32.38, OrderDate: new Date(1996, 6, 4) },
        { OrderID: 10249, CustomerID: 'TOMSP', Freight: 11.61, OrderDate: new Date(1996, 6, 5) },
        { OrderID: 10250, CustomerID: 'HANAR', Freight: 65.83, OrderDate: new Date(1996, 6, 8) },
        { OrderID: 10251, CustomerID: 'VICTE', Freight: 41.34, OrderDate: new Date(1996, 6, 8) }
      ];

      // Create Grid
      var grid = new ej.grids.Grid({
        dataSource: data,
        columns: [
          { field: 'OrderID', headerText: 'Order ID', width: 120 },
          { field: 'CustomerID', headerText: 'Customer ID', width: 140 },
          { field: 'Freight', headerText: 'Freight', width: 120, format: 'C2' },
          { field: 'OrderDate', headerText: 'Order Date', width: 140, format: 'yMd' }
        ]
      });

      // Render Grid
      grid.appendTo('#Grid');
    </script>
  </body>
</html>
Step 4: Open in Browser
Open the quickstart/index.html file in your web browser. You should see the Syncfusion Grid control displaying the sample data.
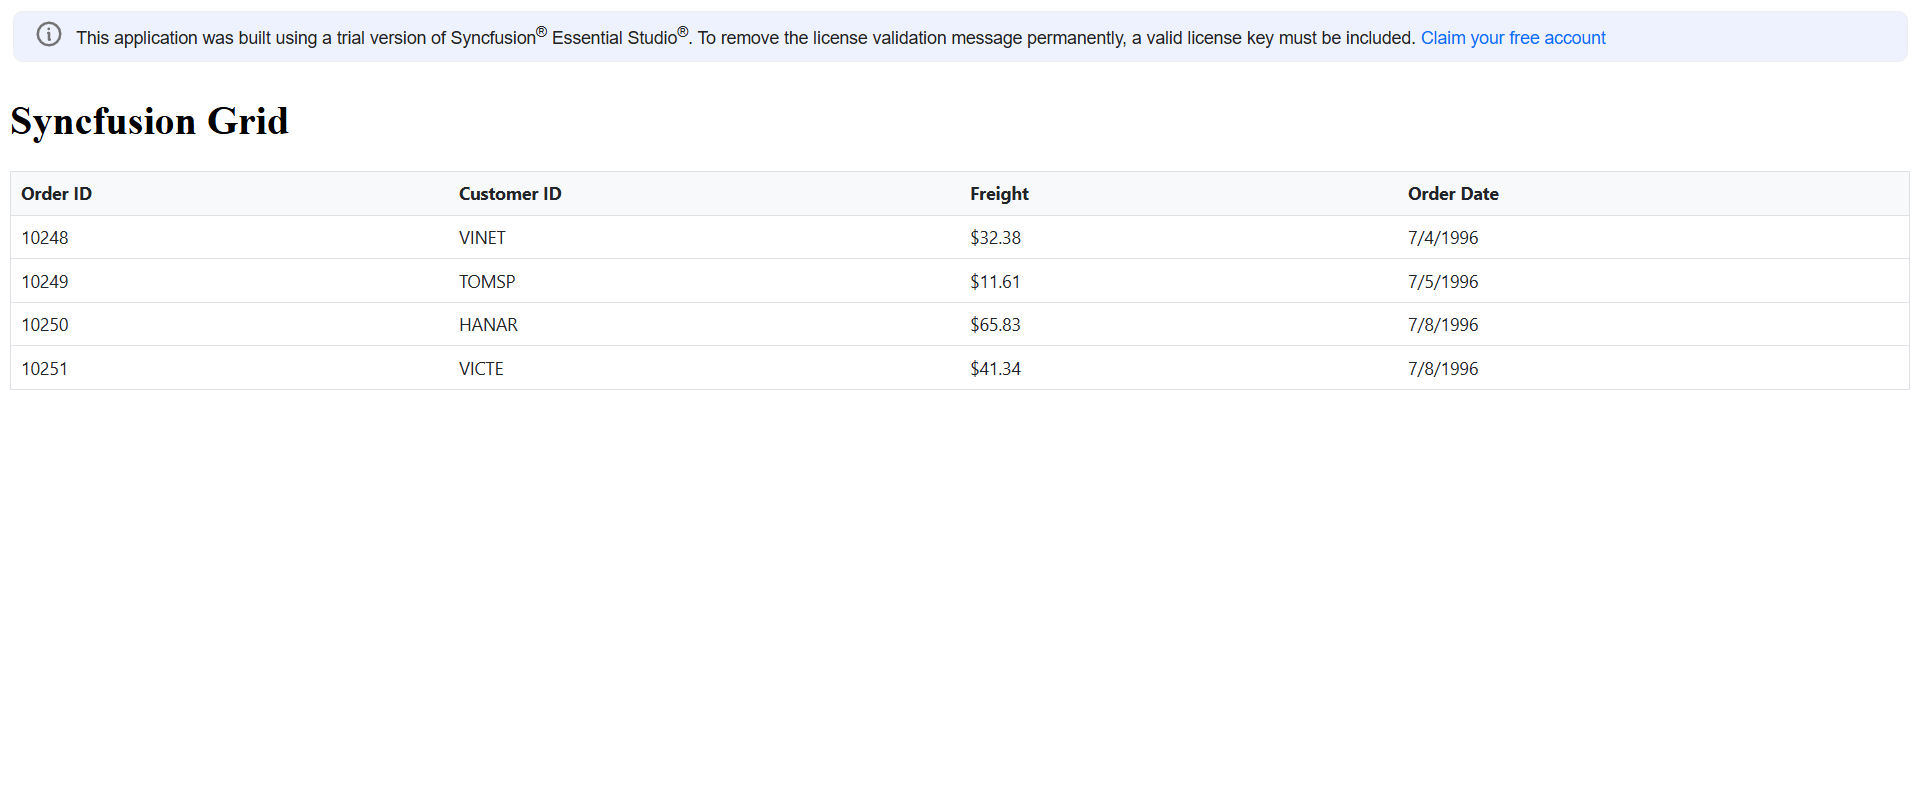
Output
The following screenshot shows the output of the Syncfusion Grid quick start application:
See Also
-
Grid Component Documentation - Comprehensive guide to all Grid control features and functionality.
-
GitHub Samples - View complete working examples for CDN and local resource implementations.
-
Register License Key - Learn how to register your Syncfusion license key in your JavaScript application.