Syncfusion® JS (Essential® JS 2) and Meteor Framework
20 May 20262 minutes to read
This article provides a step-by-step guide to configure and use Syncfusion® Essential JS 2 controls in a Meteor application.
Prerequisites
Setup development environment
1.Open the command prompt from administrator mode, and install the Meteor using the following command line.
choco install meteorcurl https://install.meteor.com/ | shFor detailed installation instructions, see the official Meteor installation guide.
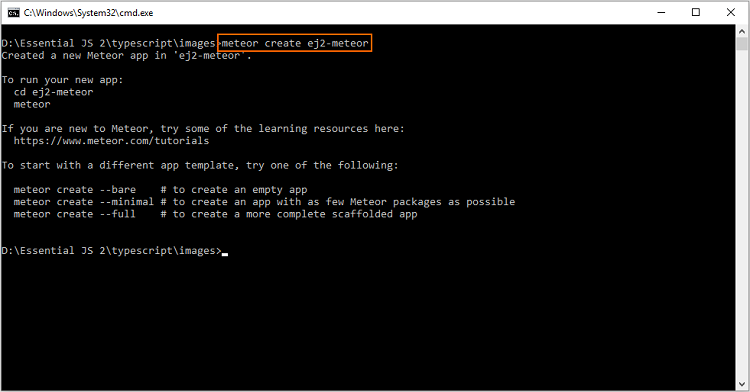
2.Run the following command line to create a new project under ej2-meteor folder after installing Meteor.
meteor create ej2-meteor
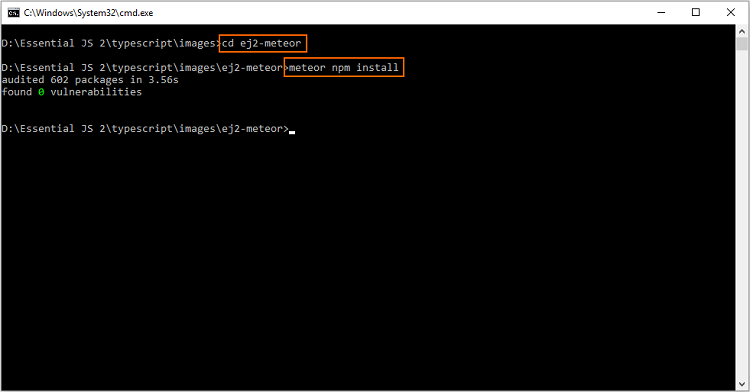
3.Now, navigate to the created project location ej2-meteor, and install the required default dependencies from the command prompt.
cd ej2-meteor
meteor npm install
Configure Essential® JS 2 control in application
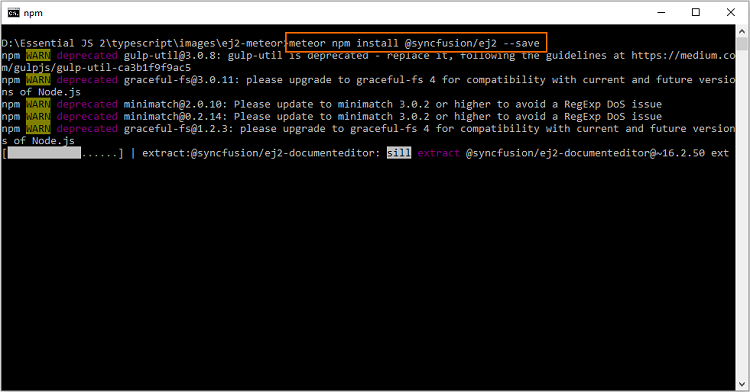
1.Install the @syncfusion/ej2 npm package in the application using the following command line.
meteor npm install @syncfusion/ej2 --save
For getting started, the Calendar control will be added in the new application.
2.Open the application in Visual Studio Code, and add the <div> element inside the <body> element in ~/client/main.html file for rendering the Calender control.
<head>
    <title>ej2-meteor</title>

    ....
    ....
</head>

<body>
    ....
    ....

    <h2>Essential JS 2 Calendar</h2>
    <!--HTML element which is going to render as Essential JS 2 Calendar control-->
    <div id="element"></div>
</body>

....
....
3.Then, import the Syncfusion® JavaScript styles, and render the Calender control inside the Meteor.startup method in ~/src/client/main.js file.
....
....

import './main.html';

// import Syncfusion Essential JS 2 styles from node_modules
import '../node_modules/@syncfusion/ej2/fluent2.css';

import { Calendar } from '@syncfusion/ej2-calendars';

Meteor.startup(() => {
    // initialize calendar control
    let calendarObject = new Calendar();

    // render initialized calendar
    calendarObject.appendTo('#element');
});

....
....
4.Finally, run the following command line to run the Meteor application.
meteor
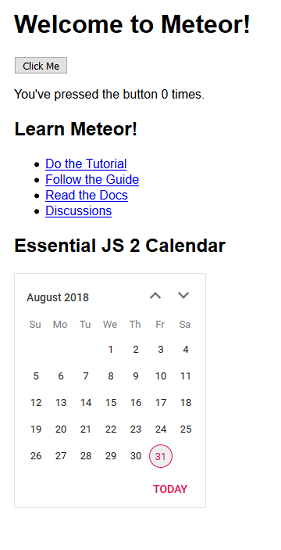
Open the localhost URL in the web browser.

The Calendar control will now be rendered in the browser.
If you face any memory issue when running the above command line, increase the memory by adding
TOOL_NODE_FLAGS --max-old-space-size=4096system environment variable. Refer to this GitHub issue for more information.
Running on mobile emulator/simulator
Refer to this tutorial for running the Meteor application in mobile emulator or simulator. Meteor on Windows does not support mobile builds, so this will not work on Windows.