How can I help you?
Render TimePickerFor
17 Feb 20222 minutes to read
The TimePickerFor component can be rendered by passing a value from the model. The selected date value can be retrieved during form submission using the post method at the server end.
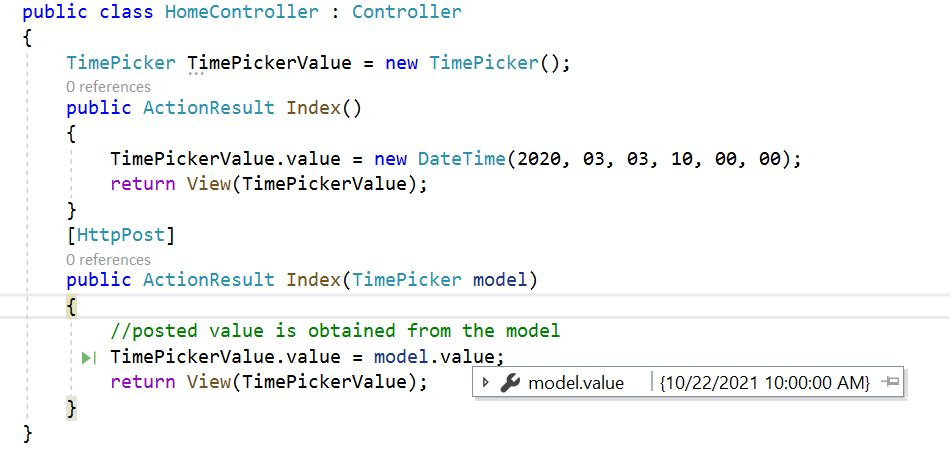
The following sample demonstrates how to retrieve the value in the controller by rendering the TimePickerFor component.
@model EJ2CoreSampleBrowser.Controllers.TimePicker
@using (Html.BeginForm())
{
    @Html.EJS().TimePickerFor(model => model.value).Render()
    <div>
        @Html.ValidationMessageFor(model => model.value)
    </div>
    <div id="submitbutton">
        @Html.EJS().Button("btn").Content("Post").Render()
    </div>
}
using System;
using System.Collections.Generic;
using System.ComponentModel.DataAnnotations;
namespace EJ2CoreSampleBrowser.Controllers
{
public class TimePicker
{
[Required(ErrorMessage = "Please enter the value")]
public DateTime? value { get; set; }
}
public class HomeController : Controller
{
TimePicker TimePickerValue = new TimePicker();
public ActionResult Index()
{
TimePickerValue.value = new DateTime(2020, 03, 03, 10, 00, 00);
return View(TimePickerValue);
}
[HttpPost]
public ActionResult Index(TimePicker model)
{
//posted value is obtained from the model
TimePickerValue.value = model.value;
return View(TimePickerValue);
}
}
}Selected value will be retrieved as below.
