Dimension in Predefined Dialogs
3 Nov 20227 minutes to read
Customize the predefined dialogs dimensions using the height and widthproperties.
By default, the predefined dialogs width and height property value is set as auto. Depends on the dialog content the width and height values are automatically adjust. You can specify the dimension values in both pixels and percentage format to change the default dialog width and height values.
Use the following code snippet for Alert.cshtml, Confirm.cshtml and Prompt.cshtml to customize the dialog dimensions.
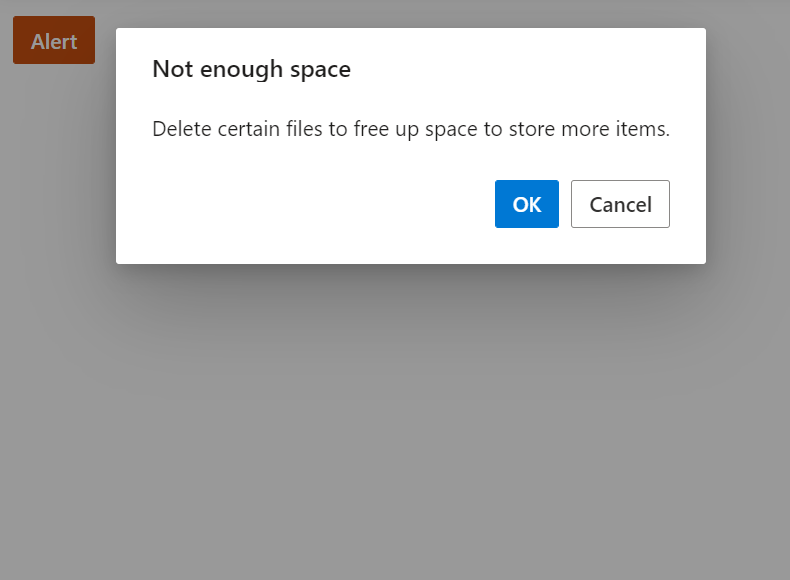
Alert
<div style="height:400px;">
    @Html.EJS().Button("alertBtn").Content("Alert").CssClass("e-danger").Render()
</div>
<script>
    document.getElementById('alertBtn').onclick = function () {
        ej.popups.DialogUtility.alert({
            title: "Not enough space",
            content: "Delete certain files to free up space to store more items.",
            width : "300px",
            height : "200px"
        });
    };
</script>
public class HomeController : Controller
{
public ActionResult Alert()
{
return View();
}
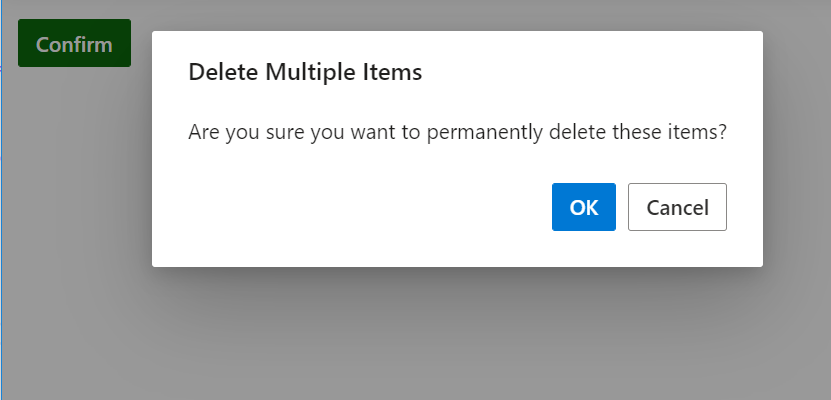
}Confirm
<div style="height:400px;">
    @Html.EJS().Button("confirmBtn").Content("Confirm").CssClass("e-success").Render()
</div>
<script>
    document.getElementById('confirmBtn').onclick = function () {
        ej.popups.DialogUtility.alert({
            title: "Delete multiple items",
            content: "Are you sure you want to permanently delete these items?",
            width : "400px",
            height : "200px"
        });
    };
</script>
public class HomeController : Controller
{
public ActionResult Confirm()
{
return View();
}
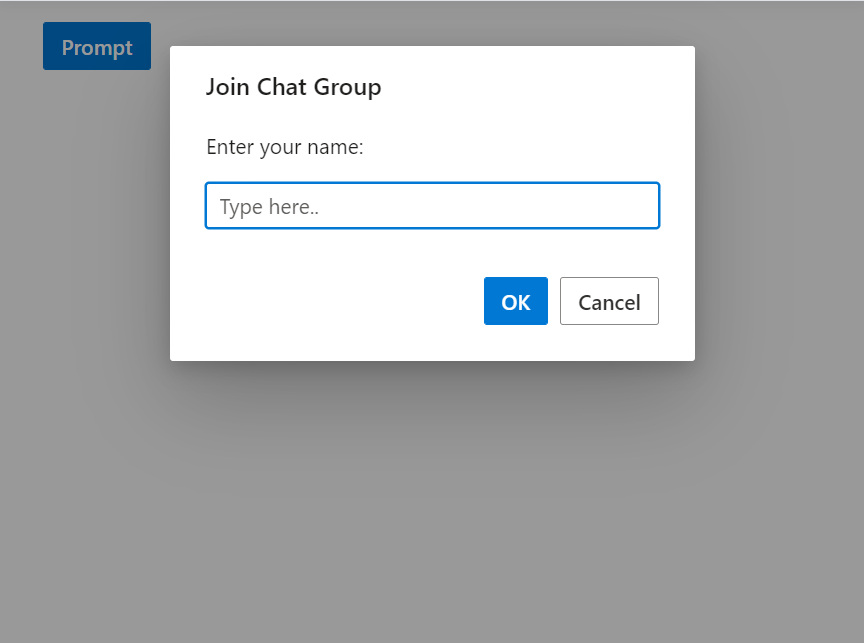
}Prompt
<div style="height:400px;">
    @Html.EJS().Button("promptBtn").Content("Prompt").IsPrimary(true).Render()
</div>
<script>
    document.getElementById('promptBtn').onclick = function () {
        ej.popups.DialogUtility.alert({
            title: "Join chat group",
            content: "<p>Enter your name: </p> <input id= inputEle type=text name=Required class=e-input placeholder=Type here.. />",
            width : "350px",
            height : "210px"
        });
    };
</script>
public class HomeController : Controller
{
public ActionResult Prompt()
{
return View();
}
}Results from the code snippet
Alert
Confirm
Prompt
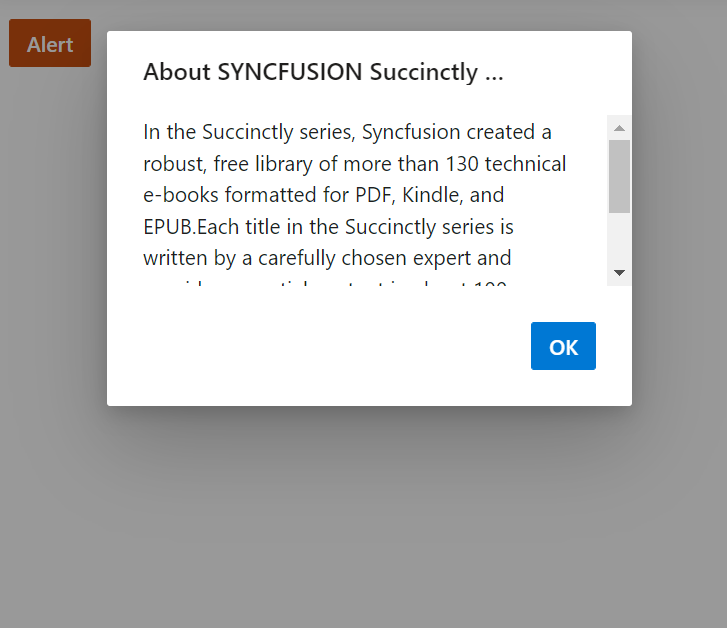
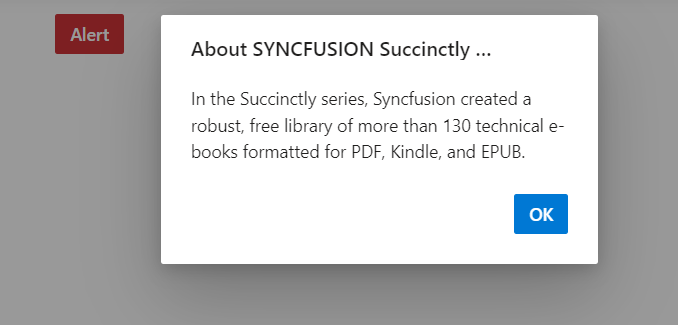
Max-width and max-height
To have a restricted max-width and max-height dialog dimension, you need to specify the max-width, max-height CSS properties for the component’s container element by using the cssClass property. The max-height value is calculated in source level and set to the dialog. so, need to override the max-height property.
Use the following code to customize the max-width and max-height for alert dialog:
<div style="height:400px;">
    @Html.EJS().Button("alertBtn").Content("Alert").CssClass("e-danger").Render()
</div>
<style>
    .e-alert-dialog.customClass {
        max-width: 350px;
        max-height: 250px !important;
    }
</style>
<script>
    document.getElementById('alertBtn').onclick = function () {
        ej.popups.DialogUtility.alert({
            title: "About syncfusion succinctly series",
            content: "In the succinctly series, syncfusion created a robust, free library of more than 130 technical e-books formatted for PDF, Kindle, and EPUB.",
            cssClass: "customClass"
        });
    };
</script>
public class HomeController : Controller
{
public ActionResult Alert()
{
return View();
}
}
Min-width and min-height
To have a restricted min-width and min-height dialog dimension, you need to specify the min-width, min-height CSS properties for the component’s container element by using the cssClass property.
Use the following code to customize the min-width and min-height for alert dialog:
<div style="height:400px;">
    @Html.EJS().Button("alertBtn").Content("Alert").CssClass("e-danger").Render()
</div>
<script>
    document.getElementById('alertBtn').onclick = function () {
        ej.popups.DialogUtility.alert({
            title: "Low battery",
            content: "10% of battery remaining",
            isDraggable: true
        });
    };
</script>
public class HomeController : Controller
{
public ActionResult Confirm()
{
return View();
}
}