Custom views in ASP.NET MVC AI AssistView control
20 Sep 20247 minutes to read
Adding custom views
By using the Views property you can define the collection of different assist view models in the AI AssistView. You can customize the default and the custom views added.
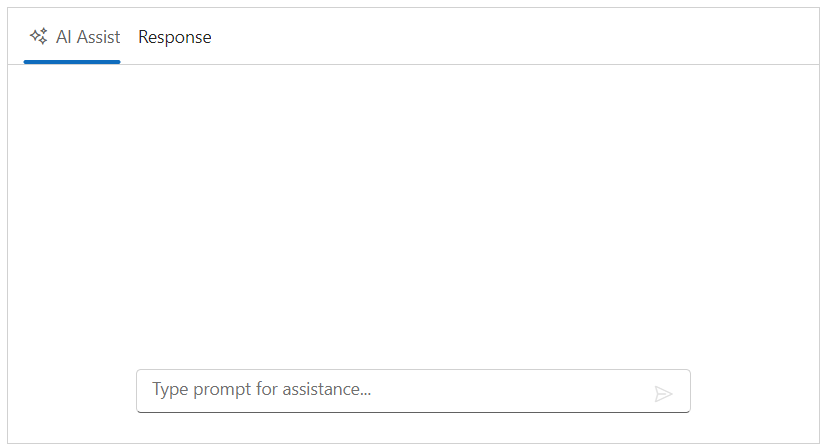
Setting view type
You can set the type of view by using the Type property. It accepts two values such as Assist, and Custom.
@using Syncfusion.EJ2.InteractiveChat

<div class="aiassist-container" style="height: 350px; width: 650px;">
    @Html.EJS().AIAssistView("aiAssistView").PromptRequest("onPromptRequest").Created("onCreated").Views(view =>
    {
        view.Type(AssistViewType.Assist).Add();
        view.Type(AssistViewType.Custom).Name("Response").ViewTemplate("<div class=\"view-container\"><h5>Response view content</h5></div>").Add();
    }).Render()
</div>

<script>
    var assistObj;
    function onCreated() {
        assistObj = this;
    }
    function onPromptRequest(args) {
        setTimeout(function () {
            var defaultResponse = 'For real-time prompt processing, connect the AI AssistView control to your preferred AI service, such as OpenAI or Azure Cognitive Services. Ensure you obtain the necessary API credentials to authenticate and enable seamless integration.';
            assistObj.addPromptResponse(defaultResponse);
        }, 2000);
    }
</script>
public ActionResult viewType()
{
return View();
}
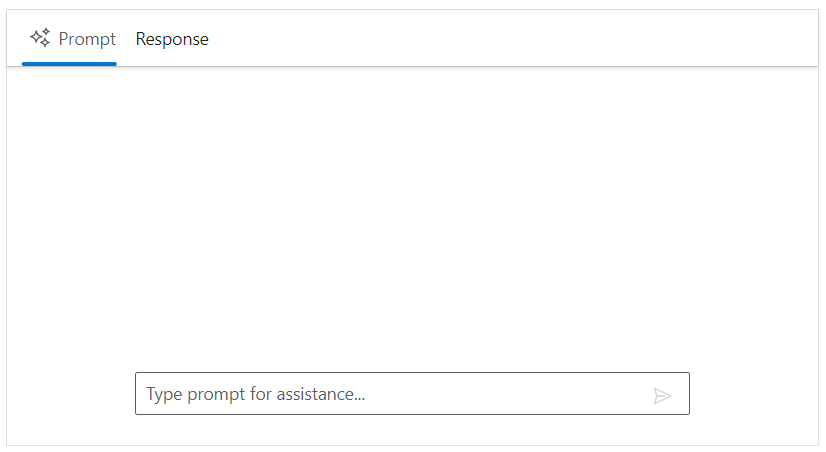
Setting name
You can use the Name property to specifies the header name of the Assist or Custom views in the AI AssistView.
@using Syncfusion.EJ2.InteractiveChat

<div class="aiassist-container" style="height: 350px; width: 650px;">
    @Html.EJS().AIAssistView("aiAssistView").PromptRequest("onPromptRequest").Created("onCreated").Views(view =>
    {
        view.Type(AssistViewType.Assist).Name("Prompt").Add();
        view.Type(AssistViewType.Custom).Name("Response").ViewTemplate("<div class=\"view-container\"><h5>Response view content</h5></div>").Add();
    }).Render()
</div>

<script>
    var assistObj;
    function onCreated() {
        assistObj = this;
    }
    function onPromptRequest(args) {
        setTimeout(function () {
            var defaultResponse = 'For real-time prompt processing, connect the AI AssistView control to your preferred AI service, such as OpenAI or Azure Cognitive Services. Ensure you obtain the necessary API credentials to authenticate and enable seamless integration.';
            assistObj.addPromptResponse(defaultResponse);
        }, 2000);
    }
</script>
public ActionResult viewName()
{
return View();
}
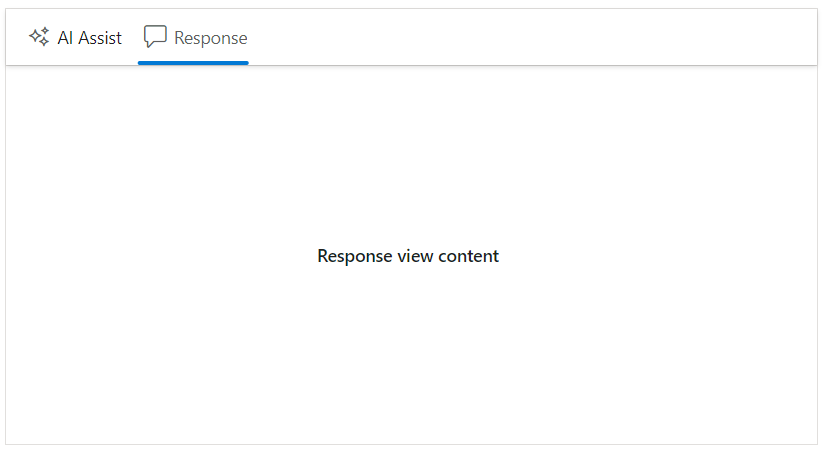
Setting iconCss
You can customize the view icons by using the IconCss property. By default the e-assistview-icon class is added as built-in header icon for the AI AssistView.
@using Syncfusion.EJ2.InteractiveChat

<div class="aiassist-container" style="height: 350px; width: 650px;">
    @Html.EJS().AIAssistView("aiAssistView").PromptRequest("onPromptRequest").Created("onCreated").Views(view =>
    {
        view.Type(AssistViewType.Assist).Add();
        view.Type(AssistViewType.Custom).Name("Response").ViewTemplate("<div class=\"view-container\"><h5>Response view content</h5></div>").IconCss("e-icons e-comment-show").Add();
    }).Render()
</div>

<script>
    var assistObj;
    function onCreated() {
        assistObj = this;
    }
    function onPromptRequest(args) {
        setTimeout(function () {
            var defaultResponse = 'For real-time prompt processing, connect the AI AssistView control to your preferred AI service, such as OpenAI or Azure Cognitive Services. Ensure you obtain the necessary API credentials to authenticate and enable seamless integration.';
            assistObj.addPromptResponse(defaultResponse);
        }, 2000);
    }
</script>
public ActionResult viewIcon()
{
return View();
}![]()
Setting view template
You can use the ViewTemplate property to add the view content of the multiple views added in the AI AssistView.
@using Syncfusion.EJ2.InteractiveChat

<div class="aiassist-container" style="height: 350px; width: 650px;">
    @Html.EJS().AIAssistView("aiAssistView").Views(view =>
    {
        view.Type(AssistViewType.Assist).Name("Prompt").ViewTemplate("<div class=\"view-container\"><h5>Prompt view content</h5></div>").Add();
        view.Type(AssistViewType.Custom).Name("Response").ViewTemplate("<div class=\"view-container\"><h5>Response view content</h5></div>").IconCss("e-icons e-comment-show").Add();
    }).Render()
</div>

<style>
    .view-container {
        margin: 20px auto;
        width: 80%;
    }
</style>
public ActionResult ViewTemplate()
{
return View();
}
Setting active view
You can use the ActiveView property to set the active view in the AI AssistView. By default, the value is 0.
@using Syncfusion.EJ2.InteractiveChat

<div class="aiassist-container" style="height: 350px; width: 650px;">
    @Html.EJS().AIAssistView("aiAssistView").PromptRequest("onPromptRequest").ActiveView(1).Created("onCreated").Views(view =>
    {
        view.Type(AssistViewType.Assist).Add();
        view.Type(AssistViewType.Custom).Name("Response").ViewTemplate("<div class=\"view-container\"><h5>Response view content</h5></div>").IconCss("e-icons e-comment-show").Add();
    }).Render()
</div>

<script>
    var assistObj;
    function onCreated() {
        assistObj = this;
    }
    function onPromptRequest(args) {
        setTimeout(function () {
            var defaultResponse = 'For real-time prompt processing, connect the AI AssistView control to your preferred AI service, such as OpenAI or Azure Cognitive Services. Ensure you obtain the necessary API credentials to authenticate and enable seamless integration.';
            assistObj.addPromptResponse(defaultResponse);
        }, 2000);
    }
</script>

<style>
    .view-container {
        height: inherit;
        display: flex;
        align-items: center;
        justify-content: center;
    }
</style>
public ActionResult ActiveView()
{
return View();
}