How to customize the browse button with an HTML element
24 Aug 20262 minutes to read
The Uploader control allows you to customize the action buttons by using the buttons property. Refer to the following example.
<div class="control_wrapper">
    @Html.EJS().Uploader("UploadFiles").AutoUpload(false).AsyncSettings(new Syncfusion.EJ2.Inputs.UploaderAsyncSettings { SaveUrl = "https://services.syncfusion.com/aspnet/production/api/FileUploader/Save", RemoveUrl = "https://services.syncfusion.com/aspnet/production/api/FileUploader/Remove" }).Render()
</div>
<script>
    var uploadEle = ej.base.createElement('span', { className: 'upload e-icons' });
    uploadEle.innerHTML = 'Upload All';
    var clearEle = ej.base.createElement('span', { className: 'remove e-icons' });
    clearEle.innerHTML = 'Clear All';
    window.onload = function (args) {
        var uploaderObj = document.getElementById("UploadFiles").ej2_instances[0];
        uploaderObj.setProperties({
            buttons: {
                browse: 'Choose file',
                clear: clearEle,
                upload: uploadEle
            }
        })
    }
</script>.control_wrapper {
max-width: 400px;
margin: 0 auto;
}
.e-upload .e-upload-actions .e-file-clear-btn,
.e-upload .e-upload-actions .e-file-upload-btn {
-webkit-tap-highlight-color: transparent;
background-color: #ddd;
border-color: #c3c3c3;
color: #000000;
box-shadow: none;
width: 50%;
margin: 0;
text-transform: none;
padding: 8px 0;
}
.e-upload .e-upload-actions {
width: 100%;
}The output is shown below.
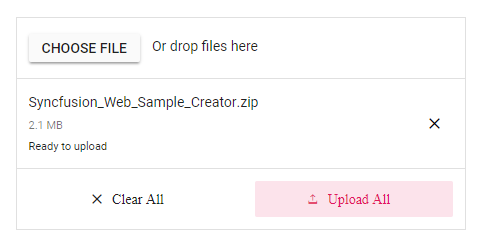
Explore the ASP.NET Core File Upload feature tour page to discover its groundbreaking features. You can also check out our ASP.NET Core File Upload example to see how to browse and select files for upload to the server.