How can I help you?
Selection cropping in the ASP.NET CORE Image Editor control
11 Mar 202517 minutes to read
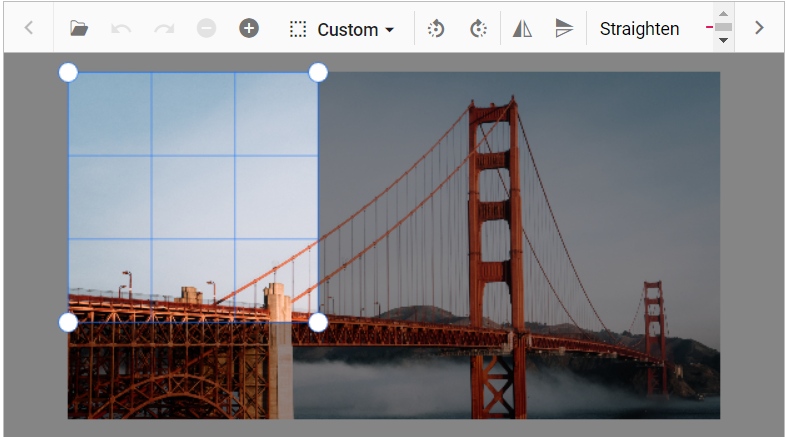
The cropping feature in the Image Editor allows you to select and crop specific regions of an image. It offers different selection options, including custom shapes, squares, circles, and various aspect ratios such as 2:3, 3:2, 3:4, 4:3, 4:5, 5:4, 5:7, 7:5, 9:16, and 16:9.
To perform a selection, you can use the select method, which allows you to define the desired selection area within the image. Once the selection is made, you can then use the crop method to crop the image based on the selected region. This enables you to extract and focus on specific parts of the image while discarding the rest.
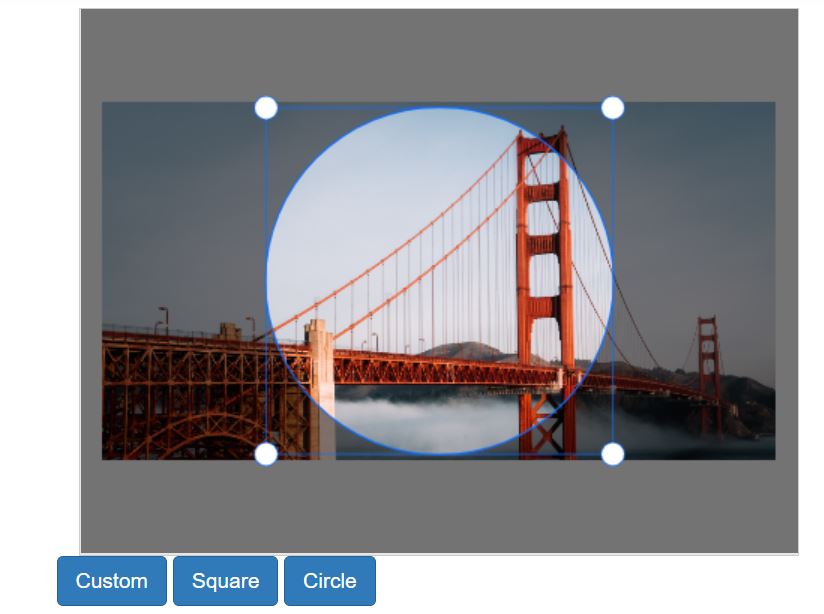
Insert custom / square / circle region
The select method allows to perform selection based on the type of selection. Here, the select method is used to perform the selection as custom, circle, or square. The selection region can also be customized using the select method based on the parameters below.
-
type - Specify the type of selection
-
startX - Specify the x-coordinate of the selection region’s starting point
-
startY - Specify the y-coordinate of the selection region’s starting point
-
width - Specify the width of the selection region
-
height - Specify the height of the selection region
Here is an example of square selection using the select method.
@{
    var imageTool = new string[] { };
}

<div class="col-lg-12 control-section e-img-editor-sample">
    <ejs-imageeditor id="image-editor" created="created" toolbar="@imageTool"></ejs-imageeditor>
</div>
<ejs-button id="customClick" onclick="customClick()" cssClass="e-primary" content="Custom"></ejs-button>
<ejs-button id="squareClick" onclick="squareClick()" cssClass="e-primary" content="Square"></ejs-button>
<ejs-button id="circleClick" onclick="circleClick()" cssClass="e-primary" content="Circle"></ejs-button>

<script>
    function created() {
        var imageEditorObj = ej.base.getComponent(document.getElementById('image-editor'), 'image-editor');
        if (ej.base.Browser.isDevice) {
            imageEditorObj.open('https://ej2.syncfusion.com/demos/src/image-editor/images/flower.png');
        } else {
            imageEditorObj.open('https://ej2.syncfusion.com/demos/src/image-editor/images/bridge.png');
        }
    }

    function customClick() {
        var imageEditorObj = ej.base.getComponent(document.getElementById('image-editor'), 'image-editor');
        imageEditorObj.select("Custom");
    }

    function squareClick() {
        var imageEditorObj = ej.base.getComponent(document.getElementById('image-editor'), 'image-editor');
        imageEditorObj.select("Square");
    }

    function circleClick() {
        var imageEditorObj = ej.base.getComponent(document.getElementById('image-editor'), 'image-editor');
        imageEditorObj.select("Circle");
    }
</script>

<style>
    .image-editor {
        margin: 0 auto;
    }

    .e-img-editor-sample {
        height: 80vh;
        width: 100%;
    }

    @@media only screen and (max-width: 700px) {
        .e-img-editor-sample {
            height: 75vh;
            width: 100%;
        }
    }

    .control-wrapper {
        height: 100%;
    }
</style>
public ActionResult Default()
{
return View();
}Output be like the below.
Insert selection based on aspect ratio
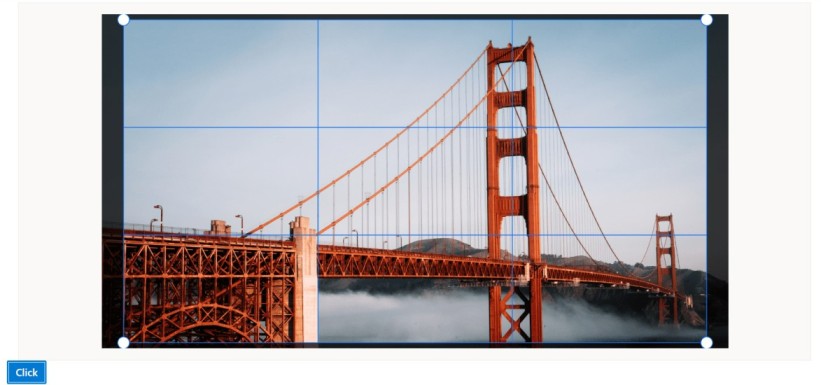
The select method is used to perform the selection with the various aspect ratios such as 2:3, 3:2, 3:4, 4:3, 4:5, 5:4, 5:7, 7:5, 9:16, and 16:9. The selection region can also be customized using the select method based on the parameters below.
-
type - Specify the type of selection
-
startX - Specify the x-coordinate of the selection region’s starting point
-
startY - Specify the y-coordinate of the selection region’s starting point
Here is an example of ratio selection using the select method.
@{
    var imageTool = new string[] { };
}

<div class="col-lg-12 control-section e-img-editor-sample">
    <ejs-imageeditor id="image-editor" created="created" toolbar="@imageTool"></ejs-imageeditor>
</div>
<ejs-button id="btnClick" onclick="clickHandler()" cssClass="e-primary" content="Click"></ejs-button>

<script>
    function created() {
        var imageEditorObj = ej.base.getComponent(document.getElementById('image-editor'), 'image-editor');
        if (ej.base.Browser.isDevice) {
            imageEditorObj.open('https://ej2.syncfusion.com/demos/src/image-editor/images/flower.png');
        } else {
            imageEditorObj.open('https://ej2.syncfusion.com/demos/src/image-editor/images/bridge.png');
        }
    }

    function clickHandler() {
        var imageEditorObj = ej.base.getComponent(document.getElementById('image-editor'), 'image-editor');
        imageEditorObj.select("16:9");
    }
</script>

<style>
    .image-editor {
        margin: 0 auto;
    }

    .e-img-editor-sample {
        height: 80vh;
        width: 100%;
    }

    @@media only screen and (max-width: 700px) {
        .e-img-editor-sample {
            height: 75vh;
            width: 100%;
        }
    }

    .control-wrapper {
        height: 100%;
    }
</style>
public ActionResult Default()
{
return View();
}Output be like the below.
Crop an image
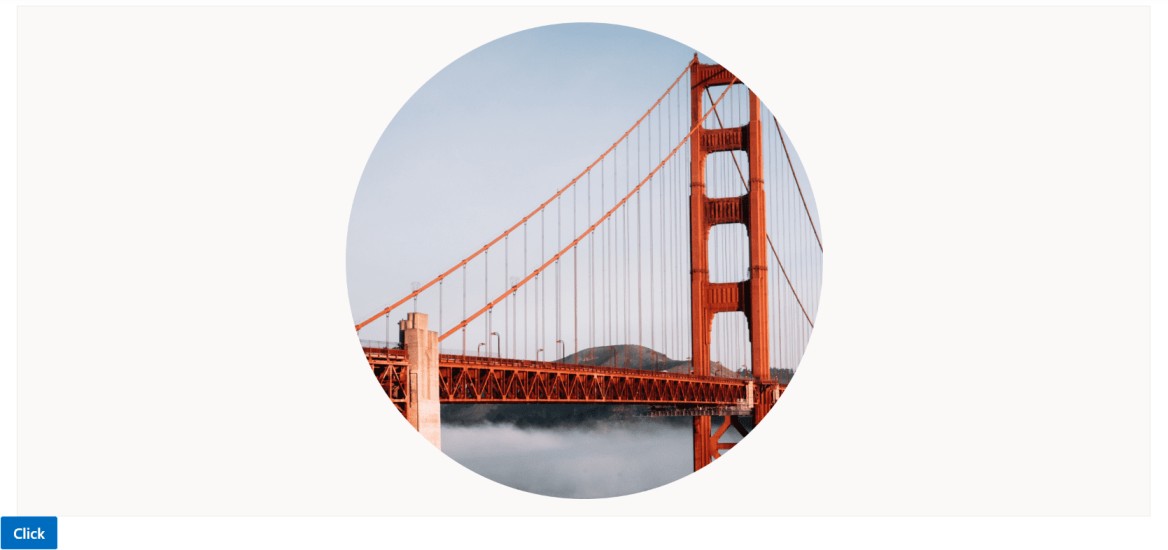
The crop method allows cropping based on the selected region. Here is an example of cropping the selection region using the crop method.
Here is an example of circle cropping using the select and crop method.
@{
    var imageTool = new string[] { };
}

<div class="col-lg-12 control-section e-img-editor-sample">
    <ejs-imageeditor id="image-editor" created="created" toolbar="@imageTool"></ejs-imageeditor>
</div>
<ejs-button id="btnClick" onclick="clickHandler()" cssClass="e-primary" content="CIRCLE CROP"></ejs-button>

<script>
    function created() {
        var imageEditorObj = ej.base.getComponent(document.getElementById('image-editor'), 'image-editor');
        if (ej.base.Browser.isDevice) {
            imageEditorObj.open('https://ej2.syncfusion.com/demos/src/image-editor/images/flower.png');
        } else {
            imageEditorObj.open('https://ej2.syncfusion.com/demos/src/image-editor/images/bridge.png');
        }
    }

    function clickHandler() {
        var imageEditorObj = ej.base.getComponent(document.getElementById('image-editor'), 'image-editor');
        imageEditorObj.select("Circle");
        imageEditorObj.crop();
    }
</script>

<style>
    .image-editor {
        margin: 0 auto;
    }

    .e-img-editor-sample {
        height: 80vh;
        width: 100%;
    }

    @@media only screen and (max-width: 700px) {
        .e-img-editor-sample {
            height: 75vh;
            width: 100%;
        }
    }

    .control-wrapper {
        height: 100%;
    }
</style>
public ActionResult Default()
{
return View();
}Output be like the below.
Cropping event
The cropping event is triggered when performing cropping on the image. This event is passed an object that contains information about the cropping event, such as the start and end point of the selection region. And this event uses CropEventArgs to handle the cropping action in the image.
The parameter available in the cropping event is,
CroppingEventArgs.startPoint – The x and y coordinates of a start point as ImageEditorPoint of the selection region.
CroppingEventArgs.endPoint - The x and y coordinates of an end point as ImageEditorPoint of the selection region.
CroppingEventArgs.cancel - To cancel the cropping action.
Maintaining original image size during cropping
In the image editor, when an image is cropped, it is usually enlarged or scaled to improve visibility within the user interface. If you want to prevent this scaling and maintain the original cropping size, you can bind to the ‘cropping’ event and set the preventScaling value to true. This not only keeps the image size consistent during cropping but also ensures that the saved image retains its original cropping size without being enlarged.
@{
    var imageTool = new string[] { };
}

<div class="col-lg-12 control-section e-img-editor-sample">
    <ejs-imageeditor id="image-editor" created="created" cropping="preventScalling"></ejs-imageeditor>
</div>

<script>
    function created() {
        var imageEditorObj = ej.base.getComponent(document.getElementById('image-editor'), 'image-editor');
        if (ej.base.Browser.isDevice) {
            imageEditorObj.open('https://ej2.syncfusion.com/demos/src/image-editor/images/flower.png');
        } else {
            imageEditorObj.open('https://ej2.syncfusion.com/demos/src/image-editor/images/bridge.png');
        }
    }
    function preventScalling(args) {
        args.preventScaling = true;
    }
</script>

<style>
    .image-editor {
        margin: 0 auto;
    }

    .e-img-editor-sample {
        height: 80vh;
        width: 100%;
    }

    @@media only screen and (max-width: 700px) {
        .e-img-editor-sample {
            height: 75vh;
            width: 100%;
        }
    }

    .control-wrapper {
        height: 100%;
    }
</style>
public ActionResult Default()
{
return View();
}Output be like the below.
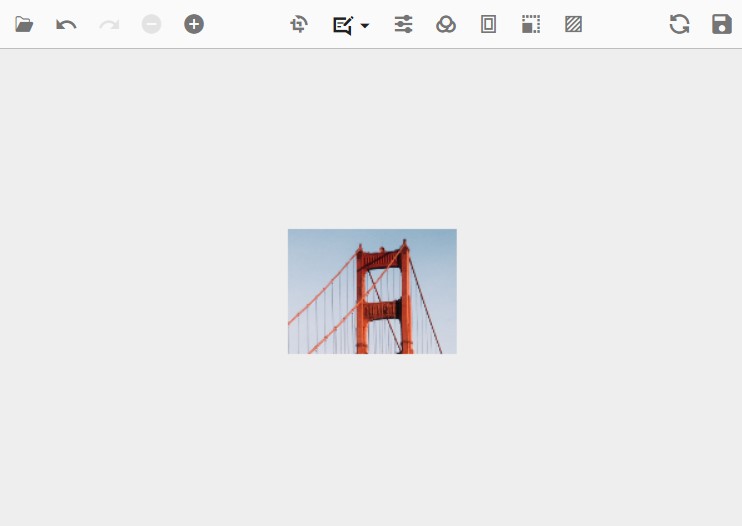
SelectionChanging event
The selection region can be changed programmatically by using selectionChanging event. This event is activated during resizing the selection using mouse, and it allows for alterations to the selection region by adjusting the specified properties.
The SelectionChangeEventArgs is used in this event to customize the selection and it has the following parameters.
SelectionChangeEventArgs.action - The type of action such as inserting or resizing.
SelectionChangeEventArgs.cancel - Specifies to cancel the selection.
SelectionChangeEventArgs.currentSelectionPoint - Represents all the details of the selection including its type, position, width, and height after the current action as CropSelectionSettings.
SelectionChangeEventArgs.previousSelectionPoint - Represents all the details of the selection including its type, position, width, and height before this current action as CropSelectionSettings.
Locking selection area during cropping
When selecting an area for cropping, users can typically resize the selection from all corners and edges. If you want to prevent the resizing of the selection area, you can bind to the resizing event and set cancel to true. This will lock the selection area, preventing any adjustments to its size.
<div class="col-lg-12 control-section e-img-editor-sample">
    <ejs-imageeditor id="image-editor" created="created" selectionChanging="selectionChanging"></ejs-imageeditor>
</div>

<script>
    function created() {
        var imageEditorObj = ej.base.getComponent(document.getElementById('image-editor'), 'image-editor');
        if (ej.base.Browser.isDevice) {
            imageEditorObj.open('https://ej2.syncfusion.com/demos/src/image-editor/images/flower.png');
        } else {
            imageEditorObj.open('https://ej2.syncfusion.com/demos/src/image-editor/images/bridge.png');
        }
    }


    function selectionChanging(args) {
        if (args.action == "resize") {
            args.currentSelectionSettings = args.previousSelectionSettings;
        }
    }
</script>

<style>
    .image-editor {
        margin: 0 auto;
    }

    .e-img-editor-sample {
        height: 80vh;
        width: 100%;
    }

    @@media only screen and (max-width: 700px) {
        .e-img-editor-sample {
            height: 75vh;
            width: 100%;
        }
    }

    .control-wrapper {
        height: 100%;
    }
</style>
public ActionResult Default()
{
return View();
}Output be like the below.

Cropping with custom ratio selection
Users can perform cropping either through the toolbar or by using our public methods. While predefined ratio selections are available in the toolbar, users can also crop with custom ratios using our public method, select Regardless of the ratio type used, the selection will adhere to the specified ratio, even when resizing the selection area.
<div class="col-lg-12 control-section e-img-editor-sample">
    <ejs-imageeditor id="image-editor" created="created" selectionChanging="selectionChanging"></ejs-imageeditor>
</div>

<script>
    function created() {
        var imageEditorObj = ej.base.getComponent(document.getElementById('image-editor'), 'image-editor');
        if (ej.base.Browser.isDevice) {
            imageEditorObj.open('https://ej2.syncfusion.com/demos/src/image-editor/images/flower.png');
        } else {
            imageEditorObj.open('https://ej2.syncfusion.com/demos/src/image-editor/images/bridge.png');
        }
    }


    function selectionChanging(args) {
        if (args.action === "insert" && args.currentSelectionSettings.type === "Custom") {
            args.currentSelectionSettings.height = 200;
            args.currentSelectionSettings.width = 200;
        }
    }
</script>

<style>
    .image-editor {
        margin: 0 auto;
    }

    .e-img-editor-sample {
        height: 80vh;
        width: 100%;
    }

    @@media only screen and (max-width: 700px) {
        .e-img-editor-sample {
            height: 75vh;
            width: 100%;
        }
    }

    .control-wrapper {
        height: 100%;
    }
</style>
public ActionResult Default()
{
return View();
}Output be like the below.
